
How to Map a Drive in Windows 11.
What to know
- Before you map a drive, guarantee network discovery is enabled from Control Panel > Network and Sharing Center > Change superior sharing settings. Alternatively, accomplish that from Settings app > Network & web > Advanced network settings > Advanced sharing settings.
- Map a drive from File Explorer > More choices > Map network drive.
- You may also use the IP deal with to map a drive by way of the Command Prompt, PowerShell, or use the Notepad to map a drive for all customers directly.
If you incessantly want to hook up with a distant folder or a drive shared in your network, mapping the drive or the folder location in your Windows 11 PC will prevent a giant chunk of time. Plus, the whole expertise of using a mapped network drive feels an identical to using every other drive plugged into your PC.
Here’s how one can map a network drive on Windows 11.
First, configure Windows for Network drives
Before we start with the steps, you could ensure that Windows 11 is configured to search out different PCs and units in your network.
- Click the Start button and kind in ‘Control Panel’. Click on the search outcome or the open button.

- Click on ‘Network and Internet’.

- Click on ‘Network and Sharing Center’.

- Click on ‘Change advanced sharing settings’.

- Click on ‘Turn on network discovery’ after which click on the ‘Save changes’ button. Accept any immediate which will seem.

- After this modification, your PC ought to be capable to discover your network folder or drive and be discoverable by different PCs and units in your network.
It’s time to map the drive to your Windows 11 PC.
5 Ways to map a drive on Windows 11
Once you’ve got configured your Windows 11 PC for mapping as given above, now you can go forward and map a drive in your PC. Here are numerous strategies to map a drive on Windows 11 OS.
Method 1: Using File Explorer
- Open ‘This PC’ by urgent the
Win + e. From the Quick Access window, click on on the shortcut for ‘This PC’.
- Click on the three-dot menu and from this checklist of choices, choose ‘Map a network drive’.

- You ought to see a popup titled ‘Map Network Drive’. On this popup, choose your most well-liked drive letter for the distant location, enter the URL of your network folder, and click on ‘Finish’. You may also click on on the ‘Browse’ button and choose the shared folder.

- Tick the ‘Remember my credentials’ to save lots of your credentials, as a substitute of coming into them each time you join.

- After verifying the credentials, Windows ought to open the distant folder straight away. You ought to be capable to discover the newly added network location in your ‘This PC’ window.

That’s it! You have efficiently mapped a network location to your Windows PC.
Another, fairly less complicated method to hook up with the shared drive is to navigate to the shared network drive or folder in File Explorer, after which use the context menu to map it as a drive in your PC.
There are a few methods that you may entry the shared drive by way of File Explorer.
First up, press Win+E to open File Explorer. Now click on on Network within the left pane.
Select the system that’s sharing the drive by double-clicking on it.
Then right-click on the folder or the drive to map and choose Map network drive…
The acquainted ‘Map Network Drive’ window will open up. Select the drive letter for the mapped drive, after which click on on Finish to map the drive.
Your drive/folder will now be mapped and out there on the ‘This PC’ web page.
If you realize the IP deal with of the system that’s sharing the drive, then you may merely click on on the deal with bar and kind the IP deal with within the following format: IP_addressMake positive to vary IP_Address with the IP deal with of the sharing network.
Then right-click on the drive/folder that you simply need to map and choose Map network drive as proven above.
If you need to test the folders which can be shared by you, you may both enter your individual IP deal with or sort 127.0.0.1 as a substitute (which directs to the native host).
Method 3: Using CMD
You may also map a drive in Windows 11 by way of the CMD. Use the information beneath to get you began.
- Press
Windows + Sin your keyboard and seek for CMD. Click on ‘Run as administrator’ as soon as it exhibits up in your search outcomes.
- Enter the next command and press Enter in your keyboard. Replace ‘DLetter’ with the drive letter of your alternative and substitute ‘PATH’ with the trail to the actual folder you want to map:
web use DLetter: PATH /PERSISTENT: YES
The chosen drive will now be mapped inside Windows 11 and it ought to now present up within the File Explorer.
Method 4: Using PowerShell
Use the information beneath to simply map a drive inside PowerShell as a substitute.
- Press
Windows + Sin your keyboard and seek for PowerShell. Click on ‘Run as administrator’ as soon as it exhibits up in your search outcomes.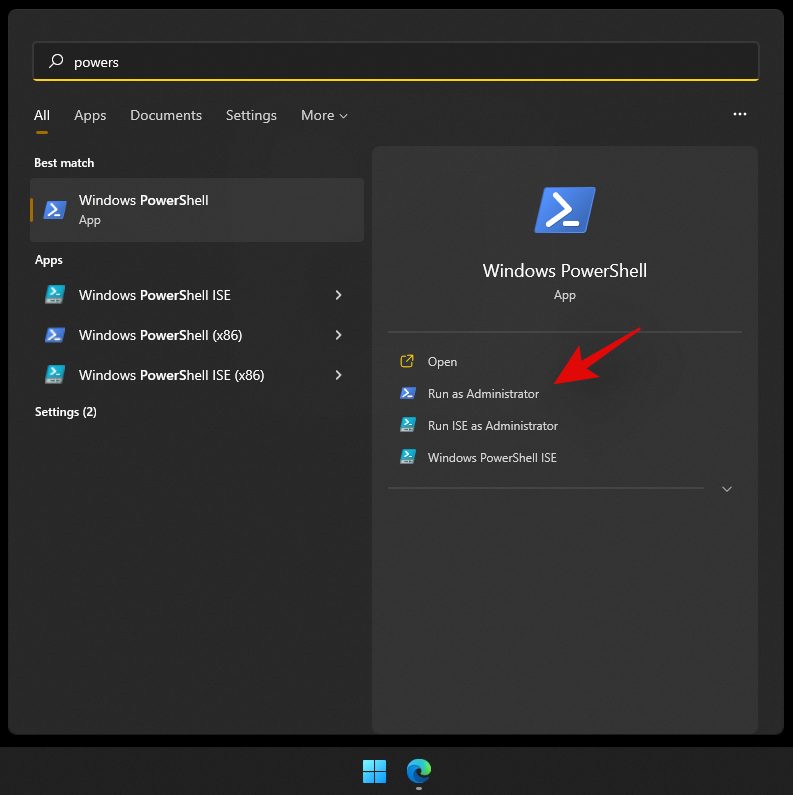
- Now sort within the following command and press Enter in your keyboard to execute it. Replace DLetter with the assigned letter of the involved drive and substitute PATH with the trail to the folder you want to map:
New-PSDrive -Name "DLetter" -PSProvider "FileSystem" -Root "PATH" -Persist
- The chosen drive and site ought to now be mapped inside Windows 11. Open the File Explorer and the drive ought to now seem inside This PC.
Method 5: Map a drive for all customers directly
If there are a number of customers in your pc that additionally require entry to the shared drive, it’s rather more handy to map a drive for all customers directly. To accomplish that, we’ll first must create a batch (.bat) file. Here’s how to take action:
- Press Start, sort notepad, after which open it.

- Then sort the next command:
web use * "serverfiles" /p:sure
Make positive to interchange ‘server’ with the network identify or the IP deal with of the consumer who’s doing the sharing, and ‘files’ with the folder, drive, or file that you simply need to map.
- Then click on on File within the prime left nook.

- Select Save as.

- Choose a location to save lots of and provides the file a reputation. Then change the file extension from .txt to .bat.

- Then choose All information from the “Save as type” drop-down menu.

- Then click on on Save.

- Once saved, go to the situation and duplicate this .bat file.

- Now, press
Win+Rto open the RUN field. Now sort the next:shell:widespread startup
And click on OK. - This will open the startup apps folder. Paste the .bat file right here by urgent
Ctrl+V, or right-clicking and deciding on the Paste button.
- When prompted, click on on Continue.

From now on, whichever consumer logs on to your system will routinely hook up with the network drive as talked about within the script.
How to search out the trail of a mapped network drive
You can simply get the total UNC path to your mapped network drive using one of many guides beneath. Follow the one which most accurately fits your present must get you began.
Method 1: Using CMD
- Press
Windows + Sin your keyboard and seek for CMD. Click on run as administrator as soon as it exhibits up in your search outcomes. - Enter the next command and press Enter in your keyboard:
web use
- You will now get a listing of all of the network units related to your PC for the present consumer account. Your mapped network drive may even present up on this checklist, with its full UNC path talked about in your display.
Method 2: Using PowerShell
- Press
Windows + Sin your keyboard and seek for PowerShell. Click on ‘Run as administrator’. - Now enter the next command and press Enter in your keyboard to execute it.:
Get-WmiObject Win32_NetworkConnection | ft "RemoteName","LocalName" -A
All the network drives presently accessible by your PC and consumer account ought to now be out there in your display with their UNC paths as effectively.
How to disconnect a Mapped Network Drive
Once your online business with the shared network drive is completed, it is best to disconnect and unmap the network drive. Doing so is a cinch. Here’s how to go about it:
Method 1: Using File Explorer
- Open File Explorer by urgent
Win+E. Right-click on the mapped drive and choose Disconnect.
- Alternatively, click on on the three-dot icon within the toolbar above.

- Then choose Disconnect network drive.

- Then choose the mapped drive and click on OK.

The network drive will now be unmapped.
Method 2: Using CMD
- Open an elevated instance of the command immediate.

- Then sort the next command:
web use z: /Delete
Replace ‘z’ with the network drive’s letter.
- Then press Enter

- If you’ve got a number of drives mapped, sort the next to disconnect all of them:
web use * /Delete
Then hit Enter.
Quick tip: If you get an error message saying that “There are no entries in the list”, attempt operating the command immediate with out administrator privileges. - When prompted, sort Y.

- Then hit Enter.

Your mapped network drive will now be deleted. You can use these instructions within the PowerShell terminal as effectively. Also, if you happen to aren’t receiving any entries with the elevated PowerShell, attempt operating PowerShell with out administrator privileges.
I’m unable to map a network drive in Windows 11
There is a standard registry repair that appears to get network drives engaged on nearly each system regardless of the difficulty that you’re dealing with.
Map a drive first using any of the strategies given above. When that isn’t working, use the registry editor repair given beneath.
In the information beneath, we speak about creating a brand new registry worth in your PC that ought to aid you simply map network drives with none points.
- Press
Windows + Sin your keyboard and seek for Regedit. Click and launch the app as soon as it exhibits up in your outcomes.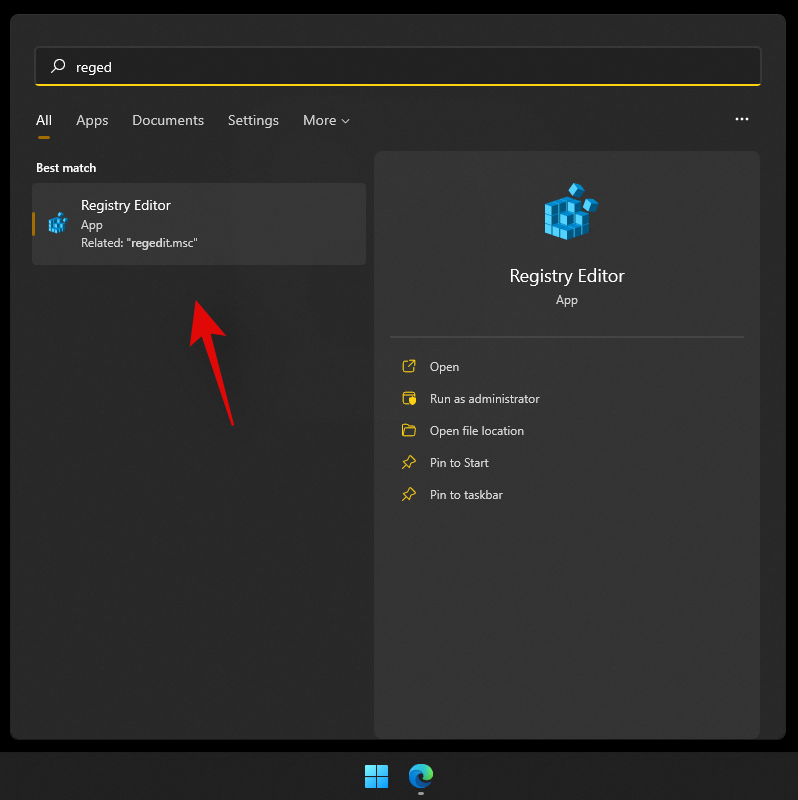
- Navigate to the next path given beneath. You may also copy-paste the identical in your deal with bar on the prime:
ComputerHKEY_CURRENT_USERNetwork
- Your drive ought to be listed underneath ‘network’ denoted by its drive letter. Click and choose the drive letter folder and hit delete in your keyboard.

- Click on ‘Ok’ to verify your alternative.

- Navigate to the next path given beneath:
HKEY_CURRENT_USERSOFTWAREMicrosoftWindowsCurrentVersionExplorerMap Network Drive MRU
- The registry values you discover for mapped network drives on this location will probably be completely different relying in your system, configuration, and mapped drive. Find any string worth related to the beforehand mapped drive in your system and hit delete in your keyboard. Click on ‘Ok’ to verify your alternative and delete these values.

- All earlier registry values that might battle along with your present setup ought to now be eliminated. Simply restart your system and use one of many guides above to map a network drive to your system once more.
- Once executed, launch registry editor once more and navigate to the trail given beneath. Replace DLetter with the drive letter of the drive you latterly mapped to your PC:
HKEY_CURRENT_USERNetworkDLetter
- Click and choose the drive letter in your left and now right-click on the empty space in your proper and choose ‘New’.

- Now choose ‘DWORD (32-bit) value’.

- Enter ‘ProviderFlags’ because the ‘Value Name’ and set the ‘Value data’ to ‘1’.

- Click on ‘Ok’ now.

- Restart your system for good measure.
And that’s it! The chosen drive ought to now be mapped to your system with none points.
Have a query? Let us know within the feedback beneath.
Check out more article on – How-To tutorial and latest highlights on – Technical News