How To Upgrade Your Laptop With An SSD?.
Upgrading your Hard Disk Drive (HDD) with a Solid-state Drive (SSD) is an effective way to spice up its efficiency.
Replacing the drive is an easy activity. All you want is a screwdriver and a few easy prying instruments.
To improve your laptop computer with a brand new SSD, first, buy a appropriate SSD that matches. Then, open the back panel, take away the outdated drive from its slot, and insert the brand new SSD. Let’s focus on it intimately.
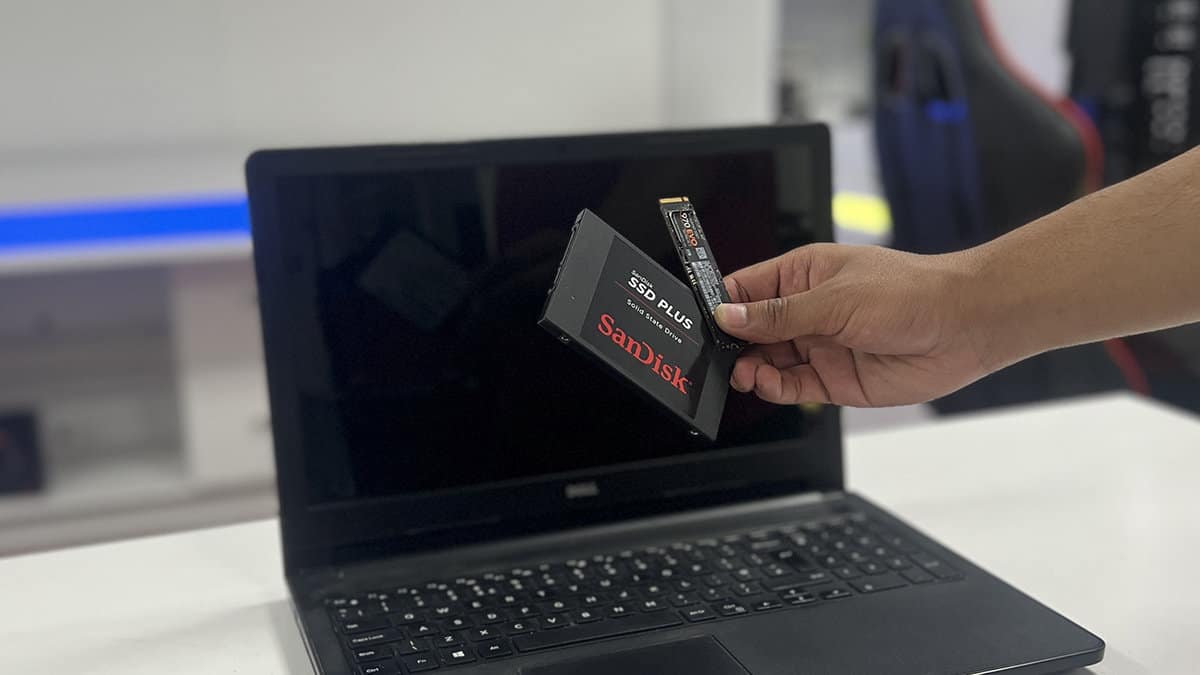
Get a Compatible Drive
SSDs are available in a number of differing types, and your laptop computer could solely help one in every of them. So test your laptop computer specs earlier than shopping for the brand new storage drive.
If you’re going to change your onerous drive with an SSD, you might wish to get a 2.5” SATA SSD.
But in case your laptop computer has an M.2 slot, you want an M.2 SSD. It additional comes as an NVMe SSD or M.2 SATA SSD.
Open the Laptop’s Panel/Slot
Get some prying instruments (clips or spudgers with a skinny tapering edge), and a appropriate Philips-head screwdriver. Then, begin by opening the laptop computer with the steps beneath:
Note: Avoid touching the digital elements contained in the laptop computer together with your naked fingers to stop any types of injury on account of electrostatic discharge.
If it’s a must to, use an anti-static wrist band to floor your self. Or you’ll be able to sometimes contact a big steel floor to discharge any built-up static electrical energy.
- Make certain the laptop computer is powered off and take away its battery. Press and maintain the facility key for a number of seconds to empty any extra cost.

- If your laptop computer has an built-in battery, search for a reset PIN gap and press the pin for a number of seconds. Some laptops have a BIOS choice to disable the built-in battery, so you’ll be able to search for it by getting into the BIOS as nicely.

- Now, unscrew and open the related slots/plates with the assistance of a prying software to entry the storage drive. Make certain to look contained in the rubber toes or stickers for added screws. The steps could fluctuate relying in your device, akin to:
- On our office’s ASUS F510U laptop computer, I needed to take away all the back panel.

- On my Dell Inspiron 3545 laptop computer, I even needed to take away the keyboard panel and loosen the screws inside. If your laptop computer is comparable, make certain to unlock and detach the keyboard’s ribbon cable as nicely.

- For different laptops, just like the HP Pavilion G6, eradicating the slot cowl for the drive was sufficient.

- On our office’s ASUS F510U laptop computer, I needed to take away all the back panel.
- If you see any cable for an inner battery, detach it as nicely.


The precise steps to open the laptop computer fluctuate for various fashions. So try the official person handbook or test the disassembly movies should you encounter any points.
Replace the Storage Drive with an SSD
Now, change the unique storage drive with a brand new SSD of an identical sort/type issue. Follow the steps beneath relying on the kind of the drive:
Replacing With a SATA SSD (2.5”)
- Unfasten all of the screws holding the outdated onerous drive or SSD in place. Make certain to recollect the place they go, particularly if there are screws of various sizes. Some gadgets, like HP Pavilion G6, could use rubber padding to safe the disk in place as an alternative.

- If your laptop computer has a hard and fast SATA connector, slide out the drive (with its bracket) up and away from the connector’s finish to take away it.

- For laptops with no fastened SATA connector, elevate up the outdated storage drive, maintain the SATA connector, and pull out the drive. Make certain to not maintain onto the cables to stop any breaks.

- If essential, unscrew the disk from the bracket or enclosure and fasten the brand new SSD drive inside it using the identical screws.

- Connect the SSD to the SATA connection whereas correctly aligning the facility and knowledge connectors. Then, match the SSD in place. For a hard and fast SATA connector, merely slide within the SSD and screw it tightly.

- Reassemble your laptop computer by reversing the disassembly course of. Make certain to screw each element correctly.


If you’ve got a CD/DVD author in your laptop computer that you simply not use, you’ll be able to take away it and set up a tough drive caddy as a substitute. Then use your outdated HDD/SSD with this caddy to extend your storage.

If you’re going to give away the onerous drive, make certain to wipe its contents repeatedly to scramble its knowledge for safety functions.
If you wish to throw it away as an alternative, it’s higher to destroy it altogether.
Replacing M.2 NVMe or M.2 SATA SSD

- Unfasten the screw on one finish of the outdated NVMe/M.2 SATA SSD.
- Lift the SSD barely and pull it out rigorously.
- Fully insert the brand new SSD in its slot. Make certain that the connection is safe.
- Screw the SSD in place.
- Then, reassemble your laptop computer by reversing the disassembly course of.
Check out more article on – How-To tutorial and latest highlights on – Technical News