GPU Sag: How To Prevent It?.
Sagging is widespread with heavy graphics playing cards, particularly these masking three or 4 slots. It’s not simply aesthetically unpleasing, it will probably even result in VRAM failure or injury the motherboard’s PCIe slot in the long term.
I perceive that you simply’ve accomplished all the things proper on the set up part. The factor is – each GPU can sag and it turns into a main concern provided that it’s too noticeable. Luckily, this may be mitigated with little or no bother.
You’ll discover devoted brackets and help frames to forestall GPU sag. But the cheaper possibility could be adopting a DIY answer.
So, why take the chance when you’ll be able to make investments a couple of bucks or just some minutes to forestall this drawback?
Try These Basic Things First
- Since poor set up is among the predominant culprits, guarantee you’ve fitted each screw. A good suggestion is to raise the cardboard to the fitting peak earlier than screwing them in.

- When the PSU-to-GPU connection is finished from the underside, the PCIe cable will pull the cardboard downwards. strategy is to handle the cable in such a means that the cable comes from the highest, pulling it upwards.

- The graphics card tab that goes into the PCIe bracket is usually unfastened and with even a easy wiggle, your GPU sags an excessive amount of.
In such a case, Jaytwocents’ concept to screw the alternative facet of the bracket guaranteeing the cardboard doesn’t transfer is a good strategy. But do notice that this answer is solely related for the supported PC circumstances.


In extreme conditions, the essential measures additionally don’t assist and this requires a correct anti-sag answer. But earlier than selecting a product on-line, going for a DIY answer is at all times a greater concept.
Insert Multiple PCIe Slot Brackets
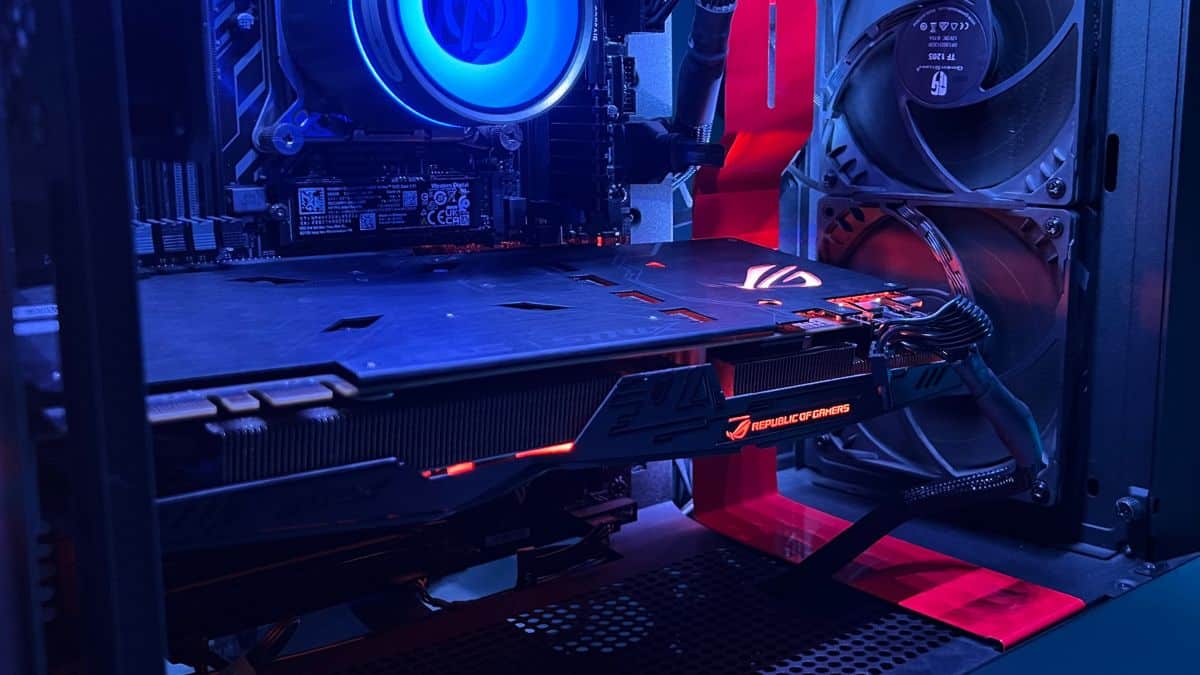
Modern graphics playing cards are designed with a backplate that considerably prevents the sagging problem.
Some also have a steel bar that’s immediately mounted to the heatsink, offering sturdy help to deal with the heavy weight:

However, the older and low-end GPUs aren’t completely secured. In this state of affairs, the eliminated and unused PCIe slot brackets (adjoining to the ports) will be reinstalled simply beneath the graphics card.
All you need to do is break the tabs, mount two/three brackets, and screw them in. The sag will considerably cut back.
You may even get assist from Jaytwocents’ video on how to do it the fitting means.
Tie a Fishing Line
The above step received’t work for PC circumstances that don’t help screwing the brackets or if the card has a steel bar beneath.
Instead, use a fishing line or a string/wire of applicable size that’s robust sufficient to deal with the graphics card’s weight.
The concept is to tie one finish to the sagging part (a vent would do) and one other someplace on high of the case.
This means, the string pulls the GPU upwards, stopping it from sagging.
Place Legos or Props
The predominant problem with a fishing line is that it’s clearly seen, which can destroy the aesthetics. So, a greater different is to make use of props that may raise the GPU barely upwards.
Legos are one other widespread alternative amongst fans. They don’t simply assist forestall sagging however even make your setup look cool.
Build a DIY Stand

Even if you happen to don’t personal a prop or Lego, it’s fully superb! Some helpful instruments I’ve come throughout embody a pencil, chopstick, piece of wooden, canine’s military belt, and so forth.
The solely factor you could guarantee is the size from the cardboard to the PSU shroud.
The one which I’m presently using is a screwdriver deal with. I’ve wrapped it with black digital tape to match the case’s aesthetics.
Purchase an Anti-Sag Product
DIY stands are quickly helpful, however they’ll break or slip, which occurs to be a significant problem. For a more dependable possibility, you’ll be able to go for any anti-sag product accessible on-line.
One with a telescopic screw design is anti-slip and has a magnetic suction to carry the GPU correctly. Also, it will probably mix with both your black or white PC case, making it unnoticeable.

Another in style product is an iron spanner that holds a number of GPUs! Similarly, you’ll find brackets that provide RGB help for higher aesthetics.
Just ensure you analysis nicely and look into a number of critiques to grasp your wants. Most of those products aren’t pricy and may come from $10 to a most of $30.
Note: Most 40-series graphics playing cards and a handful of high-end circumstances come prepackaged with an anti-sag bracket. Such playing cards even have high-quality backplates that forestall the GPU’s PCB from bending or inflicting injury.
Mount GPU Vertically
For the ultimate possibility, you received’t require buying any anti-sag answer nor do you could create a DIY product.
However, you’ll require a riser/extension cable and a vertical mounting bracket. Once the setup is finished, join your GPU to the motherboard.
In a horizontal setup, the complete stress was on the PCIe slot, which precipitated the fitting finish to sag. With the vertical mount, the graphics card weight is nicely supported and there received’t be any sagging!
Also, the graphics card followers keep proper in entrance of your eyes, making your rig aesthetically pleasing.
Do notice that this could abrupt the general airflow of the PC case and may even overheat your GPU.
So, you’ll have to take additional care to keep up the stress contained in the chassis and keep checking the general temperature.
Should You Be Concerned?
Don’t go for the parable that GPU sags aren’t unhealthy. For anybody who’s trying to future-proof their PC, GPU sag is positively regarding!
The main trigger is the poor design of graphics playing cards that may solely help the load on the I/O panel finish. While that a part of the cardboard is lifted upwards, the opposite finish sags (generally to an excessive level).
When this occurs, you may face one of many following penalties in the long term:
- While it’s a uncommon case, the GPU connection could loosen, resulting in frequent crashing.
- If the PCB is poorly designed, the PCIe contact pins can severely be broken. The worst-case state of affairs is for the slot to tear off completely from the motherboard.
- In uncommon circumstances, some poorly designed graphics playing cards’ PCBs could get bent. This can desolder the VRAM chips — not instantly however attributable to repeated heating and cooling in the long term (thermal biking).
- Note that even poorly mounting a graphics card can result in such a problem. KrisFix, knowledgeable repairman has defined how GPU sag broke a 2080Ti. He needed to get into 12 layers of PCB to repair it.
Check out more article on – How-To tutorial and latest highlights on – Technical News