
5 Ways to Password Protect Files and Folders in macOS.
Trying to determine how to password defend your information & folders in macOS?
Security is without doubt one of the key facets that Apple is basically happy with in the case of their working techniques like iOS and macOS. Compared to their competitors, Apple products have more strong safety in opposition to hackers and viruses.
In context, macOS not often suffers from any malware or viruses and is much less susceptible in comparison with Windows. While Apple’s safety is nice, it’s nonetheless important that you just add further safety to your information and folders simply to be protected.
macOS has a function that permits their customers to set a password to their information and folders that they want to keep others from accessing.
If you want to understand how to password defend your information and folders in macOS, keep studying. 🙂
In this information, we’re going to present you other ways on how to safe your folders and information on macOS.
Let’s get proper into it!
How to Set a Password for Folders in macOS.
You can password defend a folder and its content material on macOS by including it to a secured image using Disk Utility.
This manner, the unique folder would stay untouched which you’ll be able to delete later after creating the secured image.
Check out the steps under on how to arrange a password-protected image using Disk Utility:
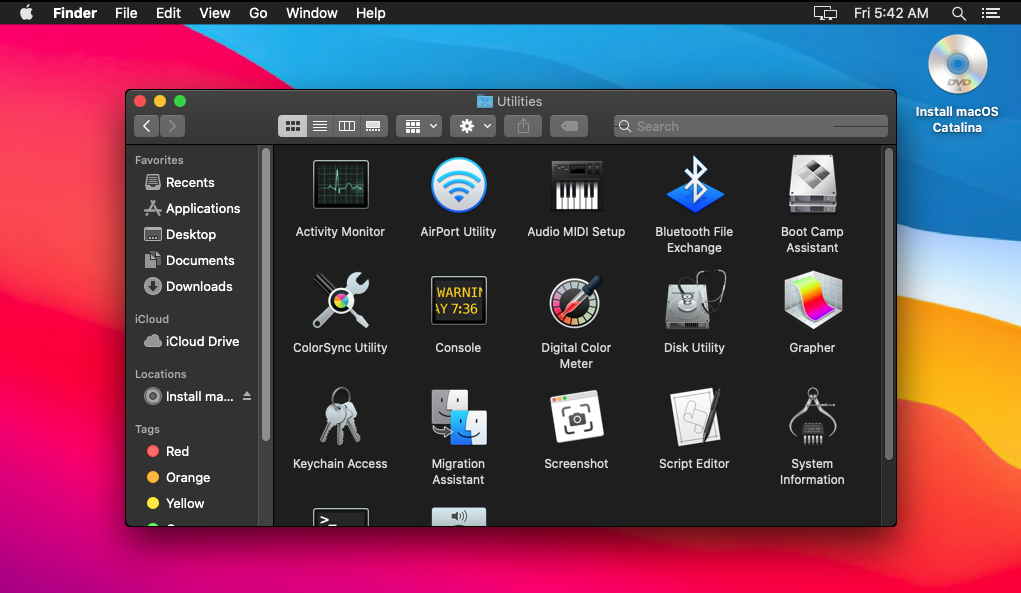
- First, open Finder in your Mac and click on on the Applications tab from the facet menu.
- After that, click on on Utilities and open Disk Utility.
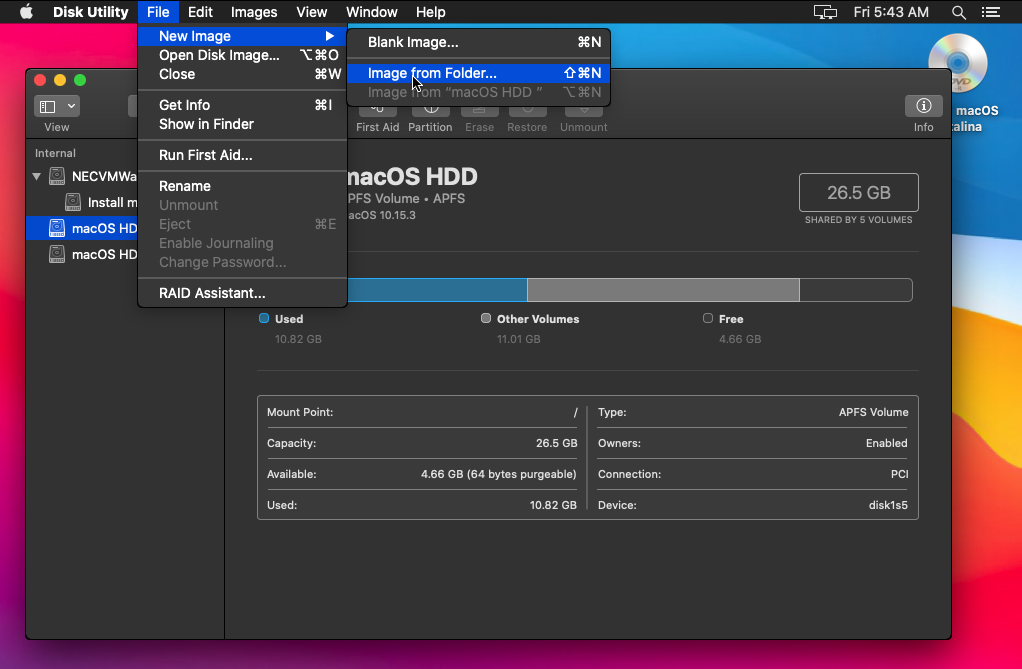
- Inside the Disk Utility, click on on File.
- Hover your cursor to the New Image tab and click on on Image from Folder.
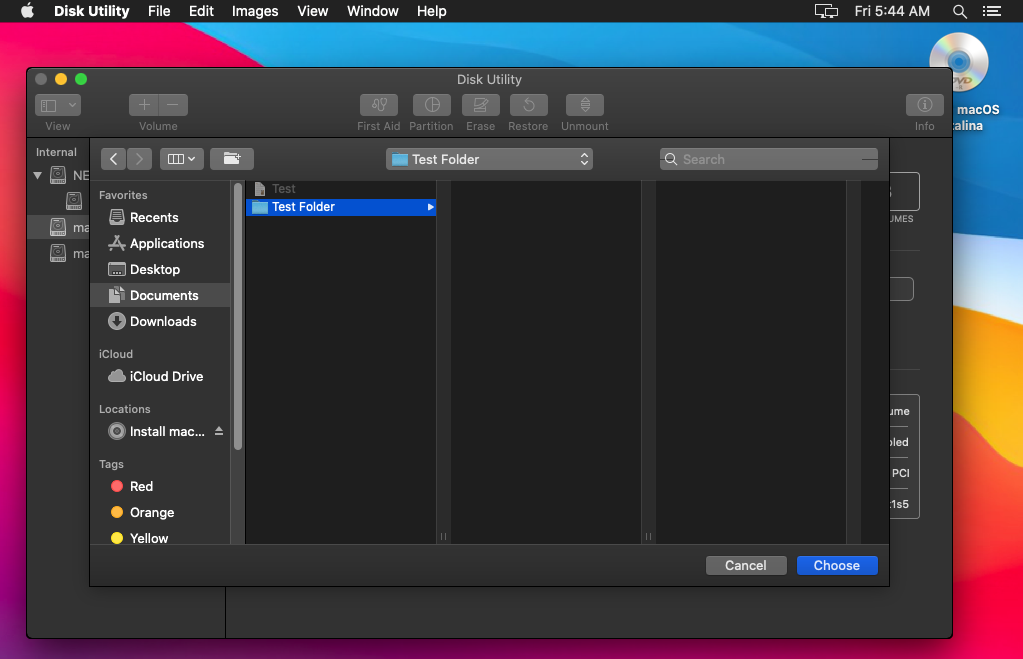
- Now, choose the folders you want to password defend and click on the left arrow button so as to add it to the listing.
- After selecting all of the folders, click on on Choose.
- Next, choose ‘128-bit AES Encryption’ from the Encryption tab and enter your most popular password.
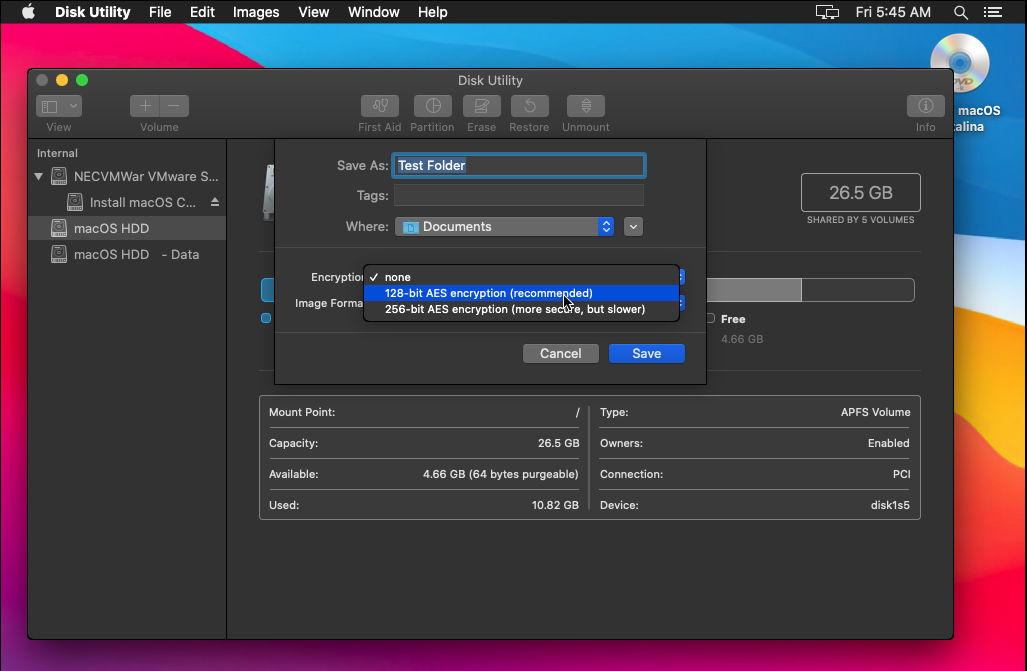
- Finally, click on on Choose and look forward to the method to finish.
Now, you may delete the unique copy of the folders that you’ve got included on the secured image file.
Alternatively, you should utilize third-party purposes like Encrypto, which you’ll find within the App Store.
With Encrypto, you may lock your treasured information with a easy drag and drop perform, which is more handy in comparison with the process above.
However, in case you are not snug storing your confidential information and folders on third-party purposes, we propose that you just persist with the tactic above.
How to Secure Files on macOS.
When it involves information and different paperwork, the process for locking your information could range relying on the file sort.
Check out the information under on how to safe completely different information on macOS.
Secure Documents on macOS.
There are two methods on how to safe or lock a doc on macOS. One is whereas the doc is closed, and the opposite is whereas it’s open.
To lock a doc when it’s open, comply with the steps under:
- First, click on on the drop-down button situated on the middle of the title bar.
- Next, click on on the Locked choice on the decrease proper nook.
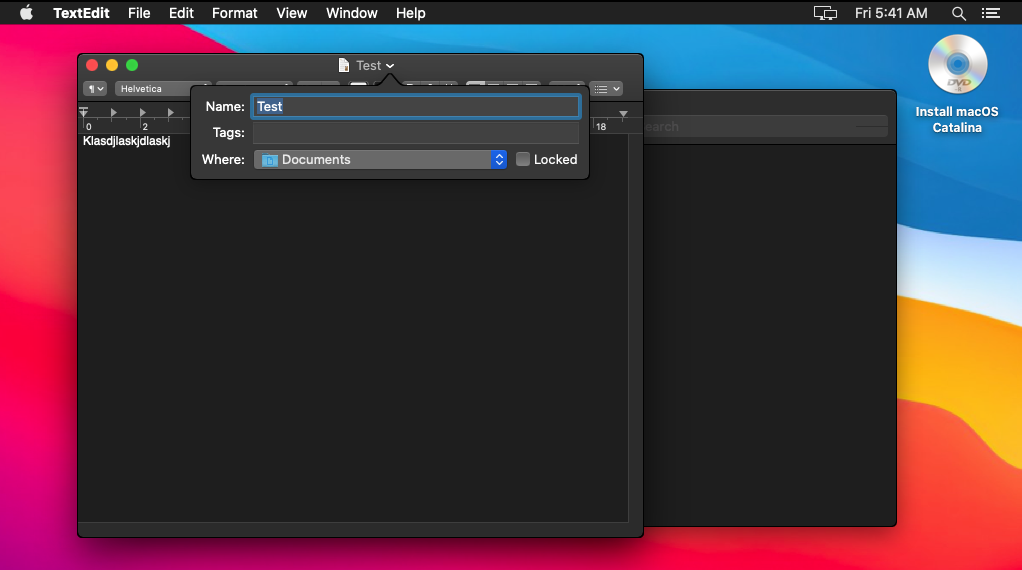
- Finally, a checkmark would seem on the field beside the choice whether it is already locked.
On the opposite hand, if you wish to lock a doc whereas it’s closed, try the steps under:
- On your Mac, navigate to the placement of the doc you want to lock.
- After that, right-click on the doc and choose Get Info.
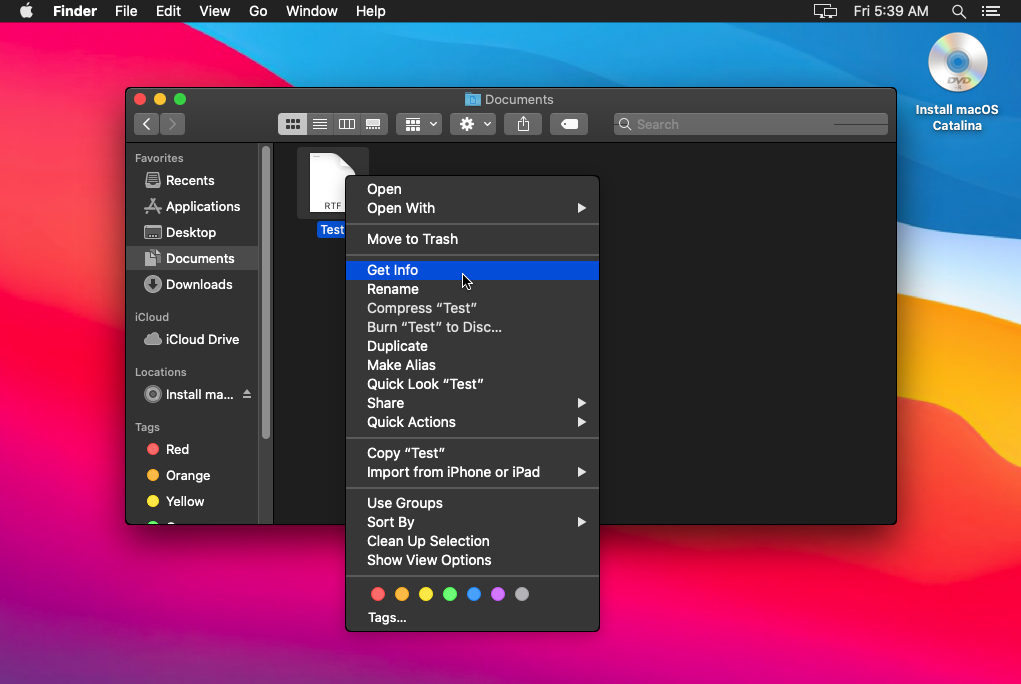
- Finally, click on on the Locked choice to allow it.
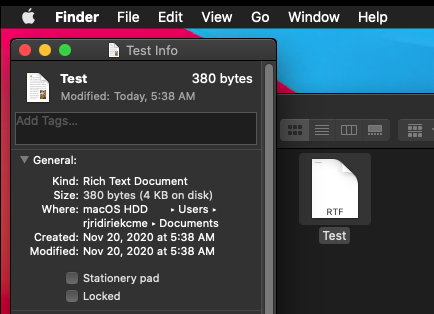
Now you gained’t be capable of make any adjustments to the doc whereas it’s locked.
Secure Notes on macOS.
If you might be somebody who tends to neglect passwords or have many person accounts, there’s a risk that you just use notes to maintain monitor of them. This might be very dangerous, particularly for monetary accounts.
Thankfully, Apple provides its customers the choice to lock their notes with delicate or confidential content material.
With this, any try and open notes which are locked would require a password to realize entry.
The steps under will information you thru the method.
- First, open Notes and entry the actual be aware that you just want to lock.
- After that, click on on the Lock button from the menu bar.
- Next, click on on Lock Note.
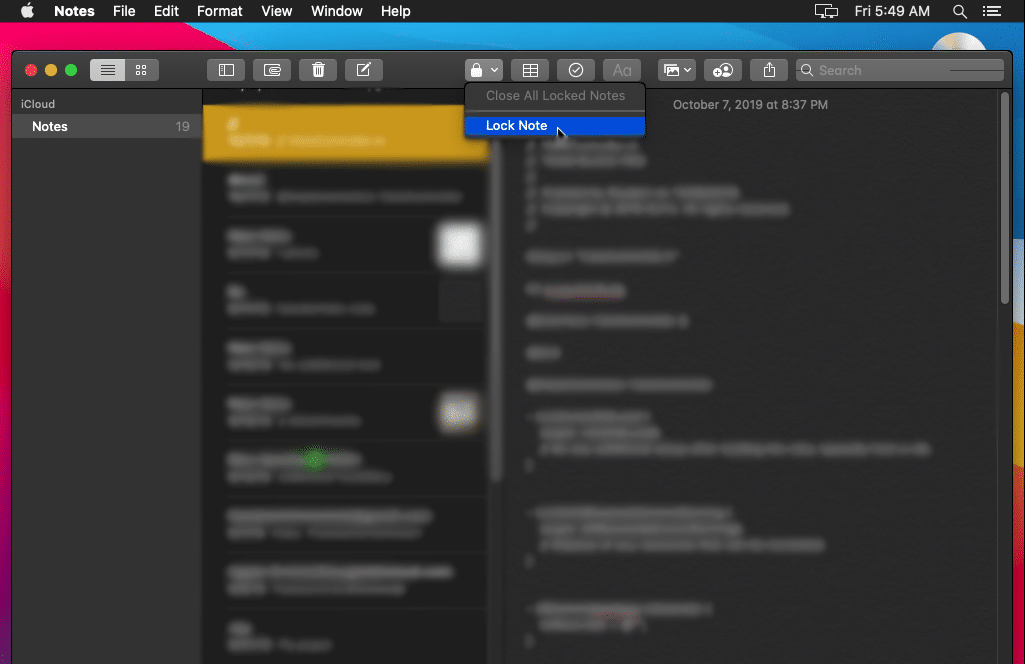
- Finally, nominate your required password and hit the Set Password button to avoid wasting the adjustments.
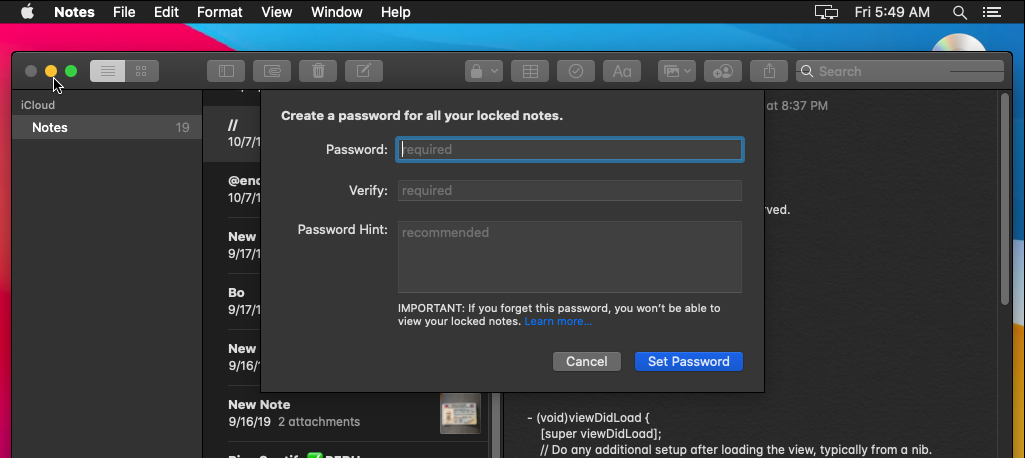
Now, attempt to entry the be aware as soon as once more to confirm if the passcode is working correctly.
Secure PDF Files.
For the ultimate information, we’re going to present you the way to safe PDF information in your Mac by creating one other copy of the file with encryption enabled.
- On your Mac, entry the PDF file you want to safe.
- Inside the PDF, click on on the File tab and choose Export.
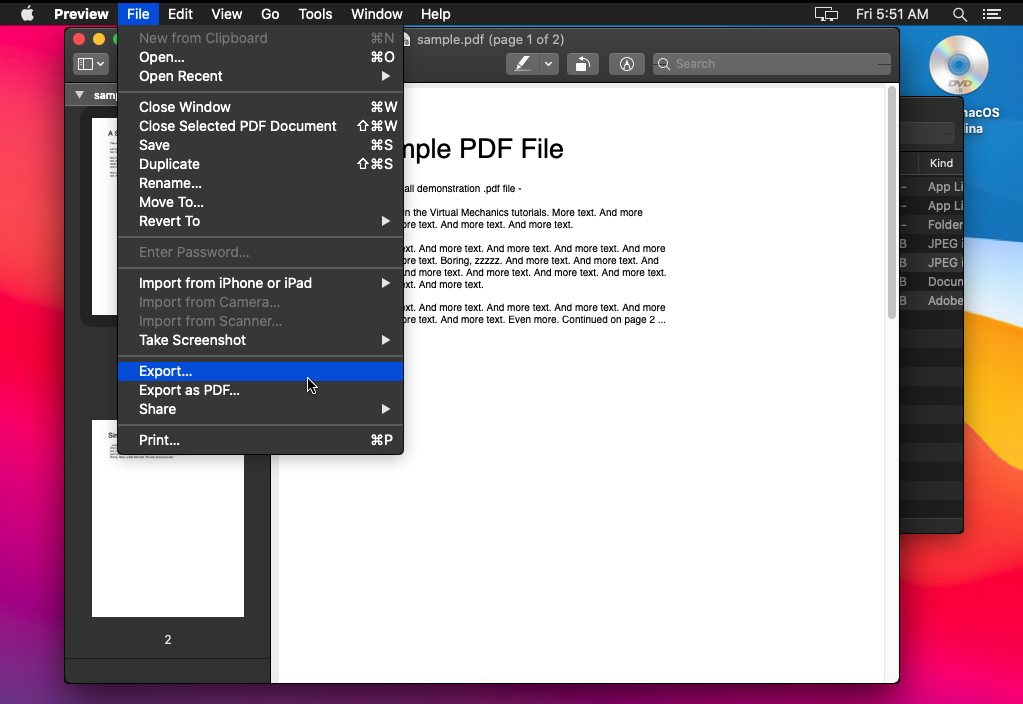
- After that, click on on the Encrypt choice to allow it.
- Lastly, set your required password and hit the Save button to create a secured copy of the PDF.
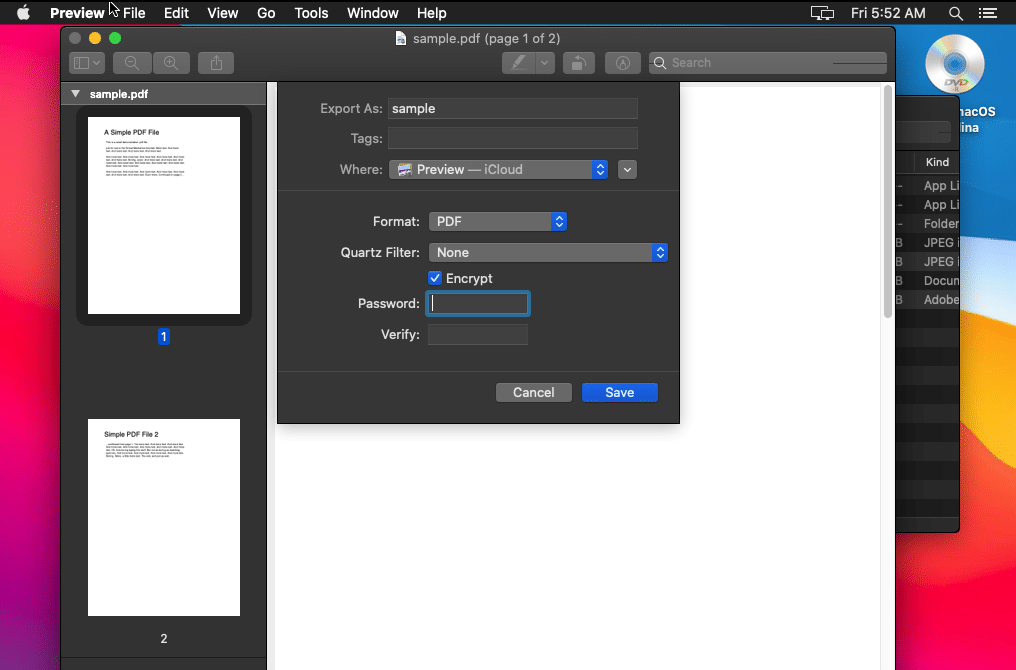
Once carried out, return to the placement of the PDF file and delete the copy of the file that has no encryption.
Hide Photos on macOS.
The Photos app on macOS has a function that means that you can hide photos in your Mac in order that it gained’t seem in your photostream.
This manner, if you wish to present an image in your Mac to another person, you might be assured that they gained’t see something that they shouldn’t whereas scrolling to the Photos app.
To hide a photograph in your Mac, comply with the information under.
- First, open the Photos app.
- Next, find the photos that you just want to hide.
- Finally, right-click on the picture and choose Hide Photo.
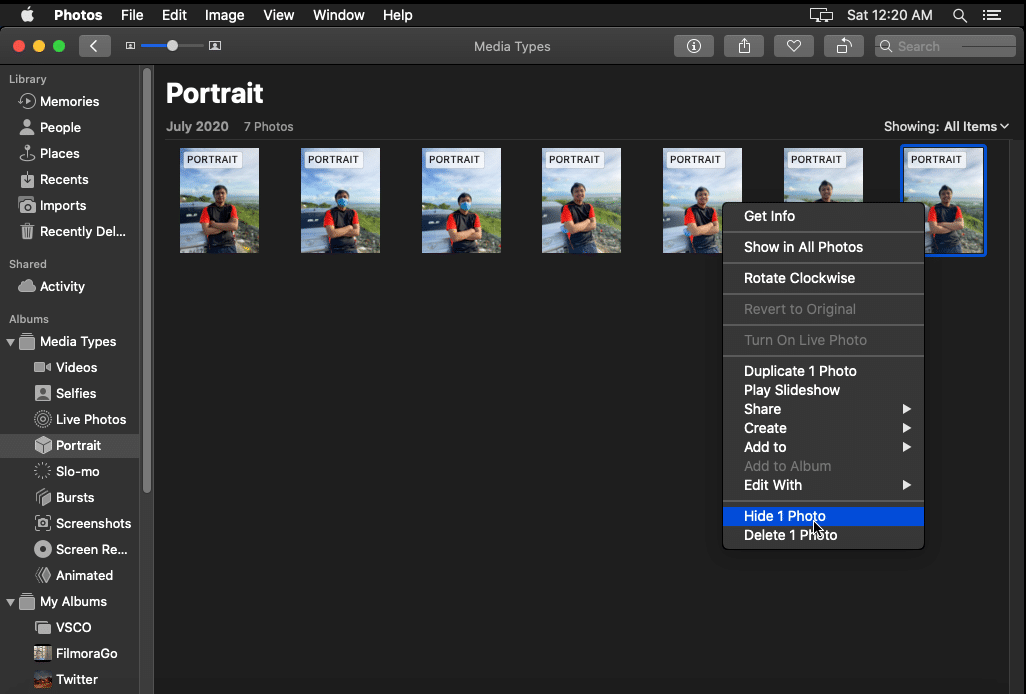
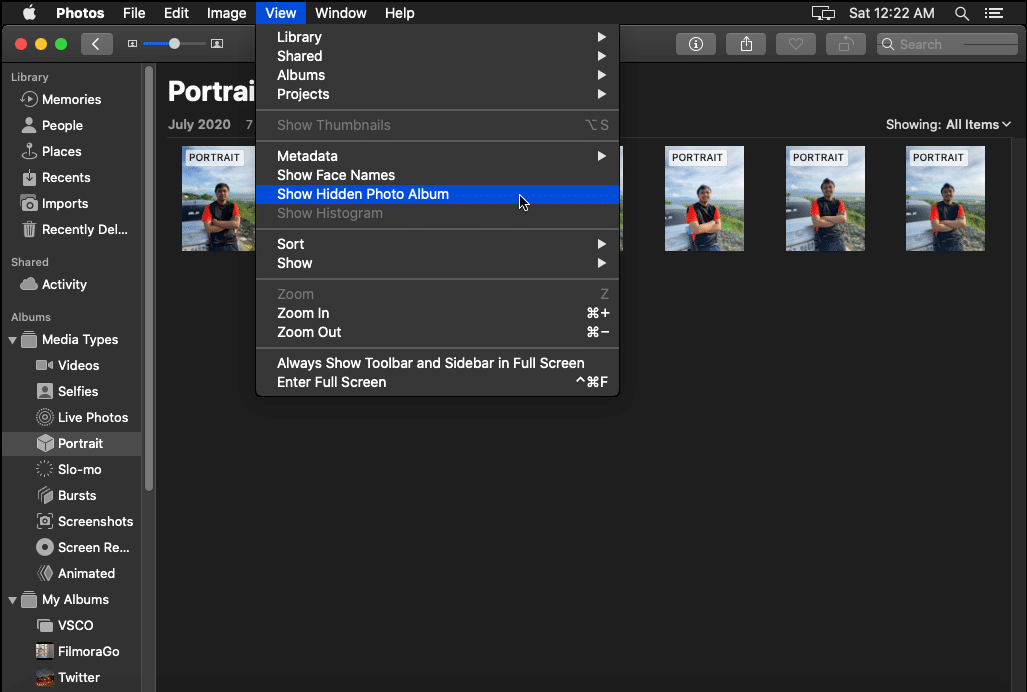
Now, to view the hidden photos on macOS, merely click on the View tab contained in the Photos app and click on on Show Hidden Photo Album.
This sums up our information on how to password-protect information and folders in macOS. If you may have issues and questions, go forward and depart a remark under and we might strive our greatest to reply them.
If this information helped you, please share it. 🙂

Check out more article on – How-To tutorial and latest highlights on – Technical News, Apple Products