How to Set Up and Use Locked Folder in Google Photos on iPhone.
Google Photos’ Locked Folder function has been out there on Android for what looks as if eternity, and whereas the corporate had stated it would roll it out to iPhones in 2022, it’s solely now that the function is beginning to roll out on iOS gadgets. So, you probably have been questioning how to make sure your private photos aren’t seen to anybody however you, right here is how to arrange and use Locked Folder in Google Photos on iPhone.
Note: Google has began rolling out Locked Folder to all iPhone customers, however the function would possibly take a while to be out there in your iPhone.
Set Up Google Photos Locked Folder
To arrange locked folder in your iPhone, simply observe the steps beneath:
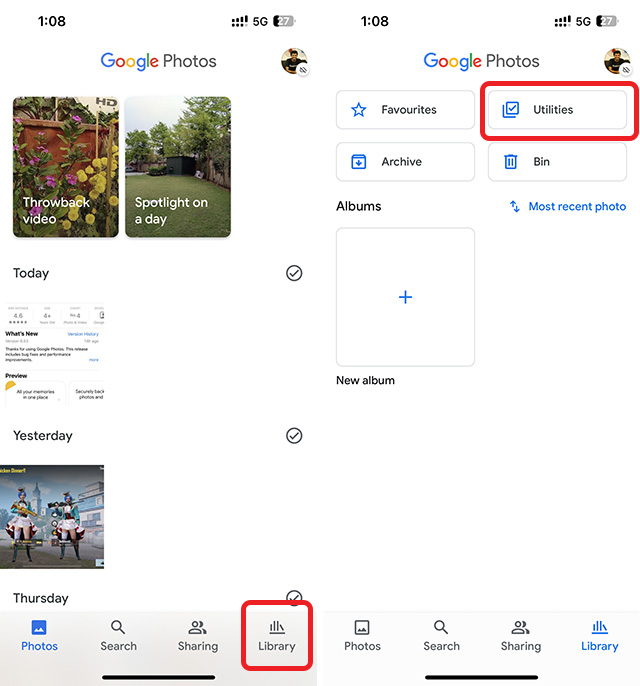
- Open Google Photos in your iPhone and faucet on ‘Library’ within the backside navigation bar. Here, faucet on ‘Utilities’
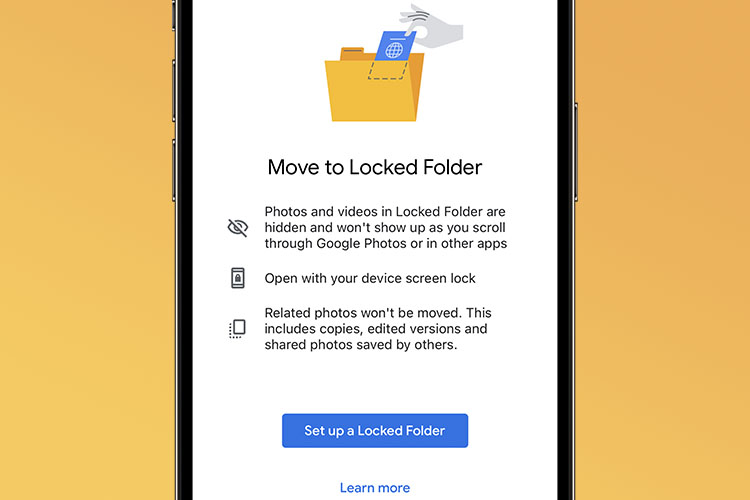
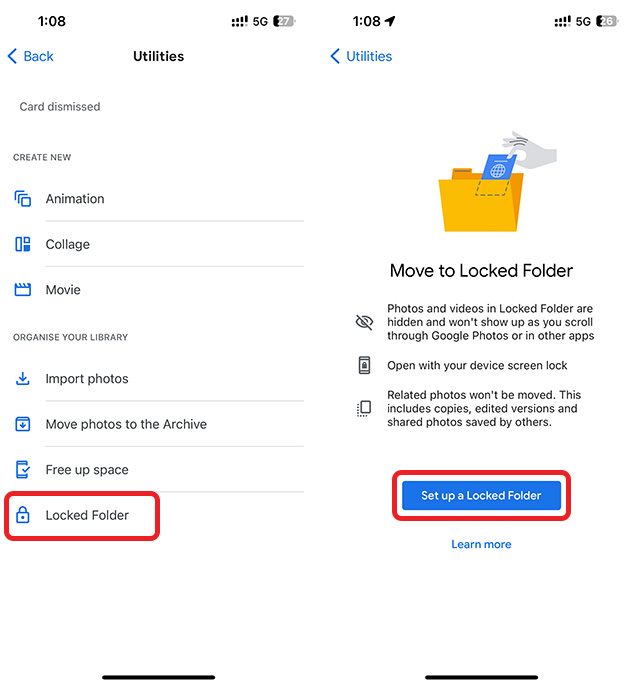
- Tap on ‘Locked Folder’ after which faucet on ‘Set up a Locked Folder’
- Allow Google Photos to make use of Face ID (or Touch ID) after which select whether or not you wish to back up photos inside your Locked Folder or not.
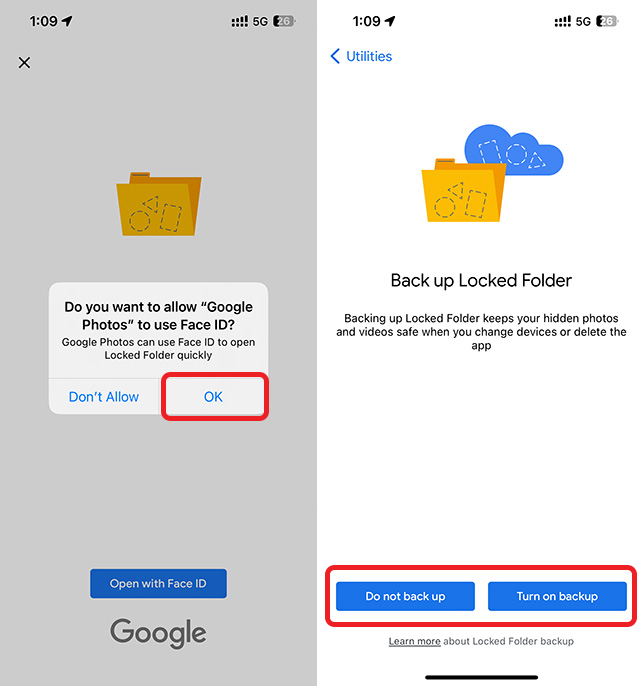
Note: Photos in Locked Folder are encrypted when backed up. If you allow back ups, it is possible for you to to entry these photos on different gadgets. However, should you select to not back up these photos, they are going to be solely out there in your iPhone.
That’s it, you have got efficiently arrange a Locked Folder in Google Photos. Now let’s see how one can add photos to your Locked Folder, and take away them if wanted.
Add Photos to Locked Folder
Open your Locked Folder (Library -> Utilities -> Locked Folder) after which observe the steps beneath.
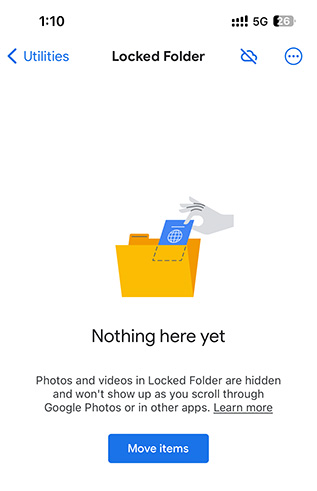
- If you haven’t added any photos but, you will note an enormous ‘Move items’ button contained in the locked folder. Just faucet on it.
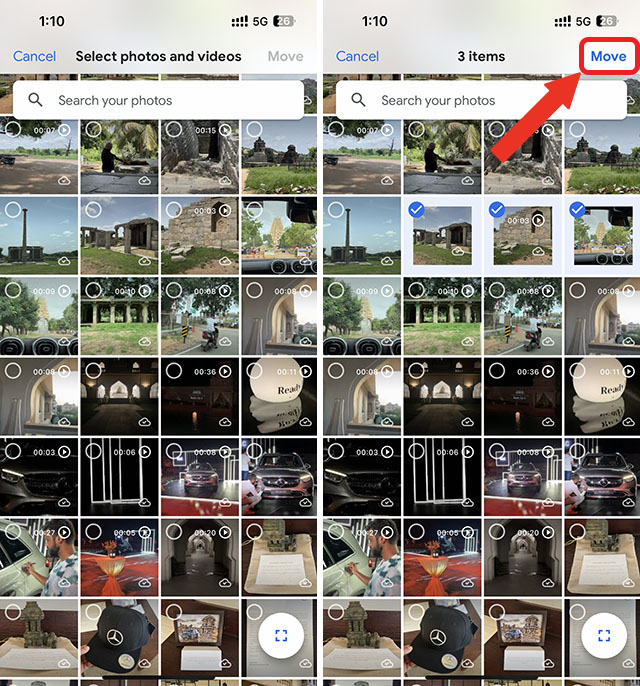
- Now, choose the photos you wish to hide and faucet on ‘Move’.
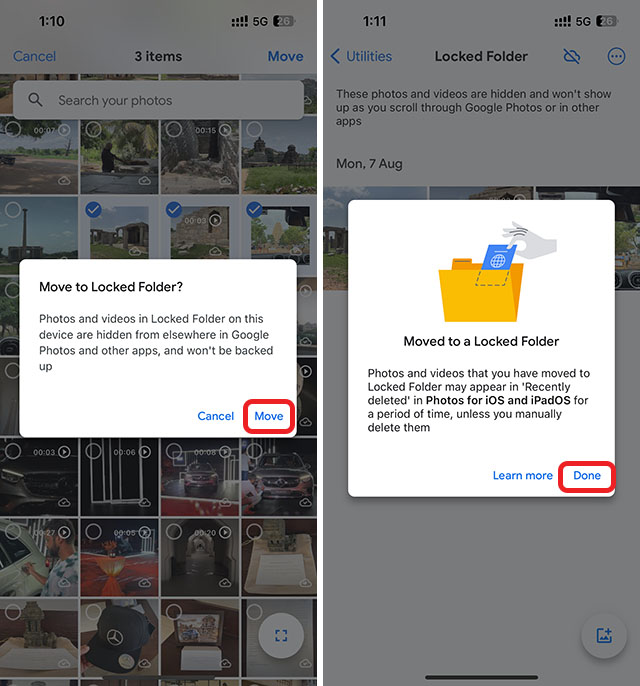
- Tap on ‘Move’ once more within the affirmation dialog field that exhibits up. Once the photos have been hidden, Google Photos offers you a affirmation pop-up; all you must do is faucet on ‘Done’
Alternatively, you should utilize the next steps so as to add photos to your hidden folder in Google Photos.
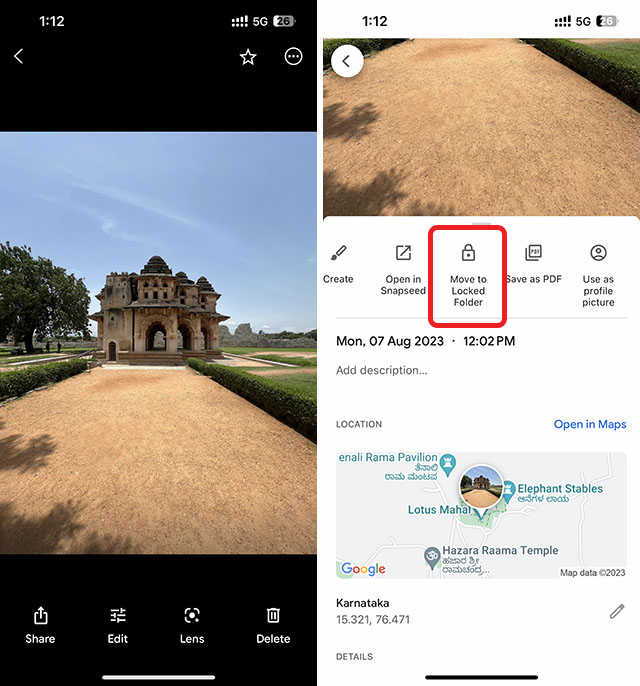
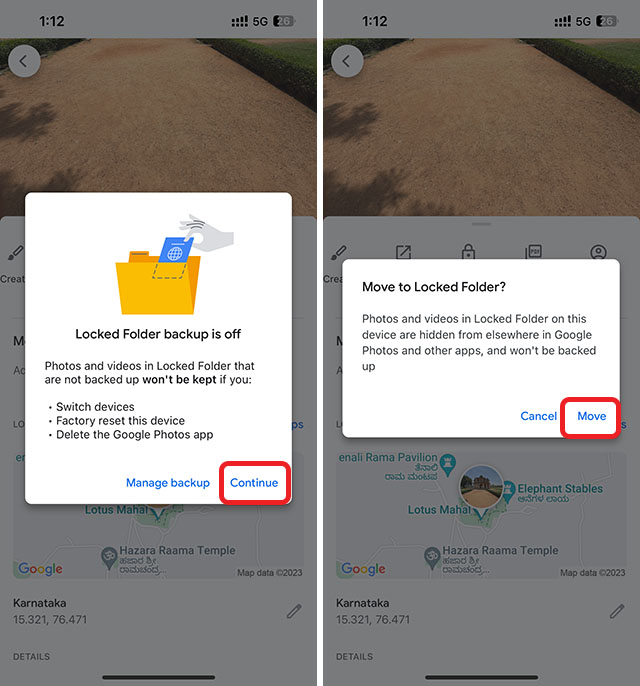
- Open the picture you wish to hide, and swipe as much as see sharing choices. Here, faucet on ‘Move to Locked Folder’
- Confirm your intention within the pop-ups which can be displayed, and that’s it. The picture will probably be moved to your Google Photos locked folder.
Remove Photos from Locked Folder
Whatever the explanation could also be, if you wish to take away any photos from the Locked Folder in Google Photos, simply open Locked Folder (Library -> Utilities -> Locked Folder), and observe the steps beneath:
- Select the photos you wish to “unhide”, after which faucet on ‘Move’. Confirm your intent within the dialog field that exhibits up, and that’s it.

Check out more article on – How-To tutorial and latest highlights on – Technical News