How do I Turn On Stolen Device Protection on iPhone.
Cases of iPhone theft have been on the rise just lately, with criminals using new and improved methods to entry stolen iPhones to allow them to be offered simply on the pre-owned market. With this surge in thoughts, Apple has now launched a brand new function, Stolen Device Protection, to assist shield your information and device in case of theft. Let’s discover out more about this function and the way you need to use it in your iPhone.
What is Stolen Device Protection?
Stolen Device Protection is a brand new safety function launched with iOS 17.3 beta (ought to be accessible as an update to the general public quickly) that after enabled, requires biometric authentication to carry out sure delicate duties in your iPhone, like viewing saved passwords, resetting the iPhone, or altering the passcode, along with the conventional passcode requirement. Additionally, this function accounts for the device’s present location and is simply lively as soon as the device is detected to be in a brand new location or a location you don’t usually go to.
This is very useful as current stories recommend that criminals are actually scoping out their targets earlier than stealing their iPhones to have the passcode at hand, making it simpler to unlock and promote gadgets on the used market. Thankfully, Apple has accounted for a similar, and Stolen Device Protection has now been launched to assist keep your information safe and forestall the resale of your stolen iPhone.
How do I activate and use Stolen Device Protection on iPhone
- Required: iOS 17.3 beta (as of December 13, 2023, however ought to be accessible for the general public underneath secure updates quickly)
Now that you simply’re accustomed to Stoeln Device Protection, right here’s how one can allow and apply it to your iPhone. Follow both information under that can assist you together with the method.
SHORT GUIDE
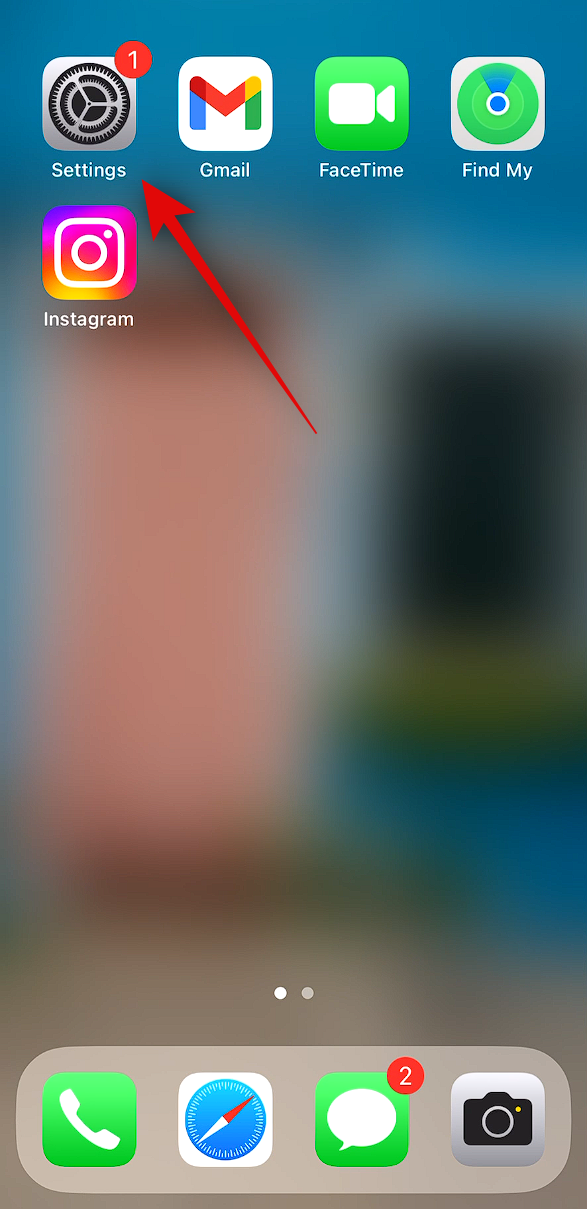
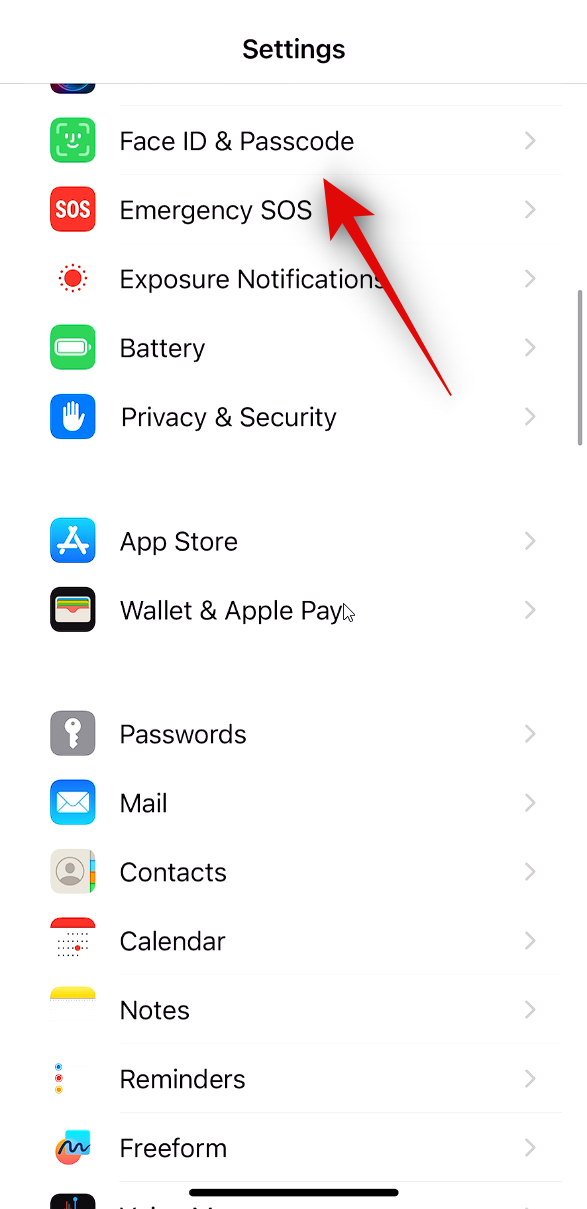
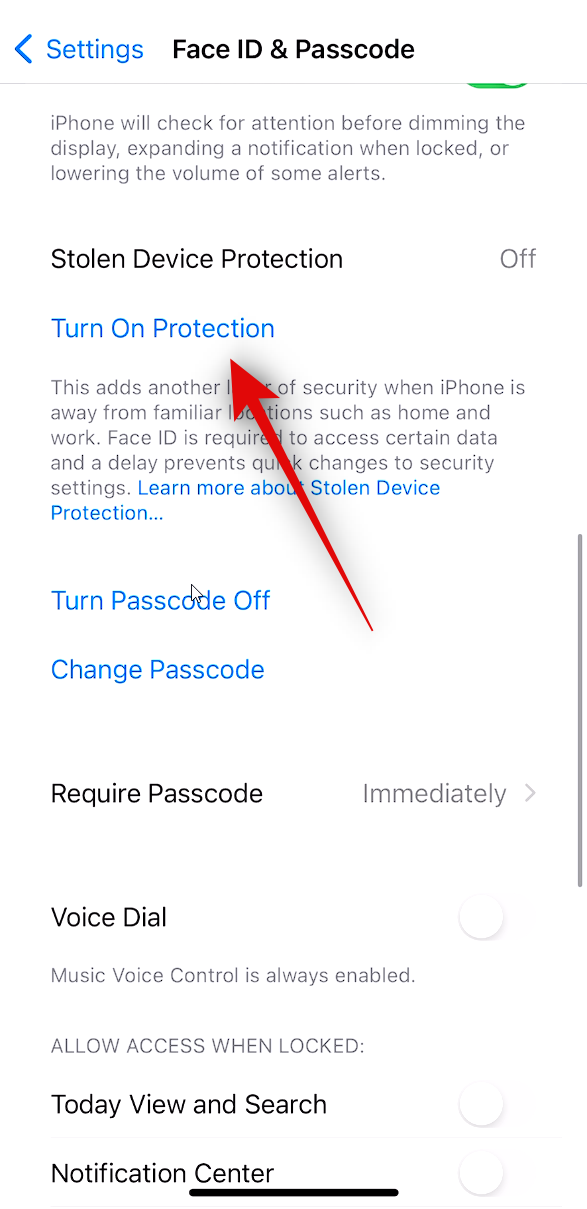
- Open the Settings app > go to Face ID & Passcode > choose ‘Turn On Protection’.
GIF GUIDE

STEP-BY-STEP GUIDE
Here’s a step-by-step information that can assist you simply allow Stolen Device Protection in your iPhone. Follow the steps under that can assist you together with the method.
- Open the Settings app and faucet on Face ID & Passcode.
-
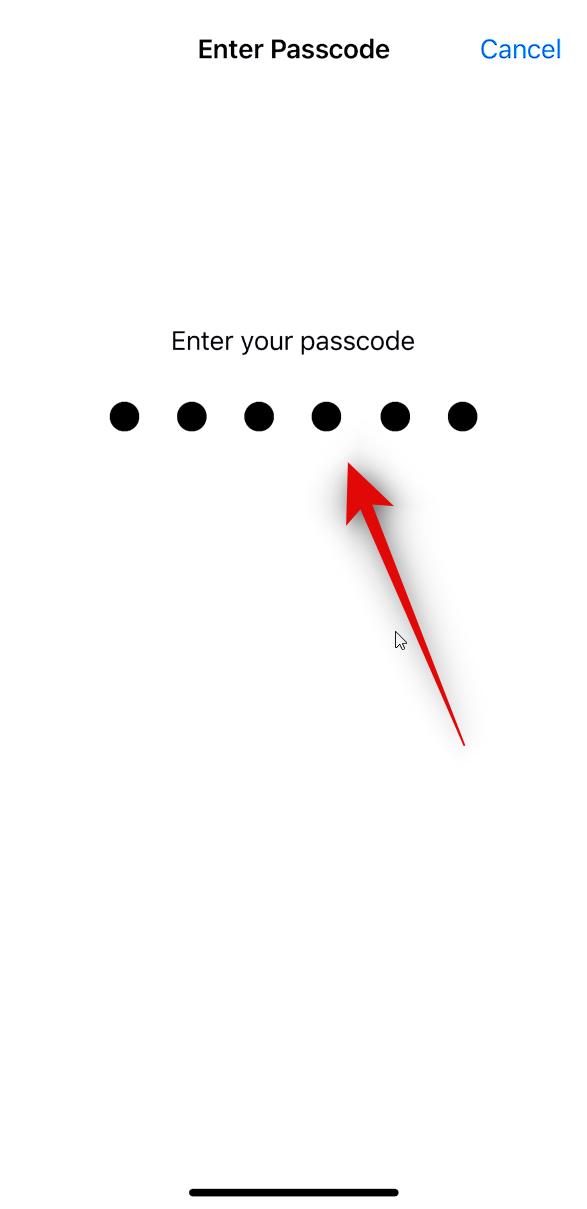
- Type in your passcode to confirm your identification after which faucet Turn On Protection underneath Stolen Device Protection.
-
And that’s it! Stolen Device Protection will now be turned on in your iPhone. Biometric authentication will now be required for delicate duties alongside the passcode requirement every time your device is in an unrecognized new location that you simply don’t often go to.
What occurs once you activate Stolen Device Protection?
Stolen Device Protection is designed to guard your information and device even when a thief is aware of your passcode. Thus, the next occurs when this function is enabled in your iPhone.
- When lively, the device will immediate for biometric authentication for delicate information and settings when not in a well-known location like dwelling or work.
- Biometric authentication is required when accessing delicate data and settings like saved passwords, resetting of the device, altering the device passcode, and more.
- Changing the Apple ID password or eradicating Face ID authentication may have a compulsory one-hour delay and can should be authorised with biometric authentication
We hope this put up helped you get accustomed to Stolen Device Protection and the way you need to use it in your iPhone. If you could have any more questions, be at liberty to drop us a remark under.
Check out more article on – How-To tutorial and latest highlights on – Technical News