How do I Create a ClickUp Form.
Feedback and surveys are essential in shaping your advertising technique based mostly in your prospects’ opinions. ClickUp Forms is a useful characteristic provided by ClickUp for amassing buyer data.
In this tutorial, we’ll present you ways to create a kind in ClickUp. You’ll discover ways to create, share kind URLs, and entry knowledge submitted by means of the forms. Let’s dive in.
ClickUp – In a Nutshell
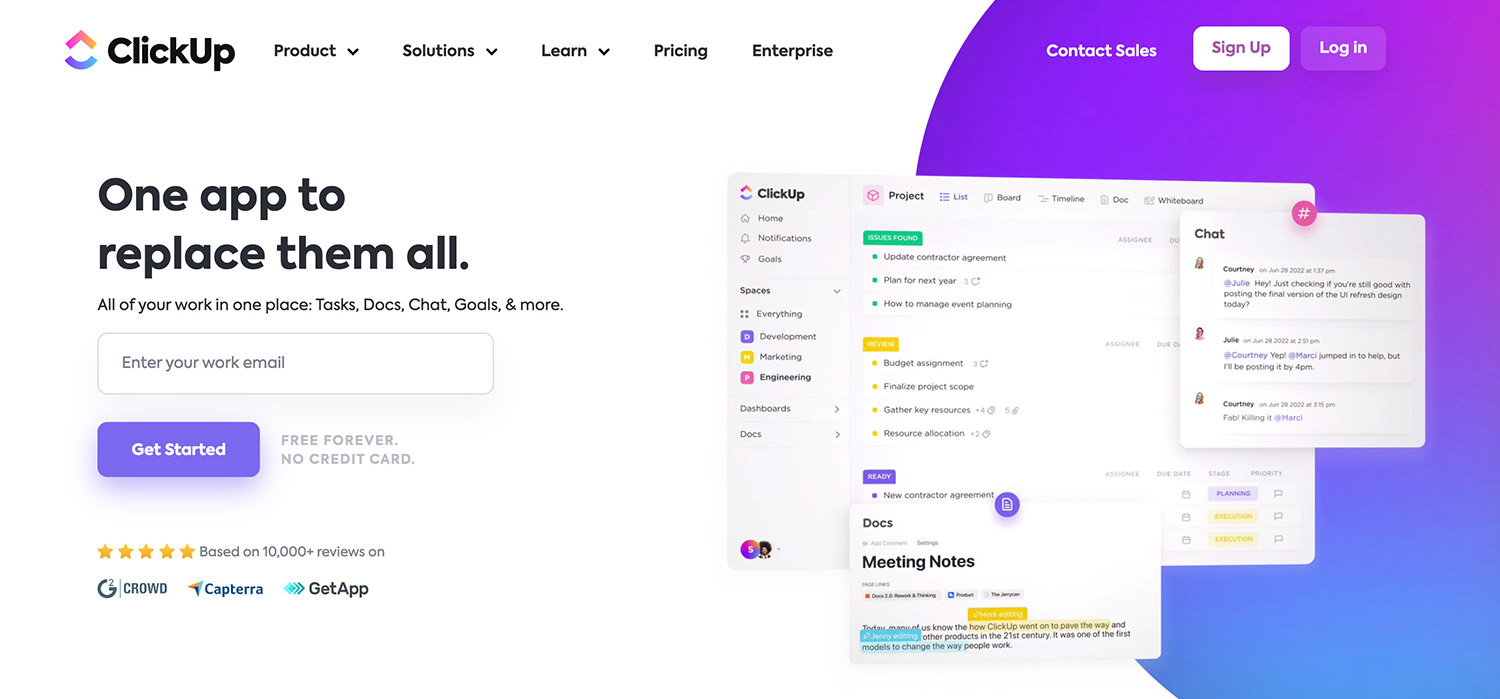
ClickUp is a multi-purpose instrument designed to boost productiveness. It covers a variety of features, together with planning, buyer administration, monitoring, venture administration, and advertising marketing campaign group. It offers a user-friendly interface, works throughout totally different platforms, and integrates with a number of fashionable functions.
It additionally boasts advertising dash templates, time-tracking options, immediate reporting, crew collaboration instruments, and in depth customization choices. Essentially, ClickUp brings your teams, duties, and instruments into one unified productiveness platform.
Create a ClickUp account
Creating a Free ClickUp Form
Step 1 – Sign Up for an Account
Sign up for a free account after which log into ClickUp.
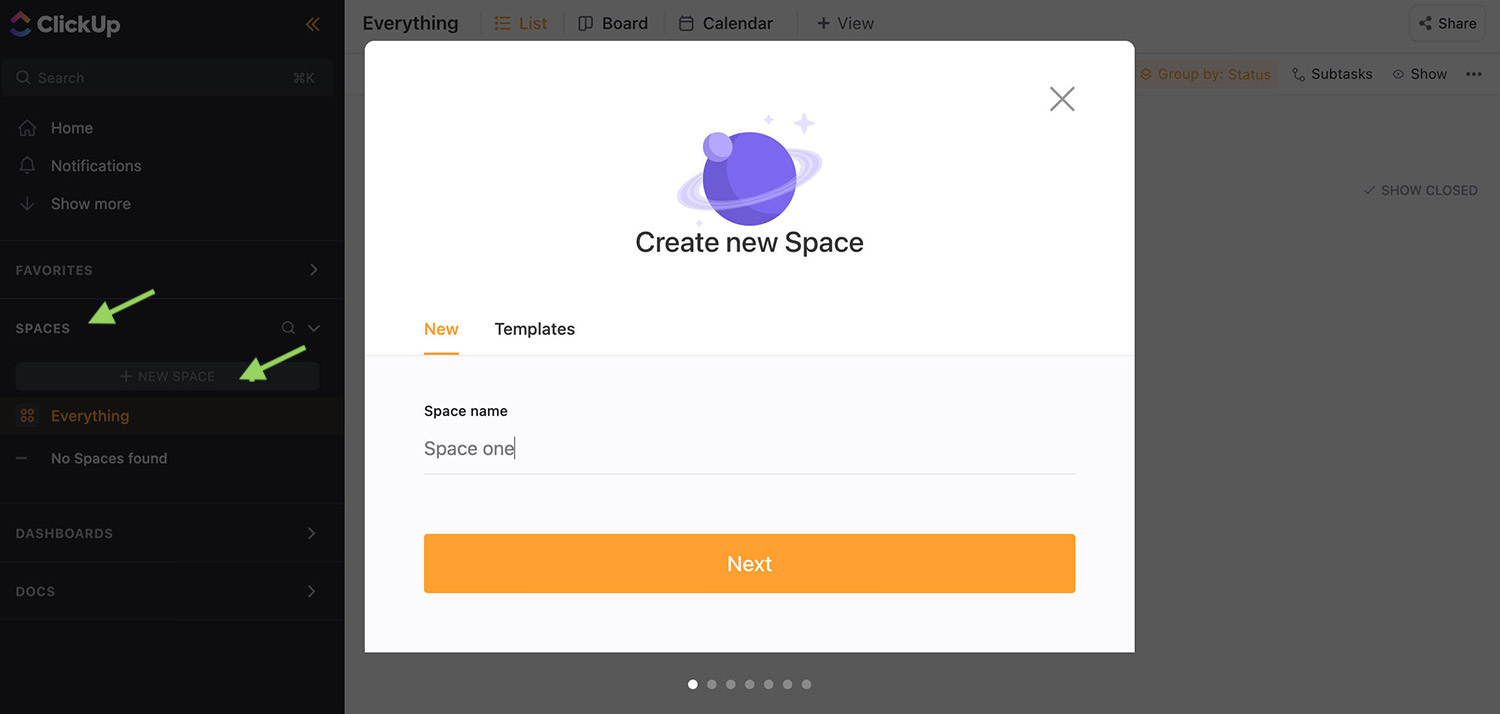
Step 2 – Create a Space
First, create a area if you happen to haven’t performed so. To do that, go to the sidebar, click on on “SPACES” to develop it, after which choose “+ NEW SPACE“. Name your area and comply with the prompts to set it up.
Step 3 – Create a Form
To make a kind, click on on the Space you’ve simply created within the sidebar. Then, on the high navigation, select “+ View“, choose “Form“, and click on on “Add View“.

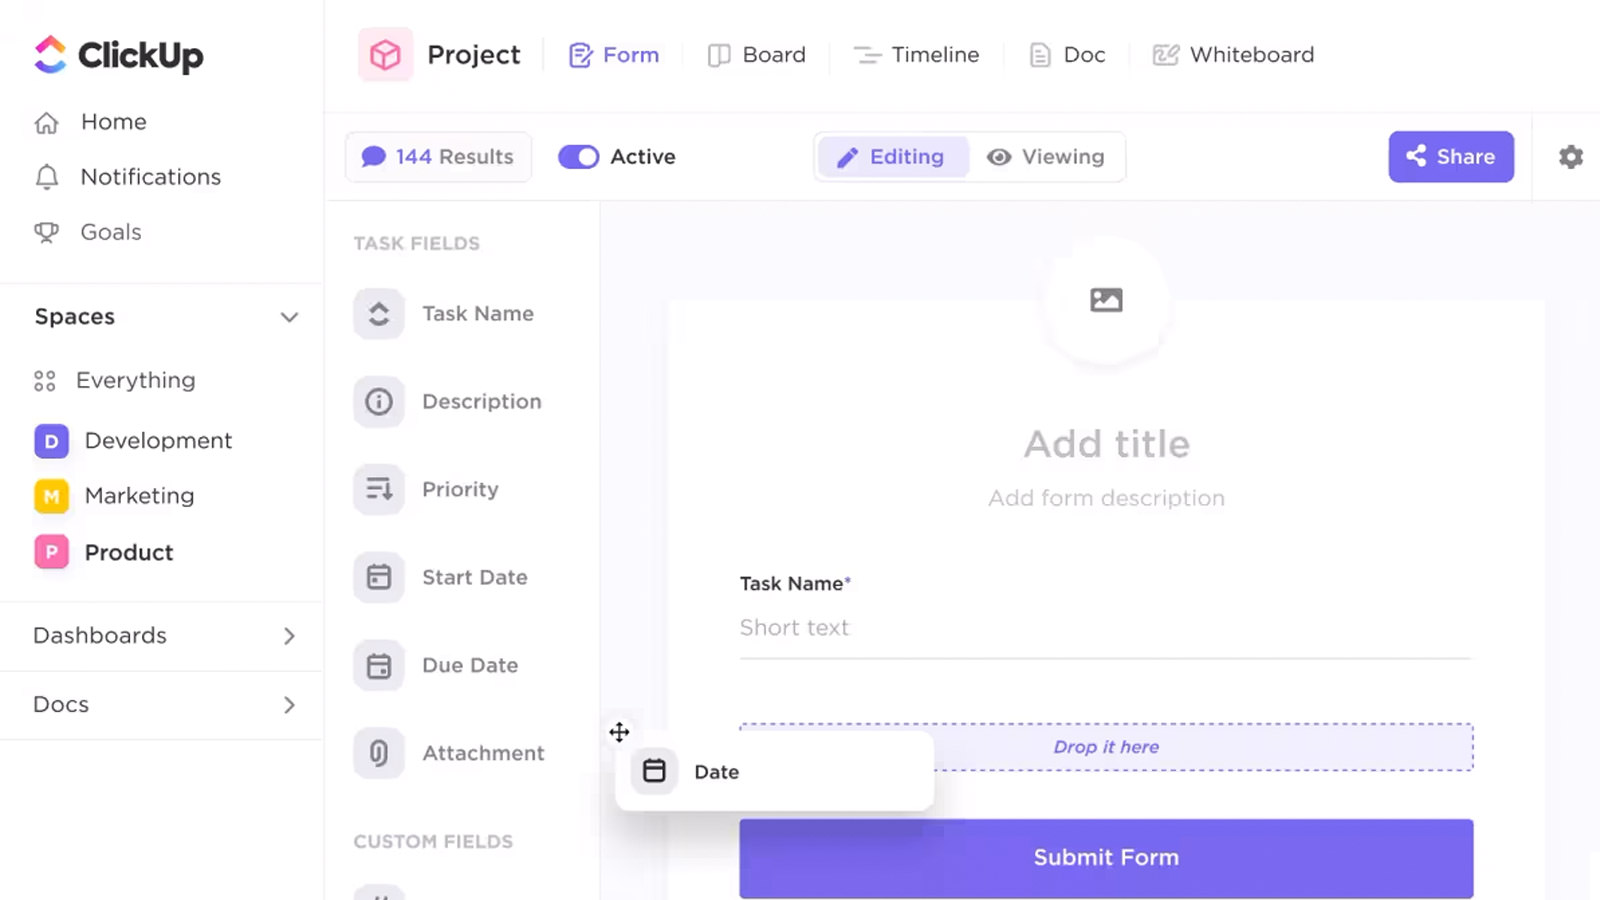
Step 4 – Customize Your Form
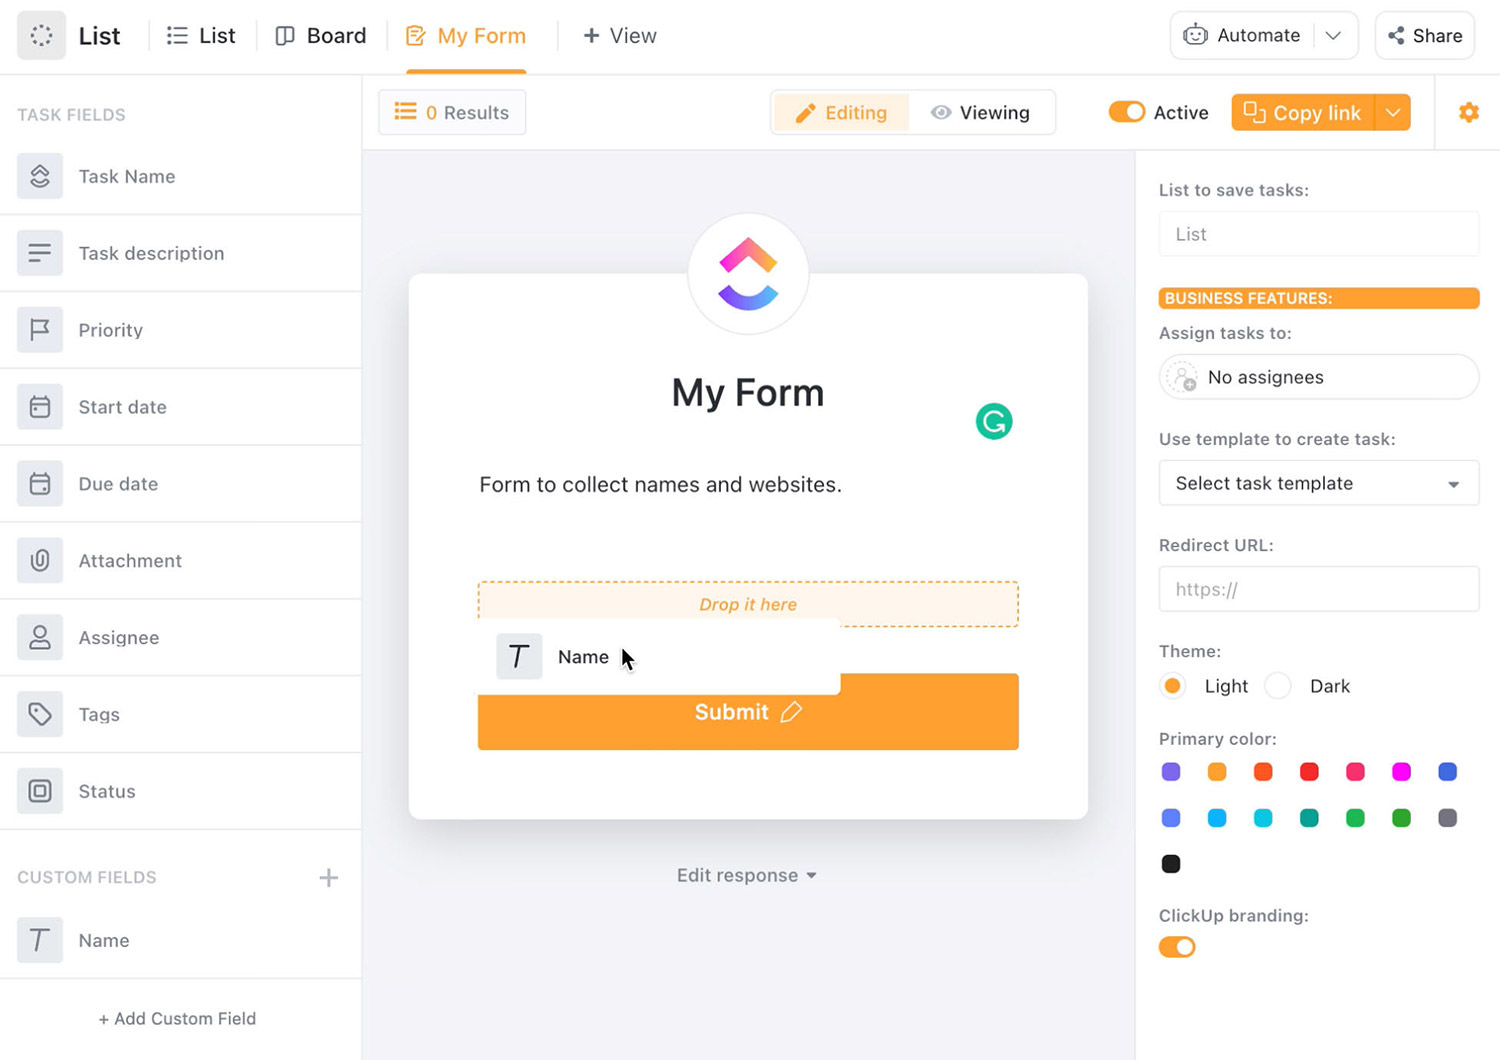
Your new kind initially has no fields, a normal description, and a submit button. You have full freedom to design it as you want.

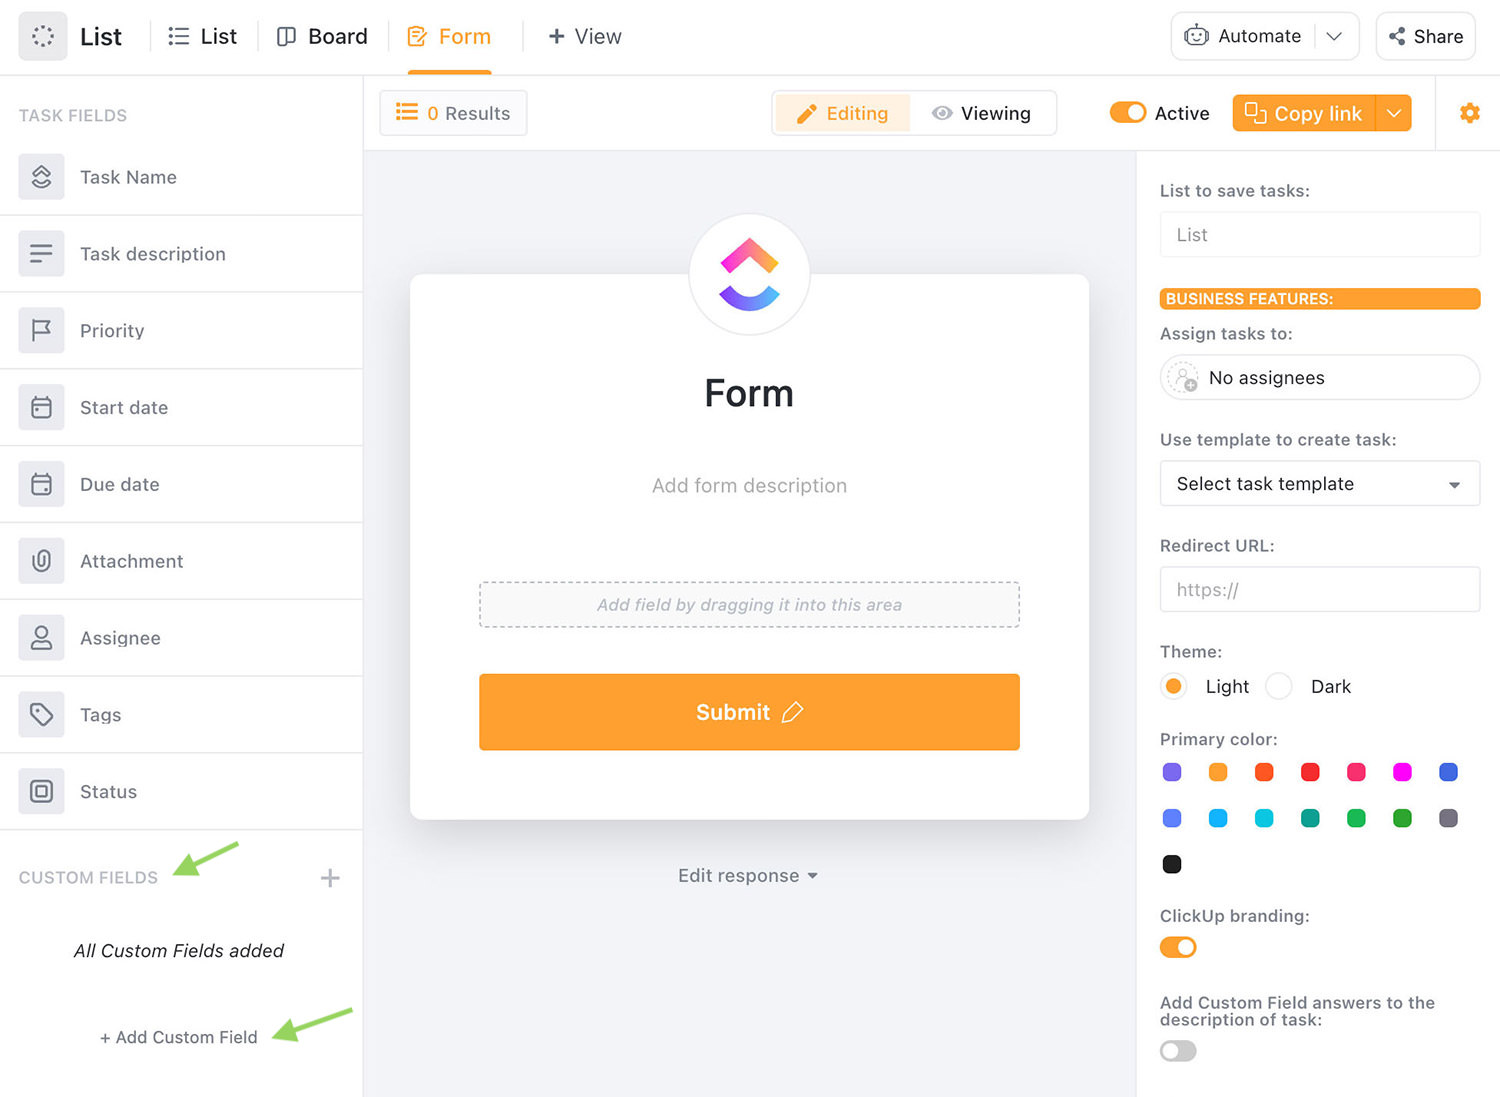
To personalize your kind, begin by dragging the Tasks Field from the left into the shape or create new fields by clicking “+ Add Custom Field“.
For this tutorial, we’ll create a easy kind with simply the Name and Website fields.
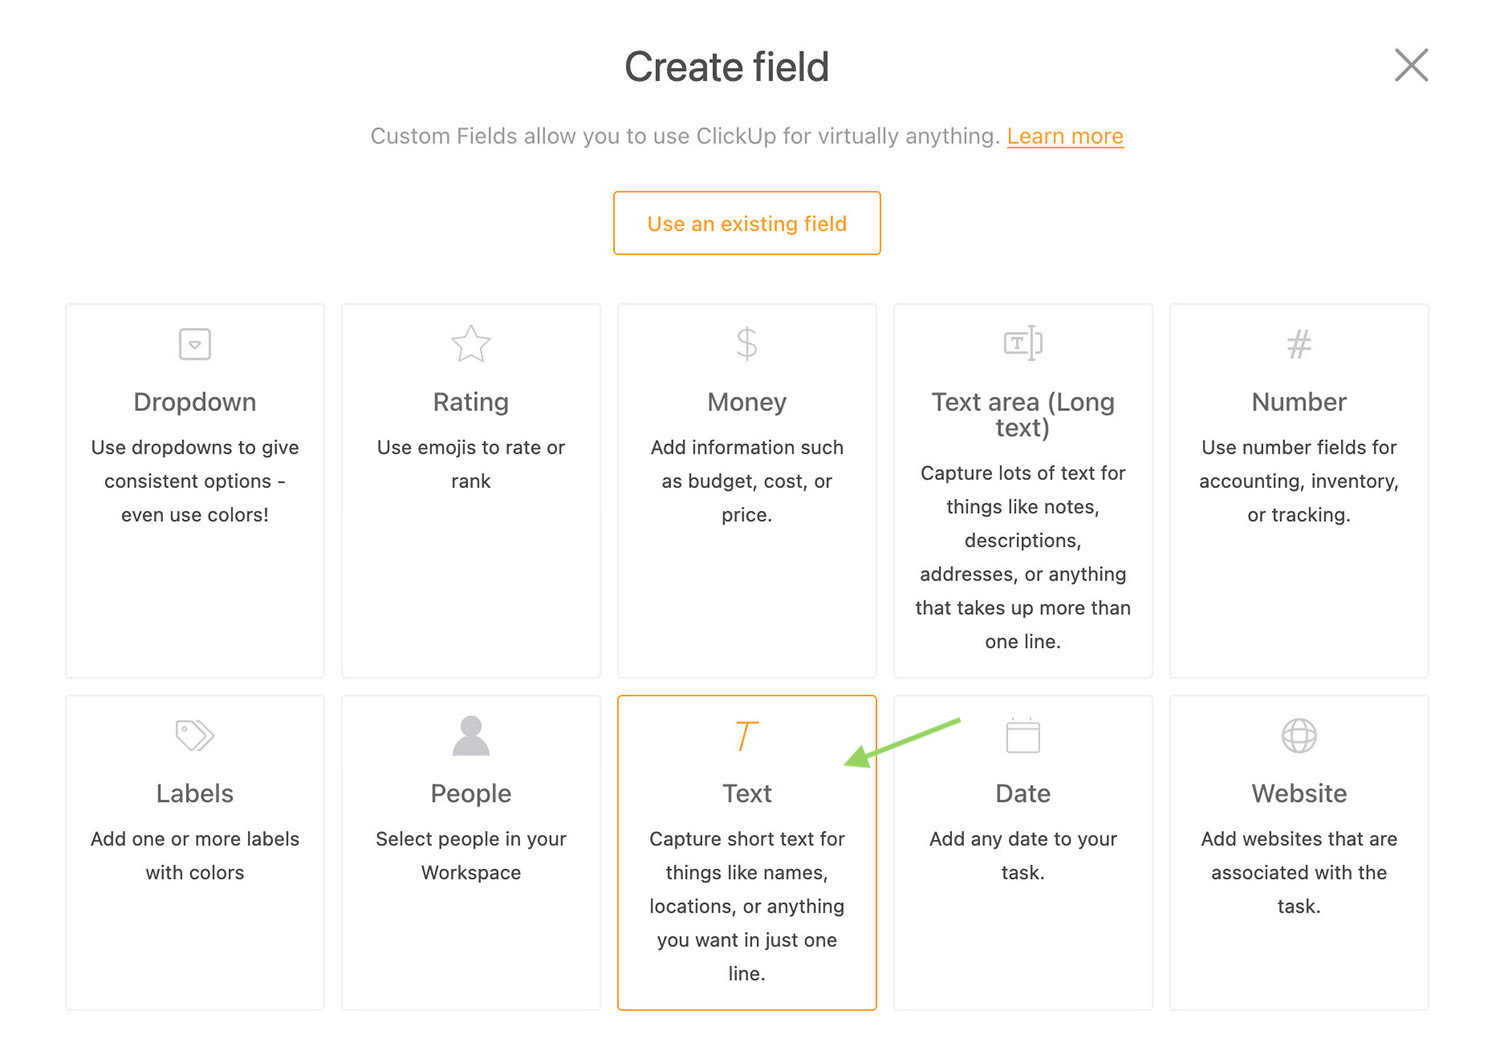
Instructions:
- Click “+ Add Custom Field“.
- Choose Text.
- Type “Name” in “Field Name” and click on Create.
- Drag the “Name” area into the shape.
- Click “+ Add Custom Field” once more, choose “Website“, and add it to the shape in the identical manner.
And thatâÂÂs it! You’ve created a easy kind to gather names and web sites.
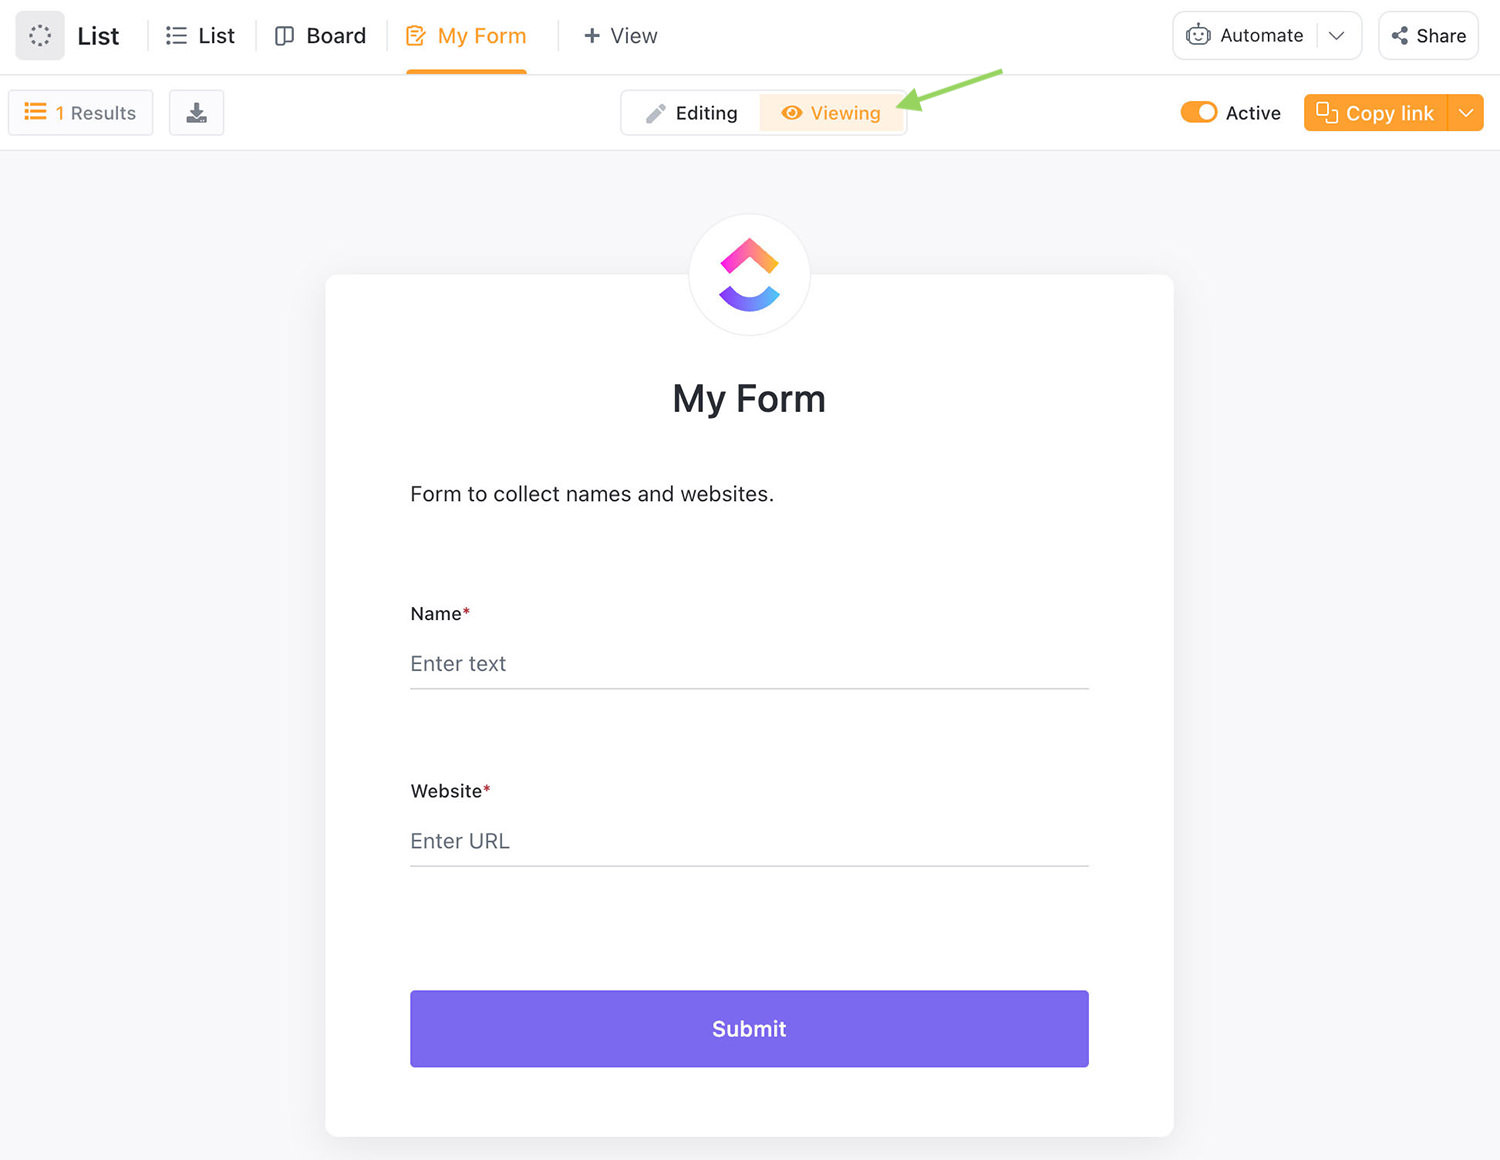
Step 5 – View Your Form
To see your new kind, click on “Viewing” on the high (next to “Editing”) or discover it beneath “My Form” within the high navigation.
Step 6 – Share Your Form
To share your kind, click on the “Copy link” button on the high proper nook. You may also click on the arrow next to it for more sharing choices.

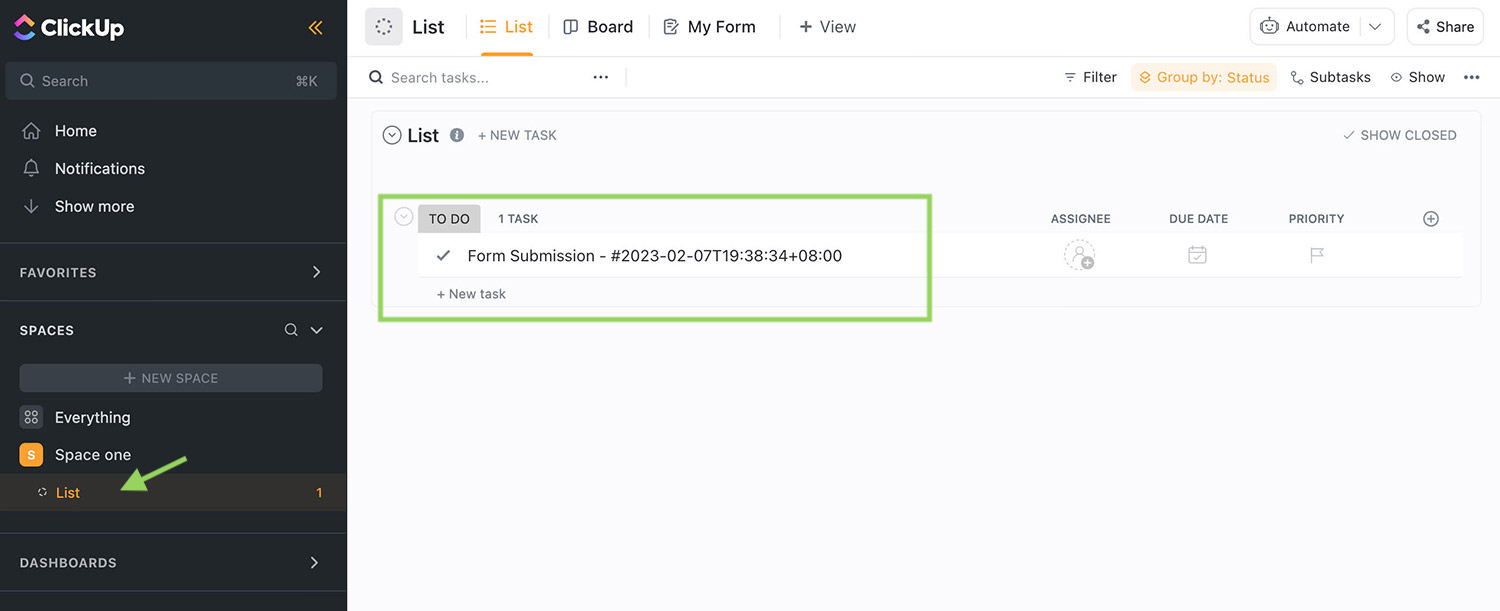
Step 7 – View Collected Data
To see the information your kind has gathered, click on in your Space’s identify and choose “List“.
Conclusion
Creating a ClickUp kind is only the start. Not solely can it’s used to collect the knowledge you want out of your shoppers, prospects, or customers, however in our How do I Automate Scraping LinkedIn Data into Your CRM article, we additionally reveal how to make use of a ClickUp kind to scrape data from LinkedIn profiles, fill them right into a ClickUp kind, and have them accessible in your ClickUp account.
If you might be searching for more various decisions for creating forms on-line, try our article on 10+ Free Online HTML Form Builders.
Check out more article on – How-To tutorial and latest highlights on – Technical News