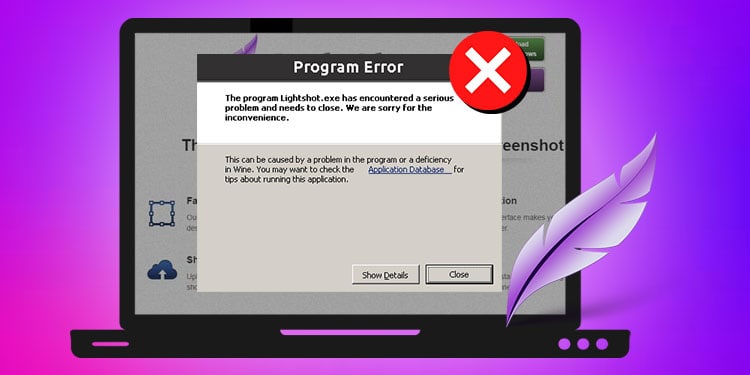
Lightshot Not Working – Why & How To Fix It.
Lightshot is a useful app for taking on the spot screenshots whereas nonetheless with the ability to edit and customise them concurrently.
Also, it overcomes varied limitations of your system’s built-in screenshot instruments. However, it isn’t all the time the proper app.
Sometimes the app doesn’t reply or crashes when opening. To resolve these points, strive relaunching the applying and see if it solves your downside.
Nonetheless, proceed studying additional to search out varied fixes for different points chances are you’ll face whereas using Lightshot.
Why is Lightshot Not Working?
- Screenshot copied to clipboard however not saved
- Using the improper keyboard shortcut
- The default save location has modified
- Opening the same screenshot seize software
How to Fix the Lightshot Not Working?
Before you start, it is likely to be useful to know that Lightshot doesn’t work in some particular conditions.
For instance, you can not take screenshots using Lightshot whereas taking part in a recreation within the full-screen mode. Likewise, it might not work whereas taking screenshots of a specific window of a setting.
However, you possibly can overcome the above points with workarounds. You can use the sport bar in its place for taking in-game screenshots. Likewise, for the latter problem, launch the Lightshot app, click on its icon from the taskbar, and it is best to be capable to take screenshots after that.
On the opposite hand, undergo the next fixes till your particular downside will get resolved.
Use the Correct Keyboard Shortcut
It might be the case that you’re simply copying the screenshot to the clipboard and never truly saving it. As a consequence, you aren’t discovering the screenshots wherever in your PC. Therefore, use the right keyboard shortcut.
For copying the screenshot to the clipboard:
- Ctrl + C (Windows)
- Cmd + C (Mac)
For saving the screenshot:
- Ctrl + S (Windows)
- Cmd + S (Mac)
Furthermore, be sure you are urgent the entire key mixture.
Close Similar Applications
If you might have put in related purposes like Lightshot, they could intervene with the Lightshot app. And, you would possibly get an error like “Failed to register hotkey.” Therefore, shut them to keep away from Lightshot points whereas taking screenshots.
To shut purposes operating within the background,
On Windows
- Press the Ctrl + Shift + Esc key to open the Task Manager.
- Under the Processes tab and the Apps part, choose the conflicting software.
- Then, click on the End process button within the backside proper nook
 .
. - Repeat the above course of in case you have a number of screenshot seize apps.
- Check if the Lightshot is working as anticipated.
On Mac
- Search for and open Activity Monitor on the Spotlight app. You can use the shortcut key Command + Spacebar to open the Spotlight app.
- Select Lightshot from the listing of apps/processes.
- Then, click on the cross icon within the prime left nook and choose Quit/Force Quit.
- See if the Lightshot software works as anticipated.
Configure the Keyboard Shortcut
Windows has its personal built-in screenshot seize software known as “Snip & Sketch.” And, since it’s the default software for taking screenshots on Windows, it might override the shortcut key PrtSc/PrintScr.
And though the important thing works even when using Lightshot, typically it might fail to work. Therefore, assign a distinct shortcut key to keep away from points whereas launching Lightshot. Here’s how you are able to do it.
- Launch the Lightshot software.
- Then, click on the Show hidden icons(which seems to be like an up arrow) from the taskbar.
- Now, right-click on the Lightshot icon(feather) and click on Options.

- Under the Hotkeys tab, assign a distinct shortcut key (e.g., Ctrl + PrntScrn) to take screenshots with Lightshot.

- Click OK to substantiate.
- Check if you happen to can take screenshots with Lightshot now.

In case you don’t have a print display screen button, you possibly can set assign a brand new keyboard shortcut and use it for taking screenshots.
Stop the Default Screenshot Tool from Launching
By default, Windows launches the snipping software if you press the Prt Scrn/Prt Scn key. Likewise, the Lightshot software additionally makes use of the identical key for taking screenshots. So, it might trigger battle, and the important thing might not work as anticipated.
You can stop the snipping software from using the PrtSc key to resolve the above problem.
Here’s how you are able to do it using the Settings app.
- Press the Windows + I to open the Settings app.
- Then, navigate to Ease of Access > Keyboard.
- Now, in the appropriate pane, scroll to the Print Screen shortcut part and toggle off the button beneath Use the PrtScn to open display screen snipping.

- Restart your PC and see in case your downside has been solved.
Check the Save Location
By default, Lightshot creates and saves all its screenshots inside the next path on Windows:
C:Users[Username]PaperworkLightshot
However, if you happen to launched Lightshot, clicked its Save button, and saved to a distinct location, it robotically saves the brand new screenshots in that location. This is as a result of it all the time saves the present screenshot in line with the latest save location.
As a consequence, chances are you’ll not discover the screenshots within the standard save location.
On the opposite hand, if you happen to use OneDrive in your system, it may save each screenshot taken to its folder. To stop it,
- Open the OneDrive app.
- Now, click on the OneDrive icon(which seems to be like a cloud) from the taskbar. If you don’t discover it, click on the Show hidden(up arrow) icon.
- Then, click on the gear icon and choose Settings.
- Under the Backup tab, uncheck the Automatically save screenshots I seize to OneDrive checkbox.

- Click OK.

Reinstall the Application
If the issue persists, you possibly can simply reinstall the applying to resolve any unknown points with the applying. To uninstall the app,
On Windows
- Press the Windows + R key and kind the command
appwiz.cpl. - Select Lightshot from the listing of purposes.
- Then, click on Uninstall from the highest bar.

- Next, click on Yes to substantiate.
On Mac
- Click Finder from the underside of your display screen.
- Select Applications from the left sidebar.
- Now, drag and drop the Lightshot app to the Trash icon situated on the backside of your display screen.
After uninstalling the applying out of your system, obtain the suitable software on your system from the Lightshot official web site.
Likewise, if you’re using the Lightshot in a browser, uninstall it and obtain it once more to resolve the problem.
Provide Permissions for Lightshot (Only for Mac)
Lightshot wants permission on Mac to work to seize screenshots of your system. So, in case it’s not enabled, you possibly can face points. Here’s how to permit the Lightshot app on Mac.
- Click the little Apple icon within the prime left nook of the display screen.
- Navigate to System Preferences > Security & Privacy.
- Now, beneath the Privacy tab, choose Screen Recording from the left sidebar and test the Lightshot Screenshot checkbox.


Check out more article on – How-To tutorial and latest highlights on – Technical News