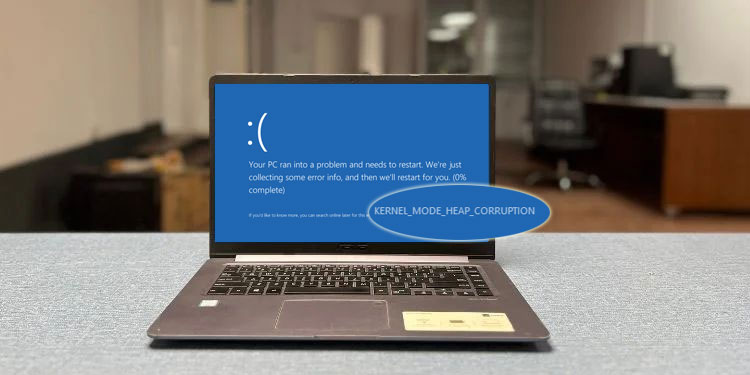
Kernel Mode Heap Corruption Error—How To Fix It?.
The Kernel Mode Heap Corruption Error is a cease code that seems when your pc runs right into a Blue Screen of Death (BSOD) error.
It seems unexpectedly, whether or not your pc is sitting idle or within the center of an intensive gaming session.
This error usually pertains to a reminiscence problem, however additionally, you will encounter this error if the drivers in your system are outdated, particularly the graphics drivers, or if the protected system recordsdata are corrupted.
Also, when it’s a {hardware} downside, it’s possible you’ll be coping with RAM points.
To repair this BSOD error, begin by updating the graphics driver to the most recent model. Then, examine the system recordsdata for any indicators of corruption. In some uncommon circumstances, you must reseat or change the RAM sticks to eliminate this error.
Update/Rollback/Reinstall Graphics Drivers
It is noticed that the “Kernel Mode Heap Corruption Error” happens if the graphics driver is outdated. There’s a easy answer for this problem, which is to update the graphics drivers to the most recent model.
- Press the Windows key + X.
- Select Device Manager.
- Click on the dropdown menu of Display Adapters.
- Right-click on the seen GPU and click on on Update Driver.

- Click on Search mechanically for drivers.

In some circumstances, the pc can’t find the most recent variations of the drivers and should point out that one of the best drivers are already updated. In such a case, customers might want to manually update their graphics drivers.
If the BSOD appeared after putting in the most recent variations of the graphics drivers, rolling back to the earlier model of the drivers may clear up the difficulty.

If neither of the above steps solves the error, go forward and reinstall the graphics driver.
Here’s our detailed information on uninstalling the NVIDIA and AMD drivers.
Run DISM and SFC Command
Corrupted system recordsdata are sometimes the wrongdoer behind many of the BSOD errors, together with Kernel mode heap corruption error.
To repair the corrupted recordsdata, you possibly can first make use of a command line software referred to as DISM to restore the Windows image, adopted by operating the SFC command that scans for the protected system recordsdata and restores the proper model if wanted.
- Open the command immediate as an Administrator.
- Then, sort
Dism /Online /Cleanup-Image /RestoreHealthand press Enter.
- Now, on the command immediate window, sort
sfc /scannowand press the Enter key.
- Once the scan is full, sort
exitand press Enter.


Restart your pc and examine if the issue nonetheless persists.
Troubleshoot RAM Issues
Kernel mode heap corruption error is usually related to the pc reminiscence. To detect and resolve the issues together with your RAM, you possibly can run a Windows Memory Diagnostic take a look at.
- Press Windows + R to open Run.
- Type mdsched.exe and press Enter.
- Select Restart now and examine for issues(advisable) choice.


Your system will now restart and begin a sequence of reminiscence assessments on the blue display.
If the reminiscence diagnostic take a look at studies an error, it’s attainable that there’s a problem with the RAM sticks—possibly the RAM slots are clogged with dust, or the RAM sticks aren’t put in correctly.
So, you possibly can first strive cleansing the RAM sticks and examine if it solves the error.

If the error nonetheless persists, you possibly can strive switching the RAM sticks from dual-channel reminiscence to single-channel or strive new RAM sticks.
Clean Boot System
Kernel Mode Heap Corruption Error is mostly associated to problematic graphics drivers. However, underlying points in any of the energetic functions may set off this error as effectively. So, clear booting the system will help you establish such conflicting applications and providers.
- Open Run.
- Type
msconfigand press Enter. - Click on the Services tab and examine Hide all Microsoft providers. Then, click on on Disable All and choose Apply.

- Now, open the Task Manager and click on on the Startup Apps tab.
- Here, undergo each particular person app and click on Disable for each Enabled startup merchandise.

- On the System Configuration dialog, click on on OK.


When you restart your system, it enters right into a clear boot setting. Now, give your self a while to examine if the BSOD error seems once more.
If the issue doesn’t reoccur, then all is effectively, and the issue is probably going not associated to the conflicting providers and functions.
If the issue persists, go to the Services tab and allow a bunch of providers directly. Then, restart your system and ensure if the issue happens once more.

Repeat the same course of in your Task Manager to establish the conflicting startup functions.
If you may pinpoint the conflicting providers or functions, go forward and cease the conflicting providers or disable the startup functions.
Adjust Page File Size
Some customers have reported getting this BSOD error whereas making an attempt to run video games like Escape from Tarkov.
Interestingly, regardless of the minimal system requirement for this explicit sport being simply 8 GB of RAM, customers with 16GB of RAM have additionally skilled this problem.
Users have reported attaining success by extending the web page file measurement restrict to no less than 4 occasions the system reminiscence, so it’s also possible to give it a strive as effectively.
- Press the Windows + R key.
- Type
sysdm.cpland press Enter. - Go to the Advanced tab.
- Click on Settings below Performance.

- Go to the Advanced tab. Then, click on on Change.
- If checked, uncheck Automatically handle paging file measurement for all drives.
- Click on the drive you wish to alter the web page file.
- Check the Custom measurement choice. Set the utmost to 64000MB and the minimal to 16000MB (On a 16GB system)

- Click on OK.


Users on a number of boards have extensively mentioned comparable points whereas operating video games equivalent to Forza Horizon 4, witcher 3, Destiny 2, and so forth. So, you possibly can strive adjusting the web page file restrict accordingly to see if it resolves the difficulty.
Final Words
All the troubleshooting steps talked about above are prone to repair the “Kernel Mode Heap Corruption Error.”
In a uncommon case, if this doesn’t give you the results you want, strive putting in a recent batch of Windows.
In case none of those options assist, we suggest in search of Microsoft’s help.
It could be higher in case you may get the dump file(C:WindowsMinidump) and ask them to research the crash logs.
Check out more article on – How-To tutorial and latest highlights on – Technical News