Do Motherboards Come With Screws?.
Motherboard screws include PC circumstances, which is why you received’t discover them within the packaging field. That’s not nearly it – your PC case provides a set of screws for every element.
When becoming the motherboard, at all times confirm whether or not the chassis is pre-equipped with standoffs. If not, your PC case doubtless provides each standoffs and screws (in pair). Use an applicable screwdriver (one with a hex head) for set up.
If you employ the flawed screws or match the motherboard with out standoffs, it could trigger short-circuit and your PC might not boot to BIOS.
Also, needless to say there shouldn’t be an additional standoff beneath the board – or it’s possible you’ll find yourself frying it!
Without additional delay, let’s get into every little thing it is best to learn about motherboard screws.
What Screws Come With Your Motherboard?

You is perhaps questioning why your motherboard field is wanting screws. Well, that’s as a result of those wanted to put in the board really come together with your PC case.
However, the newest fashions are geared up with M.2 screws, standoffs, and typically, anchors. You definitely can’t use them to put in the motherboard.
These are in your NVMe drives and right here’s a information on how to put in such SSDs. But if you happen to plan to make use of SATA SSD or HDD as an alternative, these received’t be required. Keep them secure so you should utilize them later.
Other than that, a motherboard comes with a person handbook, guarantee card, I/O defend, SATA cables, and a help DVD. There is perhaps heatsinks and extra stuff, however this varies relying on what motherboard you have got.
What’s the Right Screw For Motherboard?
PC circumstances include all of the screws required in your PC construct. These contain motherboards, arduous drives, case followers, caddy, chassis, and more. But since they aren’t given any label, selecting the best screws will be tough for newbies.
Technically talking, most PC circumstances embrace the #6-32 UNC commonplace measuring 5 or 6 mm. Some may provide the M3 screw measuring 5 mm.

A fast option to confirm that is by checking the person handbook. The above instance from Thermaltake Versa H18 TG clearly signifies the screw identify, amount, and what it’s used for.
Unfortunately, not all manuals provide such descriptions. Even a number of the best ATX circumstances at our office (NZXT H510 Elite and H700 PUBG) don’t have any such indications.
Also, not all screw threads match within the standoffs. You might strive screwing them using your naked fingers to check whether or not the one you’ve chosen is appropriate. As lengthy because it matches effectively, there shouldn’t be a serious problem.

Never strive cranking the flawed screws! If they don’t thread correctly, you’ll want to go along with one other set. Especially, keep away from those with greater threads (instance, case followers).
Forcing the screws may make you’re feeling they’re becoming effectively. But in actuality, they’ll injury the standoffs beneath.
Even so, your PC ought to nonetheless POST as the danger of full injury is sort of minimal. In case you haven’t eliminated the extra standoff, that may additionally result in points.

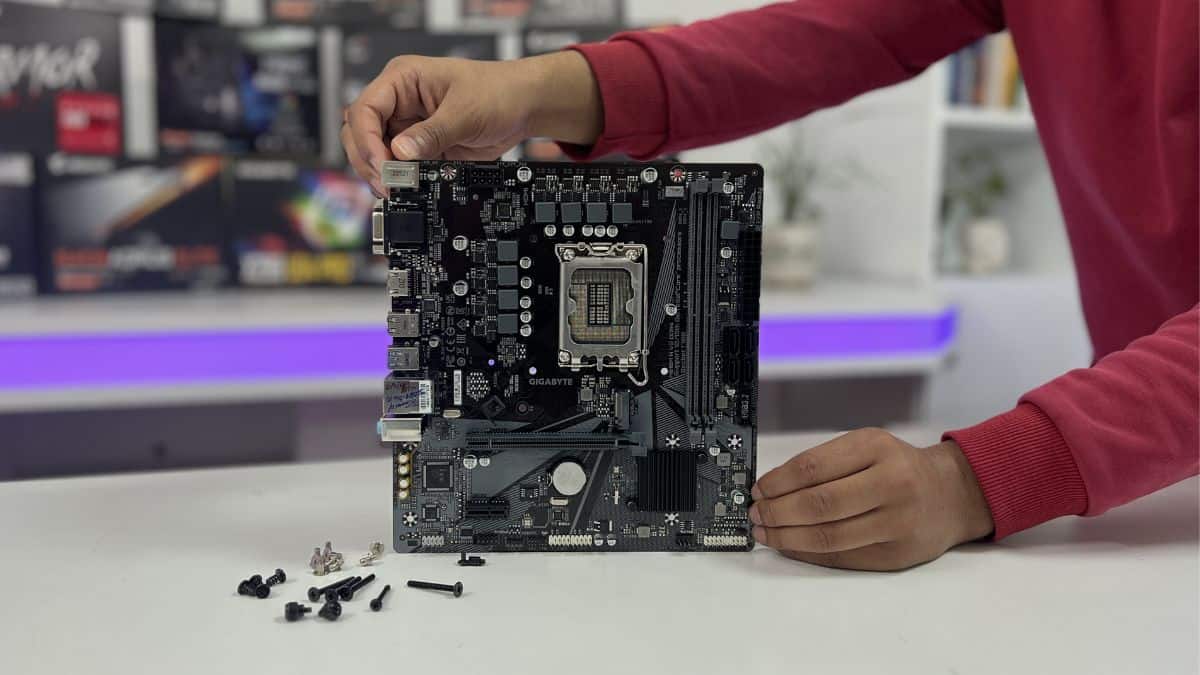
You may even differentiate the screws visually. Look for the spherical one, as demonstrated within the PC screws image above.
They match completely within the motherboard holes and are available direct contact with the steel rings. So, selecting the best screw additionally means you’re grounding the board effectively.

Importance of Motherboard Standoffs
As the identify implies, standoffs increase the motherboard in order that it received’t sit immediately on the steel chassis.
Caution: If your board touches a further standoff, it could short-circuit and result in NO POST points. The worst-case state of affairs is it could even trigger everlasting injury!

It’s important to decide on the proper mixture of screws and standoffs. Make positive you’re using those that come within the PC case. If you’re buying on-line, it ought to match the thread measurement and size.
Moreover, the quantity of screws to make use of will depend on the complete mounting holes in your motherboard.
For instance, most mini-ITX boards have round 4, micro-ATX as much as 7, ATX with 6 to 10, and EATX often has the very best. While the motherboard type issue provides a basic concept, the precise quantity and place range on each mannequin.
Note that the ATX commonplace (guidelines) solely apply to PC circumstances. That’s the rationale most include pre-installed 9 standoffs lately. You’ll doubtless get some further ones with the PC case’s screw set.

It’s doable to maneuver these standoffs round relying on the place the motherboard requires to be screwed. To take them off, use an applicable screwdriver (with a hex head) or particular caps (supplied by a handful of PC circumstances).
If you don’t have such, it’s possible you’ll make the most of a wrench and even pliers. But since these can probably trigger scratches, be sure you take further care within the course of.
Usually, there are markings on the place precisely the standoffs go. This is to assist decide whether or not the motherboard matches into your PC case. Check the one on our H510 Elite beneath:

When putting in one among my MicroATX motherboards (Gigabyte Ultra Durable H610M), one standoff was lacking within the center. So, I needed to shift the one from the far proper.
Fitting and Screwing Motherboard the Right Way
Now that you just’re conscious of each motherboard screws and standoffs, it’s time to put in the motherboard.
It’s sensible to seat the CPU, cooler, and reminiscence stick(s) beforehand. This approach, you’ll be able to maintain onto the cooler to elevate the board, which is what I at all times do!

And if the holes and standoffs aren’t aligning correctly, don’t wiggle an excessive amount of or it’s possible you’ll find yourself scratching the PCB. Instead, I counsel lifting the board and redoing the method.
It’s at all times really helpful to screw all of the holes. As I said earlier, the precise quantity varies for each motherboard.
But it’s fully effective if you happen to miss one or two screws. This state of affairs is particularly for these customers whose PC circumstances provide fewer standoffs than the holes within the motherboard.
Also, notice that the one within the center (referred to as centering standoff) is appropriate with all the shape components. That must be your reference level when checking the alignment.
Follow the directions beneath and it is best to be capable to match the motherboard with none mistake. If you’re new to any of the steps, comply with the linked guides to grasp the method even higher:
- After opening the PC case (each the aspect panels), be sure you set up the I/O defend first. Take notice of the prongs (if current) as they need to contact the motherboard ports, however not impede them.

- Now, examine the screw holes and set up/shift the standoffs as required.

- Carefully place the motherboard guaranteeing it aligns with the I/O defend.
- Once that’s carried out, match the motherboard within the centering standoff.

- Even although the above step ought to mechanically align all the opposite holes, it’s sensible to substantiate as soon as.
- Next, place the screws midway successively in a diagonal or criss-cross method.
- Finally, fasten them correctly – don’t overtighten them although! Once you discover the best resistance, it must be ok.


Once every little thing is finished, it’s possible you’ll proceed together with your PC construct. Connect the graphics card, set up the PSU, and don’t neglect to handle the cables!
Check out more article on – How-To tutorial and latest highlights on – Technical News