How do I Use YouTube Create App to Edit Videos, Add Music and Effects, and More!.
What to know
- YouTube has an easy-to-use video modifying app for creators referred to as YouTube Create.
- The app provides a easy modifying setting, with a number of options like Audio Cleanup and Find Beats that mechanically guarantee your movies have that skilled look.
- Among a number of options, YouTube Create additionally contains royalty-free songs and sound results so as to add to your movies.
- YouTube Create is presently solely out there for Android units.
With the YouTube Create app out there in 21 international locations, increasingly more creators shall be trying to check out Google’s standalone cellular app for video modifying. Even although there are lots of such video editors already out there out there, YouTube Create has just a few issues working in its favor, together with a clear interface, results, stickers, royalty-free music, an ad-free modifying setting, and naturally Google’s model title. If you need to create your shorts and movies on the go together with YouTube Create, right here’s all that you must know to get began.
How do I take advantage of the YouTube Create app
First issues first, obtain and set up the YouTube Create app from the next hyperlink.
Once put in, launch the app, check in to your Google account, and also you’re all set to go.
Importing and modifying movies
Since video modifying entails a wide range of issues, let’s begin with the fundamentals first.
Import video
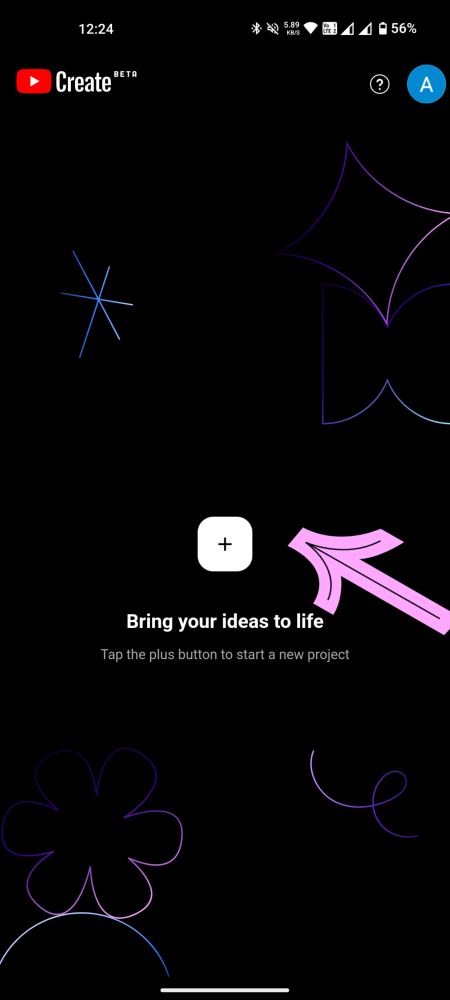
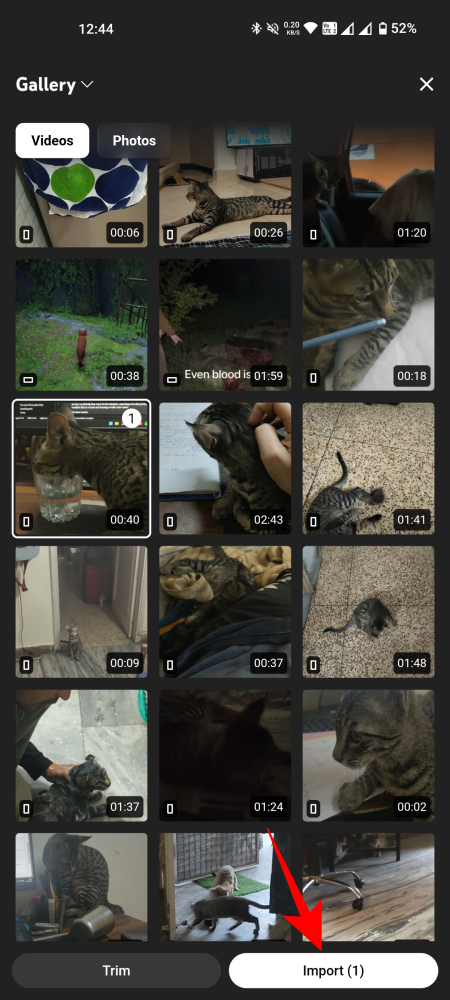
- Tap on the + icon to begin a brand new undertaking. Then choose the video you need to import and faucet Import within the backside proper nook.
-
- If you select multiple video, they’ll be added one after the opposite within the timeline.
Now, earlier than we transfer on, let’s have a look at the fundamental parts of the editor. Your video preview is on the high, taking about half the display screen (You can change the facet ratio from the three-dot icon within the high proper nook > Aspect ratio)
The timeline is within the center. This is the place all of the content material will go, together with movies, audio, transitions, GIFs, results, and so forth.

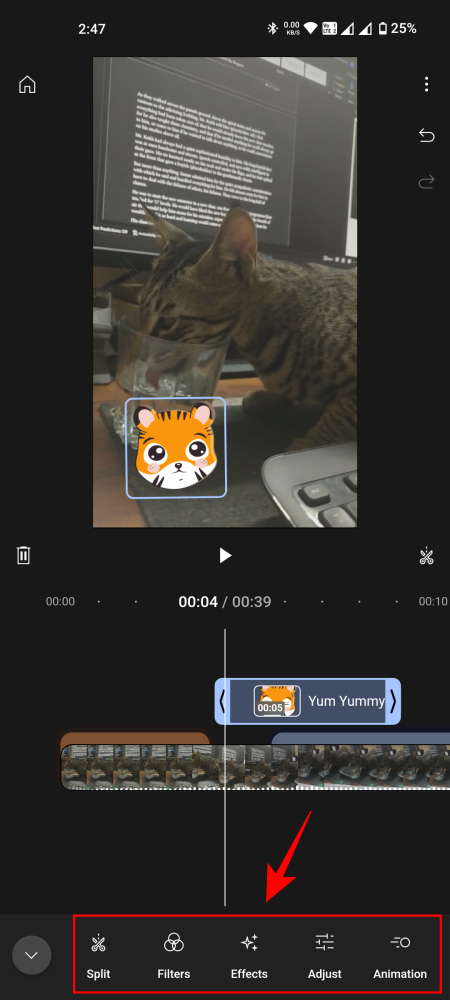
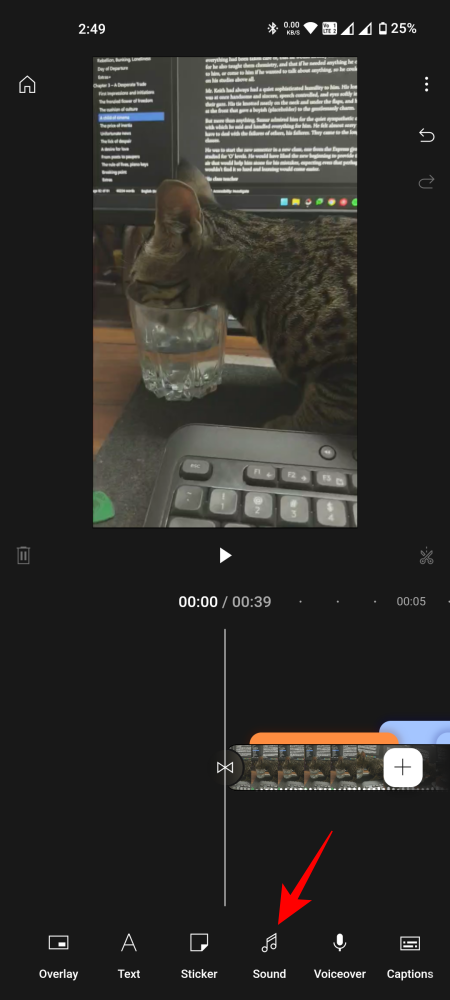
The backside row is the place you’ll discover the primary choices relying on what’s chosen. When nothing is chosen within the timeline, you’ll see the weather which you could add, akin to ‘Overlay’, ‘Text’, ‘Sticker’, ‘Sound’, and so forth.

But once you’ve chosen one thing within the timeline, akin to a video clip or audio, the choices within the backside row will change accordingly, permitting you to additional customise the chosen factor.

Now, let’s see how to go about including different parts and modifying your video.
Split or Trim video
If your imported video clip is longer than you want, you may shorten it in a few methods.
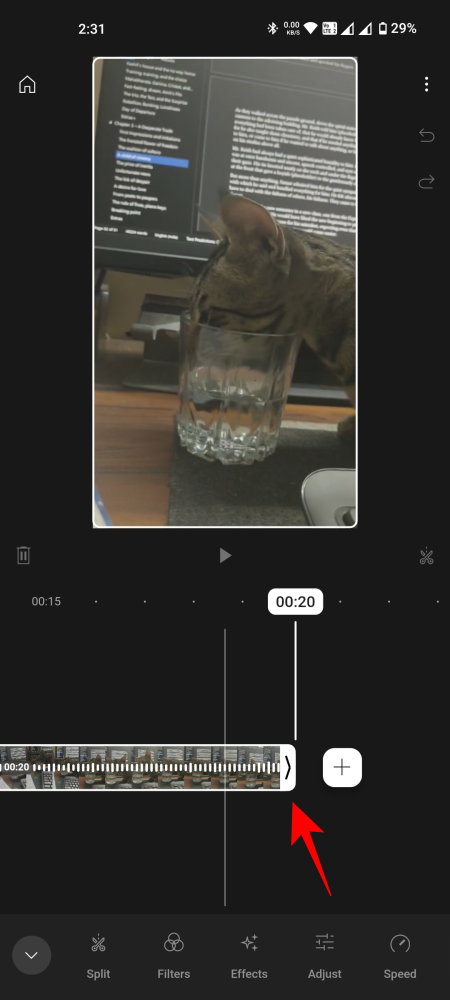
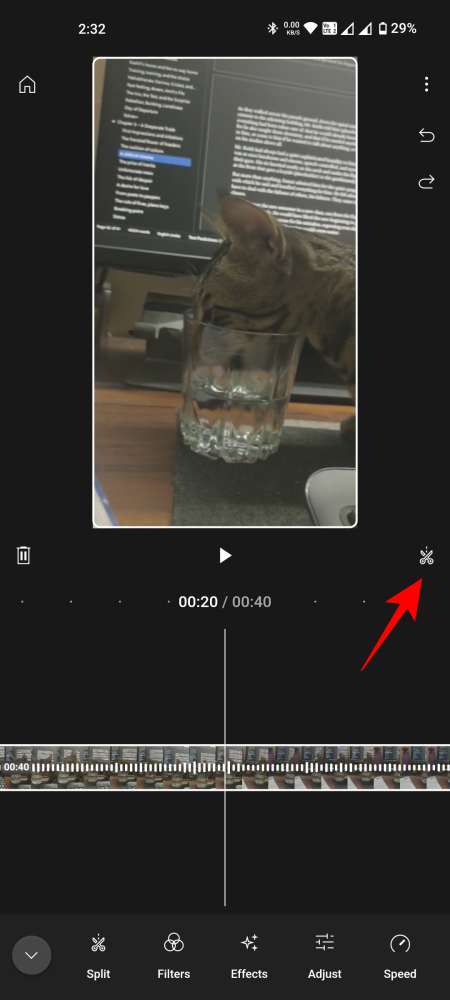
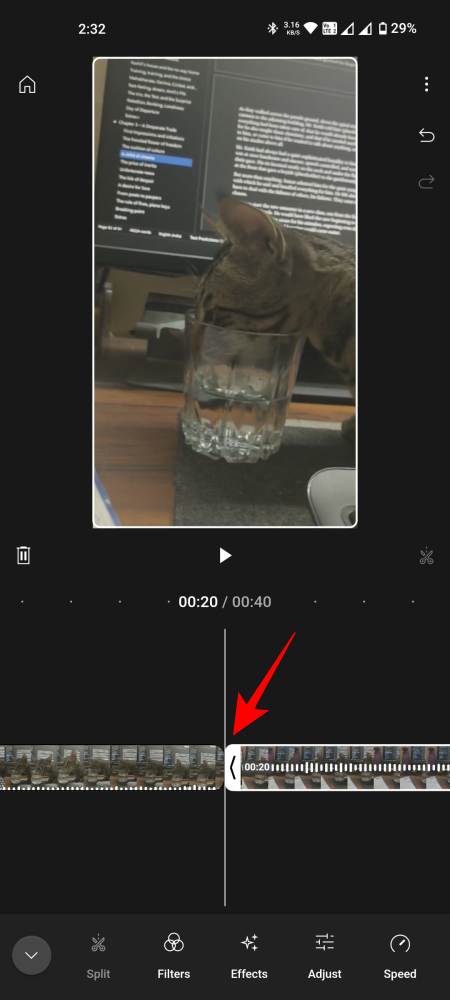
- To trim a video, first faucet on the clip to pick it. Then, faucet and maintain both fringe of the video and drag it inward. To break up a video, swipe to the body the place you need to break up the video. Then faucet on ‘Split’ (scissor icon) towards the highest proper of the timeline.
-
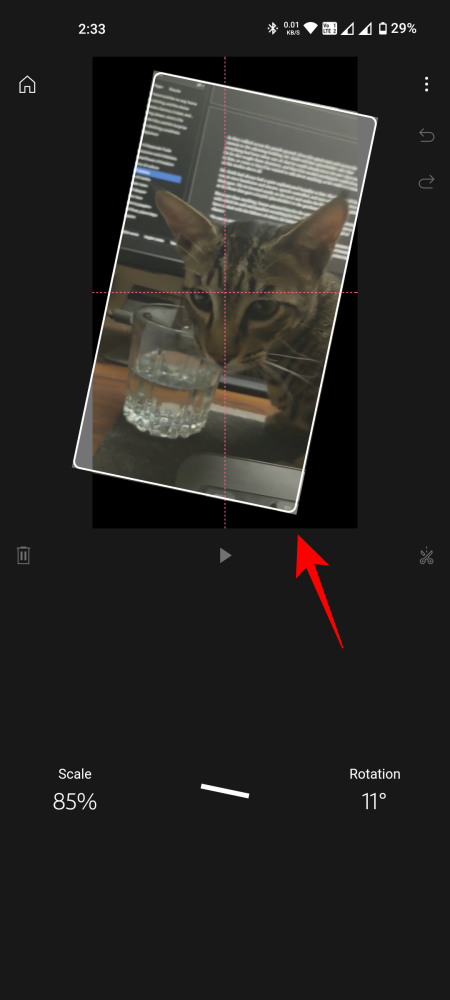
- You will see the break up occur on the marker. You can even pinch to zoom in or zoom out the video preview, and even rotate it in case you like.
-
Add transitions
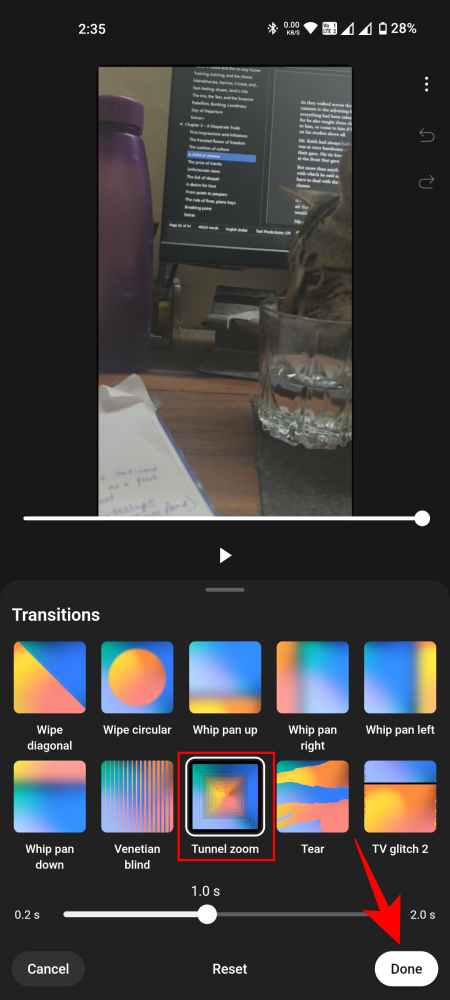
Transitions might be added between clips on the identical channel. Here’s how to take action:
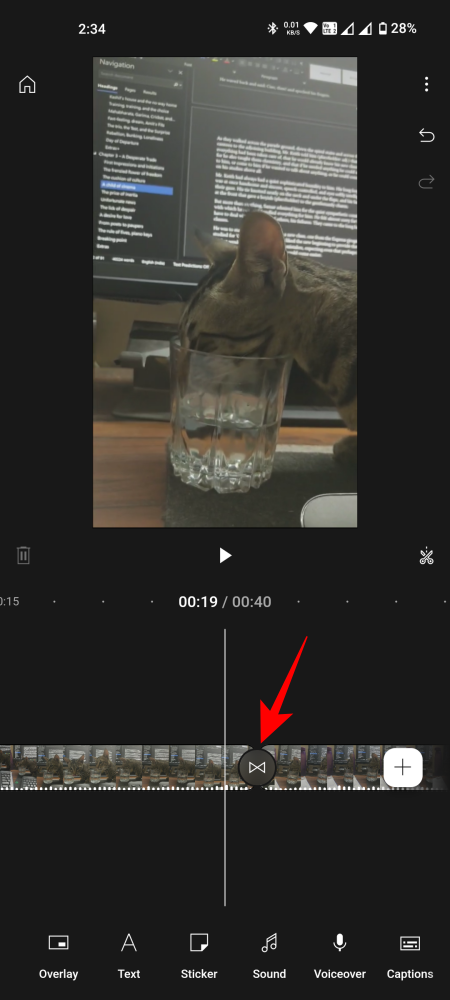
- Tap on the ‘Transitions’ possibility between two clips on the identical channel. It seems like a horizontal hourglass. Then choose a transition, regulate the period of the transition from the slider on the backside, and faucet ‘Done’.
-
- You can even add a transition at first and finish of the clip.
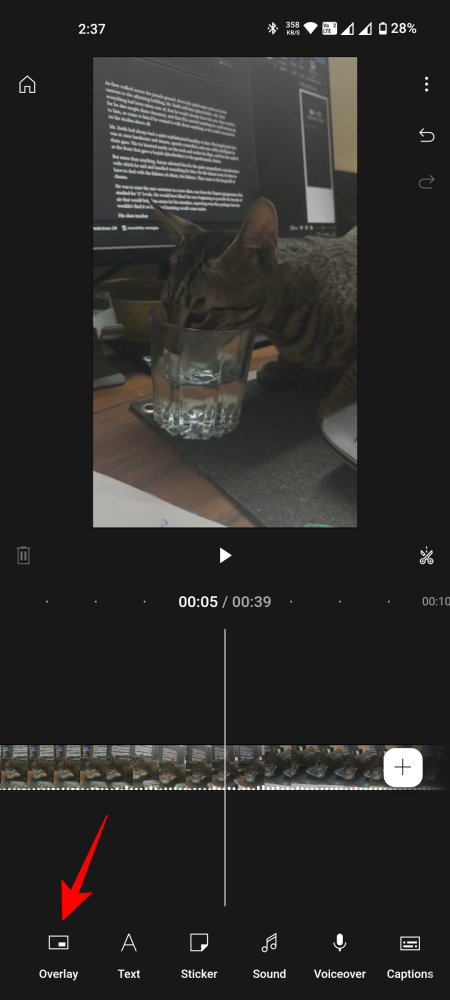
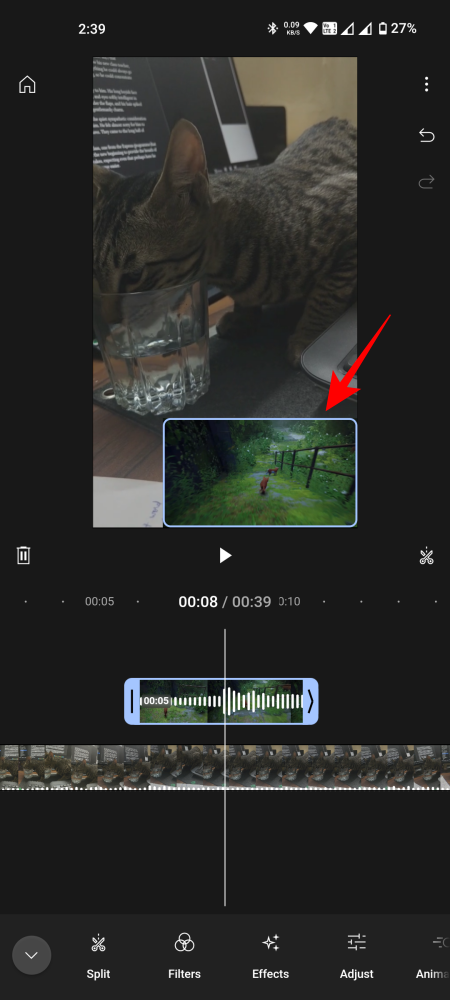
Add an overlay video
An overlay works wonders once you need to add one other clip (video or image) on high of the bottom video.
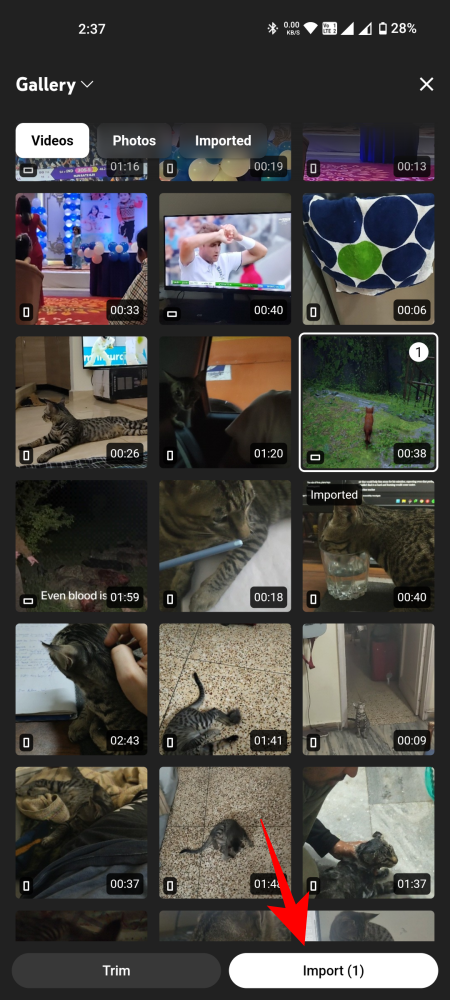
- Tap on ‘Overlay’ within the backside row. Select the video or image that you simply need to add as an overlay and faucet ‘Import’ within the backside proper nook.
-
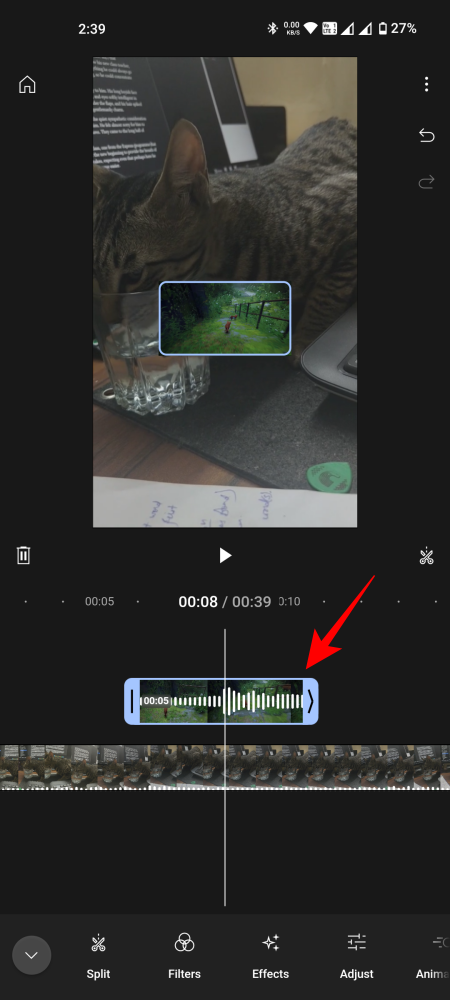
- Once imported, the overlaid clip shall be added on high of the primary video within the timeline. Trim it, if essential, and drag the clip to the place you need the overlaid clip to come back in.
- Also, drag the clip within the preview to the place you need the overlaid clip to be positioned. You can even pinch to shrink or enlarge the clip, or rotate it if essential.
-
Text and Stickers
Text is commonly a essential factor in a video, particularly when including a title. Similarly, stickers (GIFs and emojis) come in useful when one has to spruce up a boring video. Here’s how to:
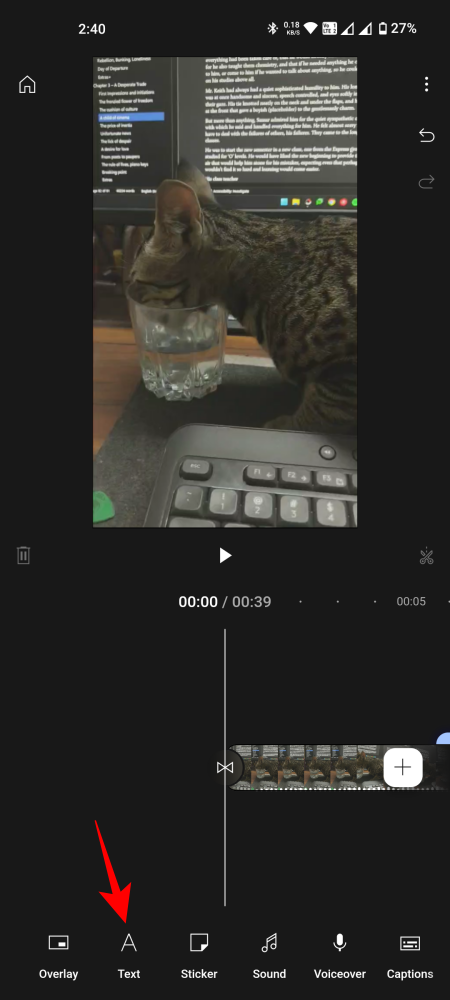
Add Text (plain and with results)
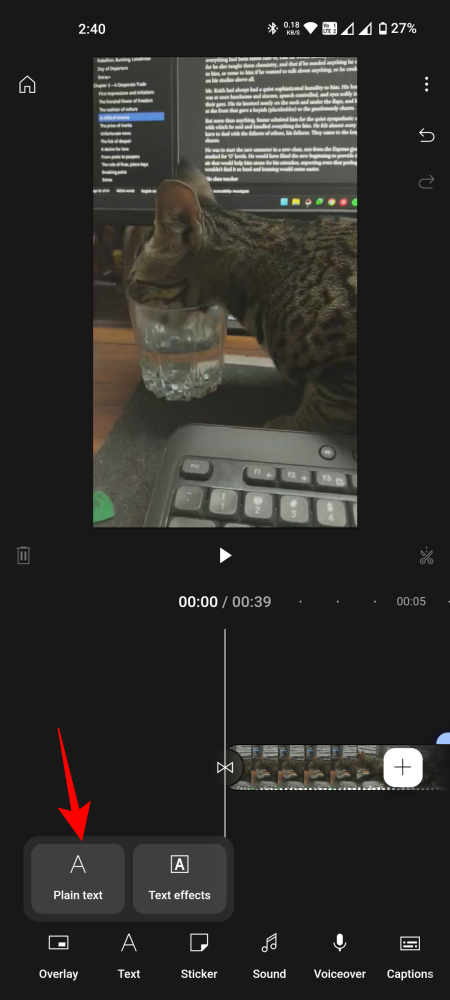
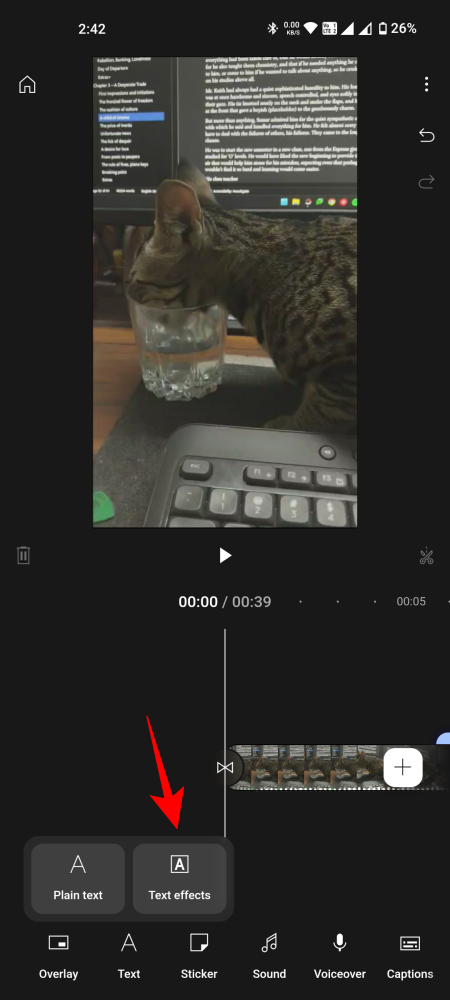
- Tap on ‘Text’ within the backside row and choose between ‘Plain text’ and ‘Text effects’.
-
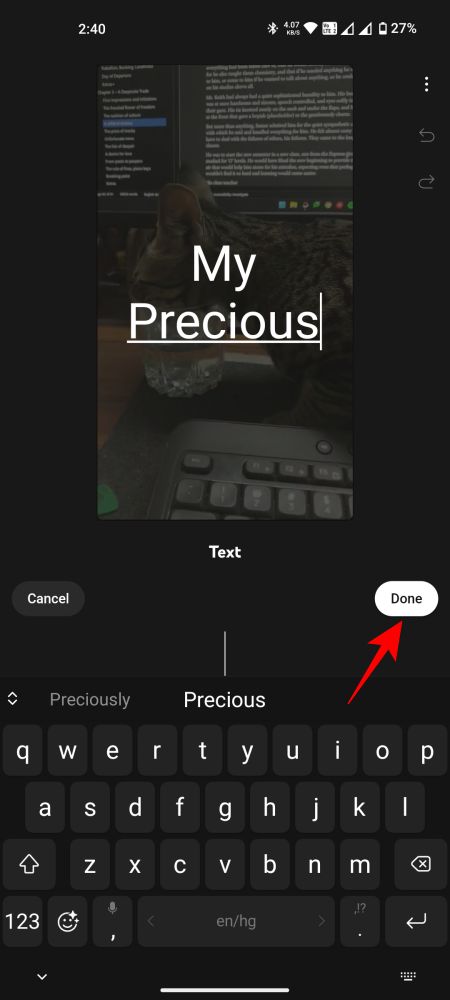
- With plain textual content, you want solely kind your textual content, faucet ‘Done’, after which regulate its size within the timeline.
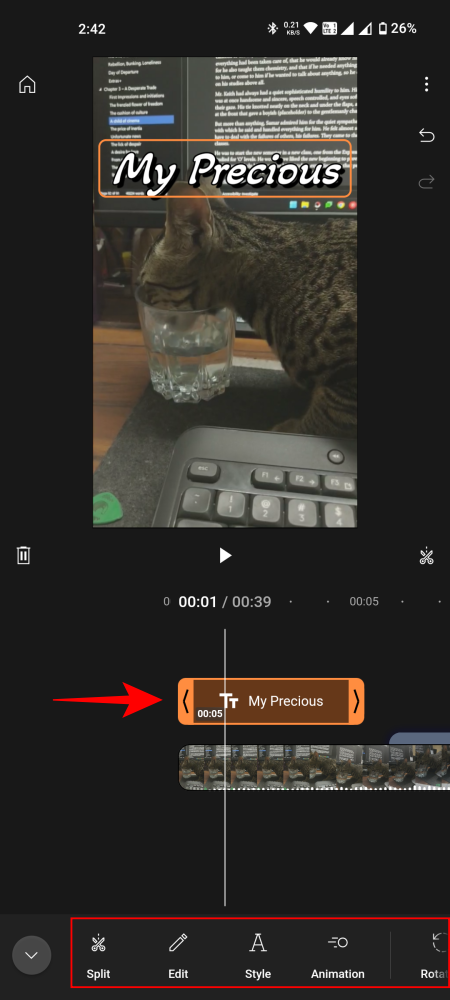
- To edit the textual content, faucet to pick it within the timeline, then select from out there choices within the backside row. ‘Edit’ will allow you to change what’s written; ‘Style’ will enable altering the scale, font, shade, background, format, define, and shadow of the textual content; ‘Animation’ will assist you to select from a wide range of animated types.
-
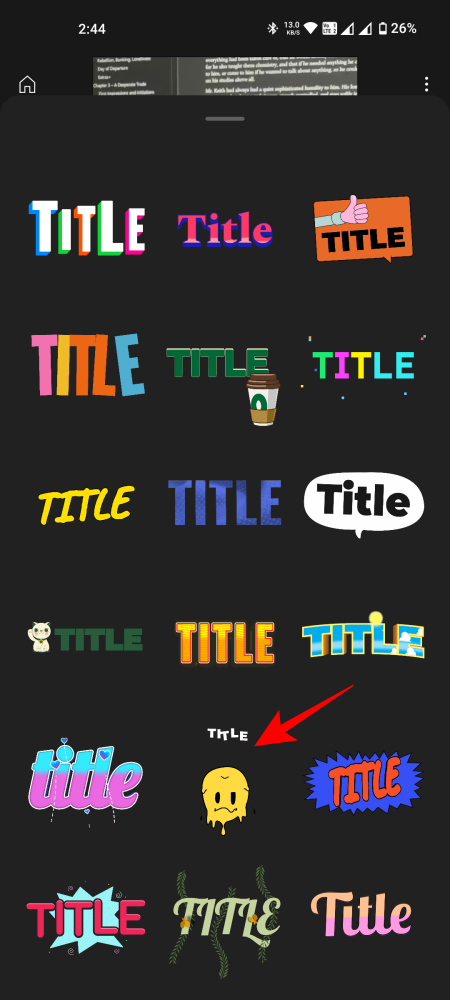
- If you selected ‘Text Effects’ as an alternative, choose from the out there results first.
-
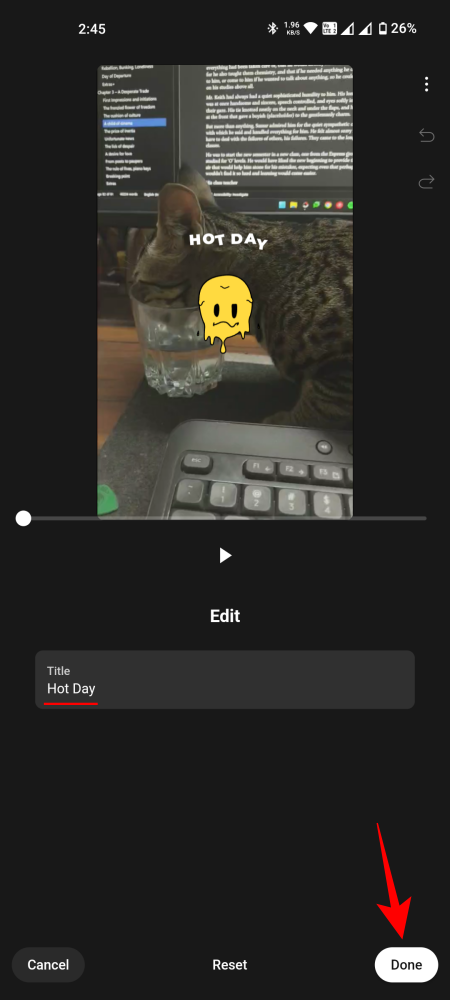
- Then kind your textual content and faucet ‘Done’.
- Once added, you’ll have the ability to edit the textual content as earlier than.
-
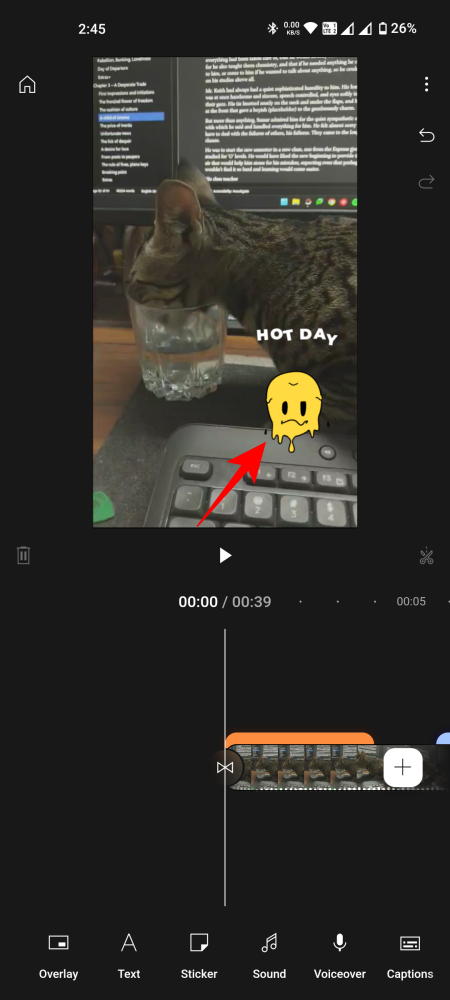
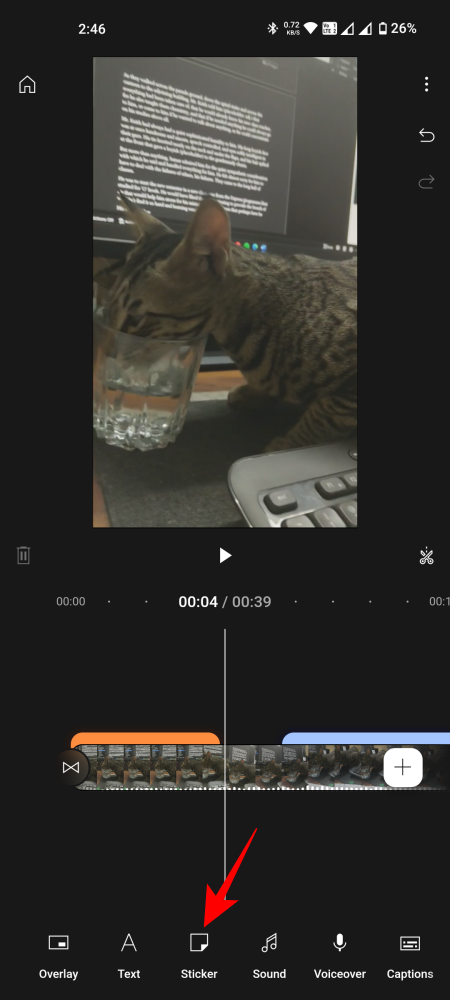
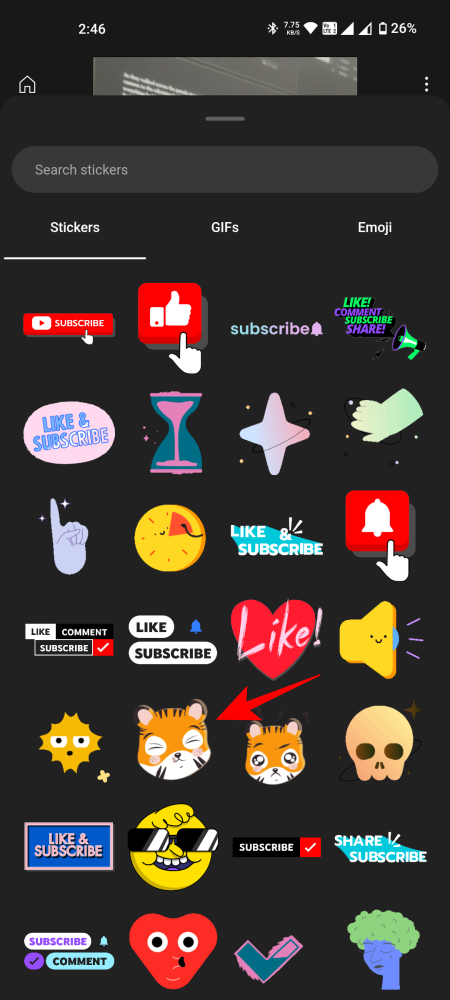
Add Stickers, GIFs, and Emojis
- Tap on ‘Sticker’. Then choose from a large assortment of Stickers, GIFs, and Emojis or seek for it within the discipline on the high. To add one, merely faucet on it.
-
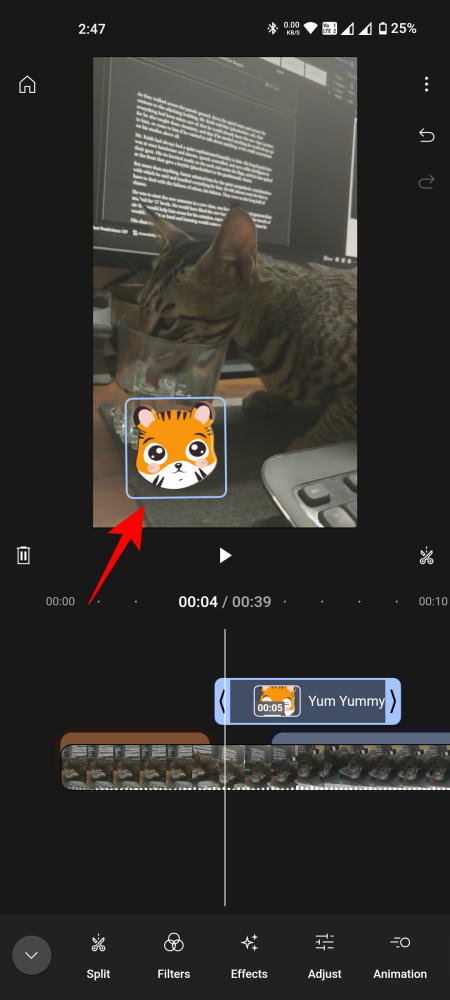
- Once added, change its dimension and place within the video preview. As earlier than, you may edit it (like every other factor) using the choices within the backside row.
-
Sound, Voiceover, and Captions
Now, let’s see how to convey the movies and the photographs to life with the proper sound and music.
Add Sound results and Music
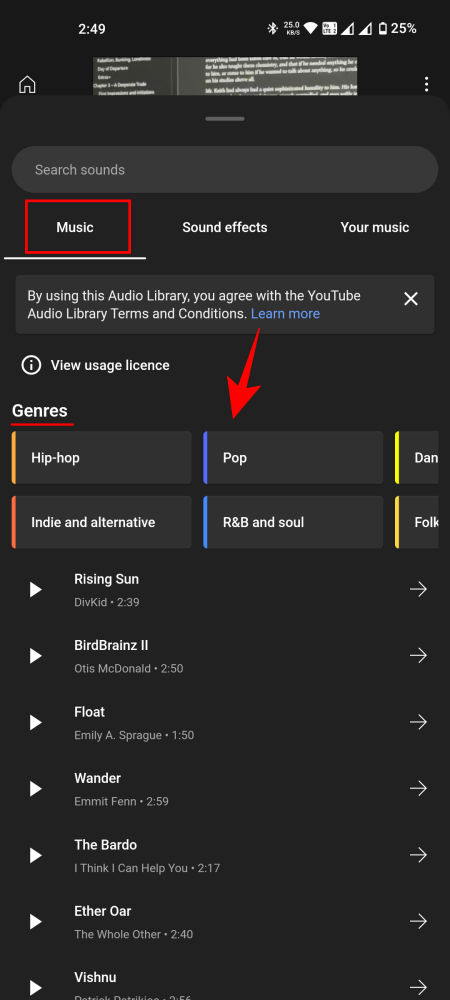
- Tap on ‘Sound’ to begin. Under the ‘Music’ part, you’ll discover a number of genres and quick music clips so as to add to your video.
-
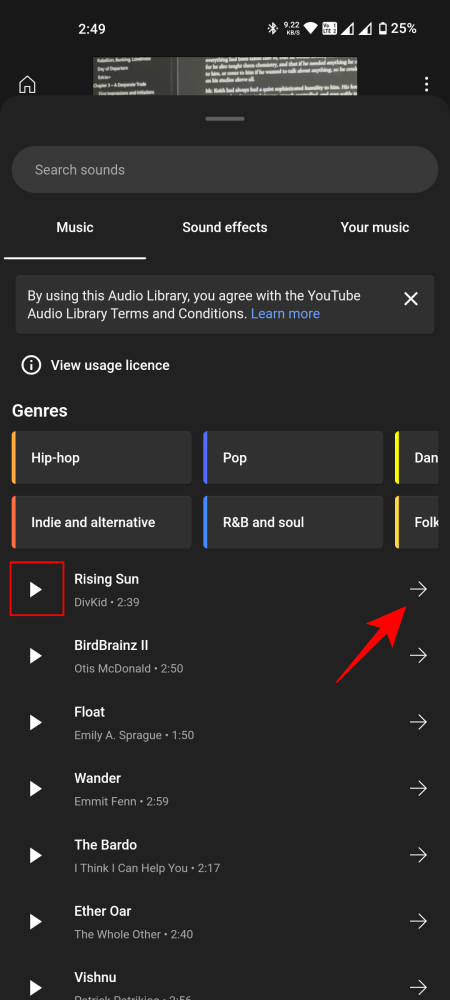
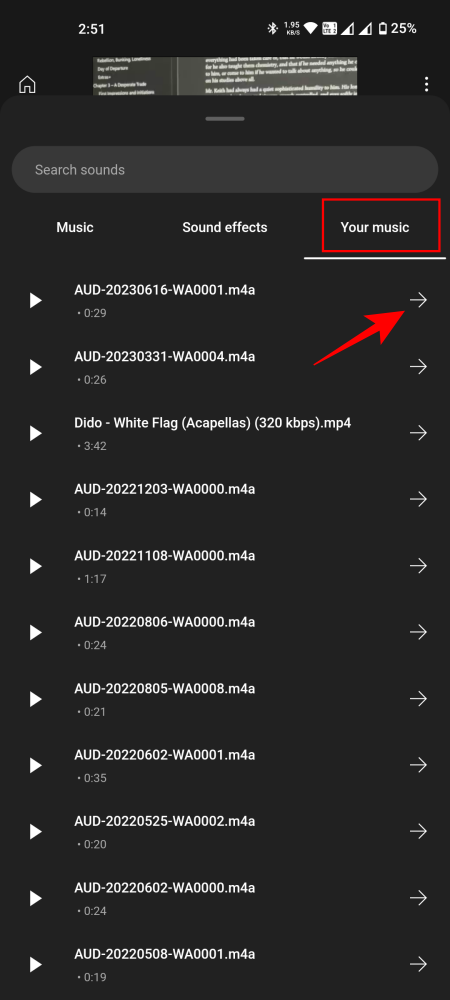
- Check out a chunk by tapping on the ‘Play’ button. To add it to your video, faucet on the proper arrow next to it.
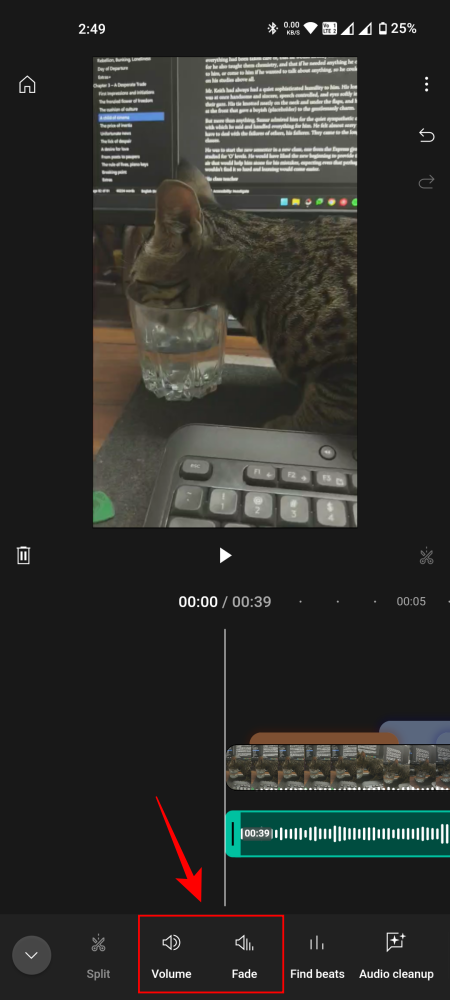
- Once added, you may regulate the quantity or fade it in or out.
-
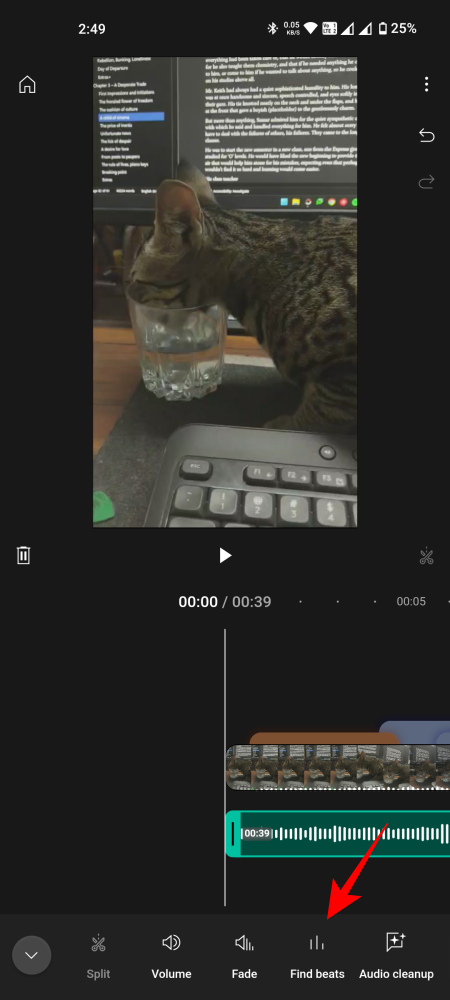
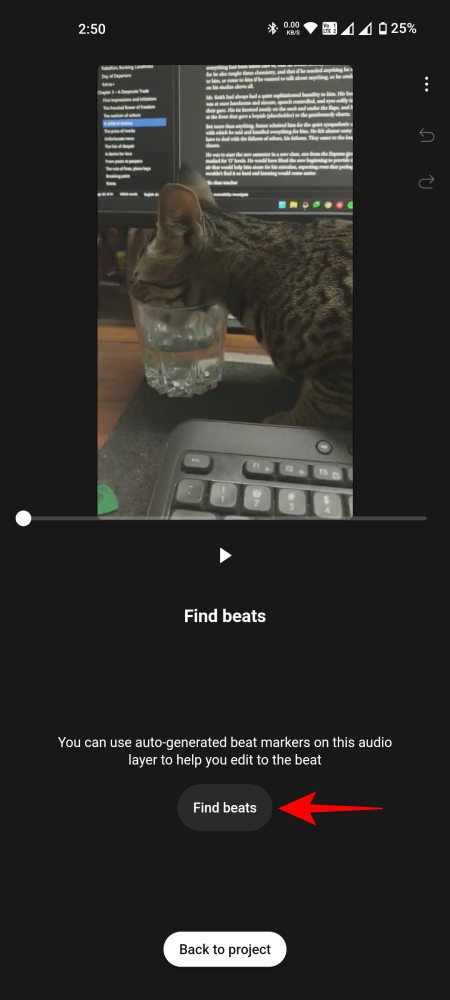
- You can even match the beat completely to the transitions using ‘Find beats’, which is without doubt one of the more superior options right here.
-
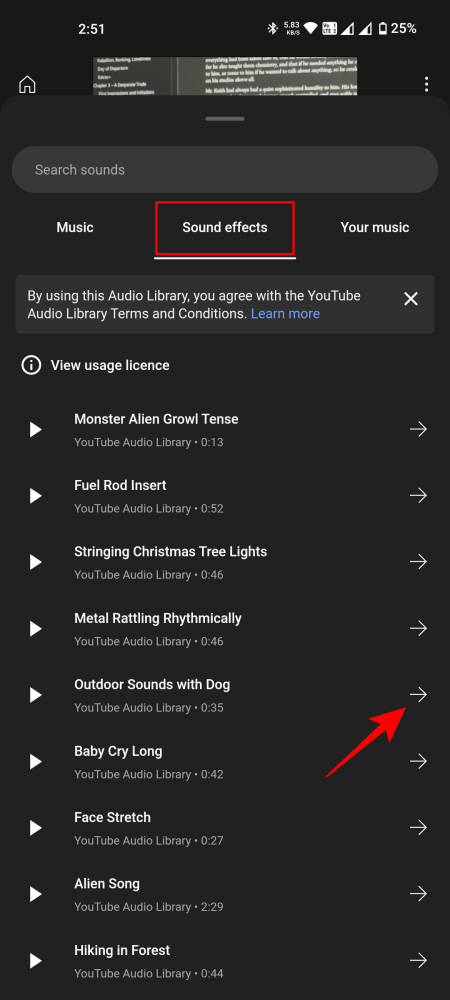
- On the opposite hand, in case you’d somewhat have ‘Sound effects’, you may add them equally as effectively.
- If you don’t discover something within the Audio Library value using, you may at all times add music out of your cellphone as effectively from the ‘Your Music’ tab.
-
Add Voiceover
If your video would do effectively with some narration, YouTube Create helps you to add Voiceovers as effectively. Here’s how:
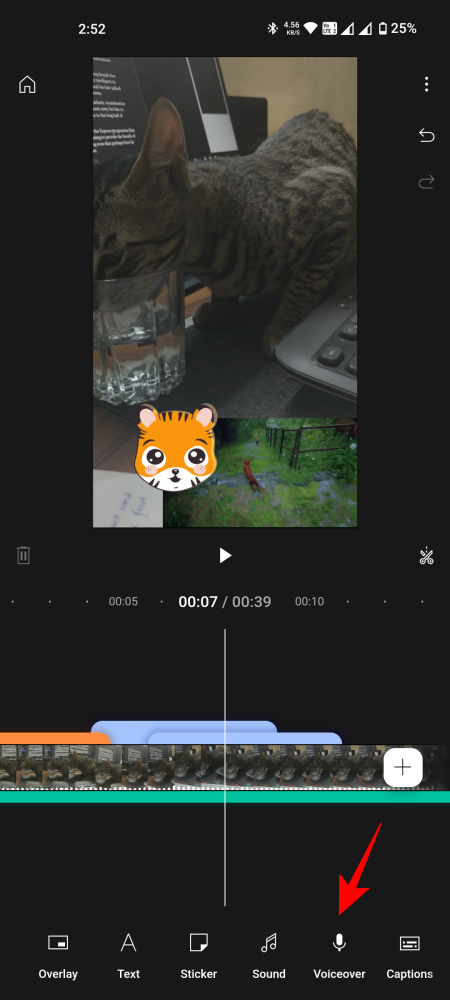
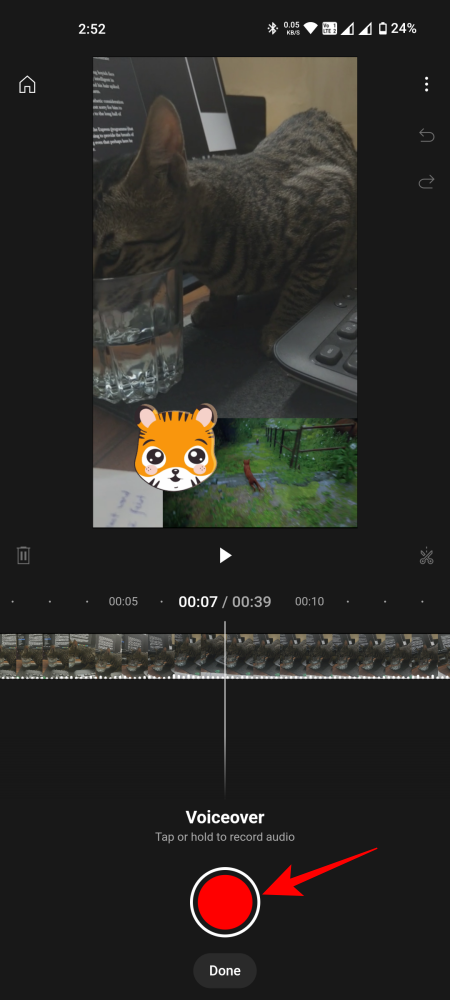
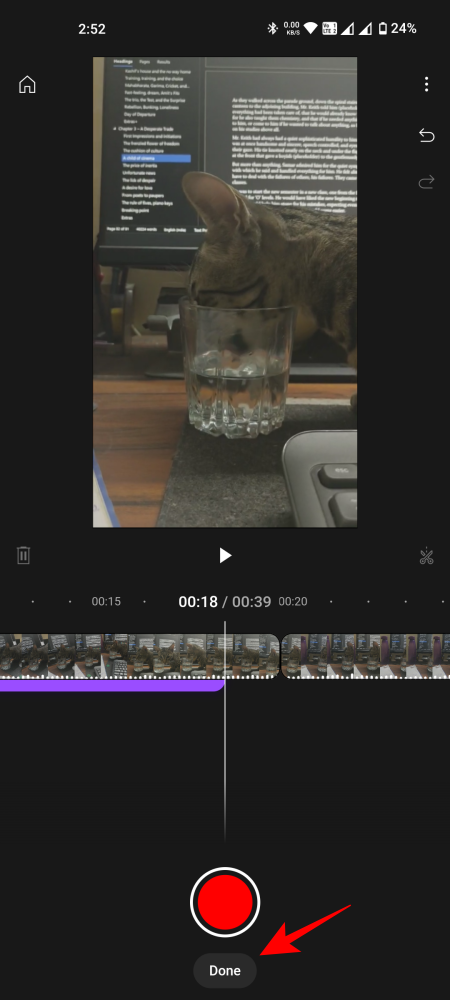
- Tap on ‘Voiceover’ within the backside row. Give the mandatory permissions if requested for it. Then faucet the pink button to begin recording.
-
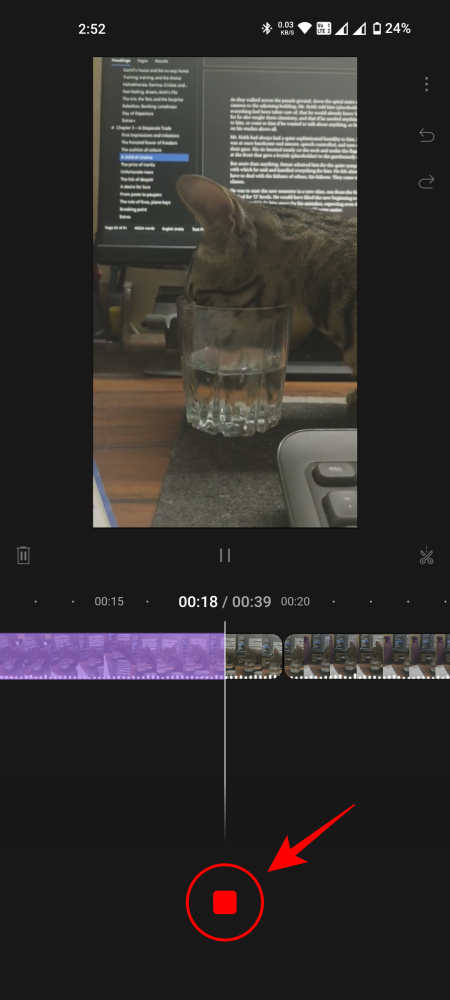
- Tap on the cease button to cease. Use the preview to hear back to the narration. Once completed, faucet ‘Done’.
-
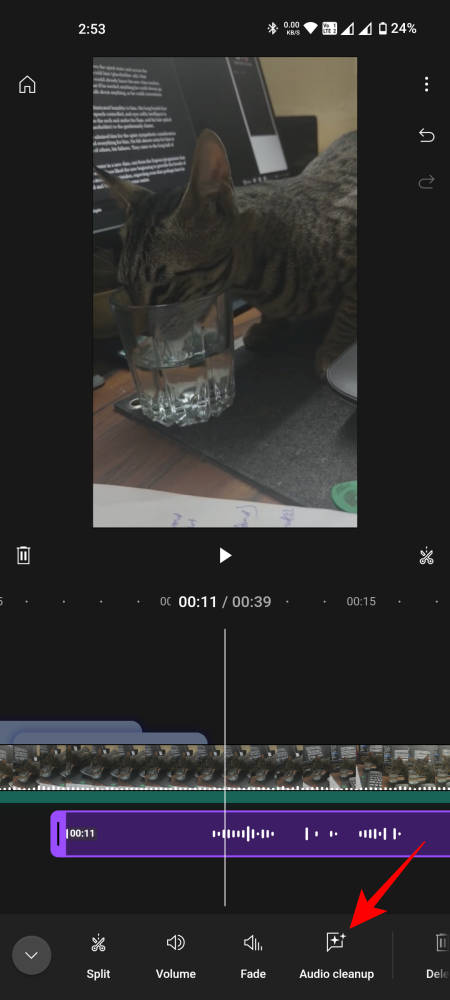
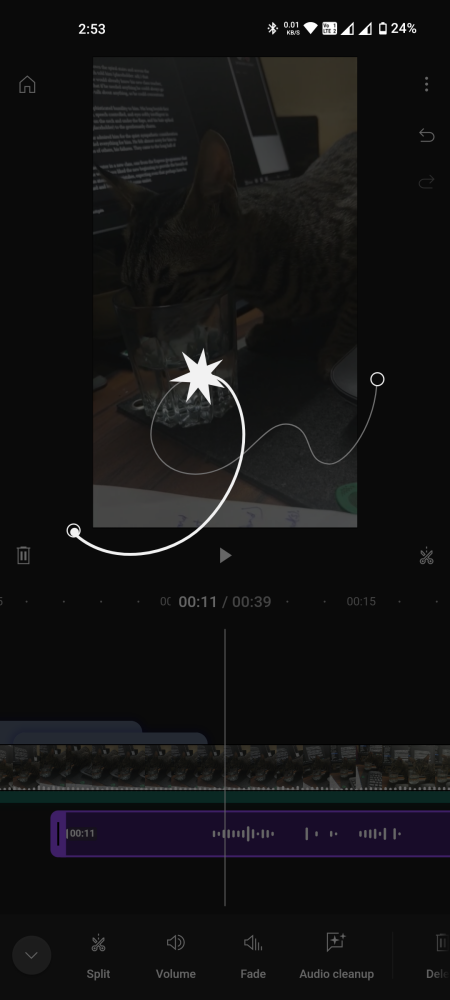
- Once your narration is added to the timeline, you should use the choices within the backside row to edit the quantity, make it fade out and in, and even take away noise using ‘Audio cleanup’.
-
Add Captions
‘Captions’ is without doubt one of the more superior options of YouTube Create, particularly since they’re generated mechanically based mostly in your video. But they do should be arrange first. Here’s how to take action:
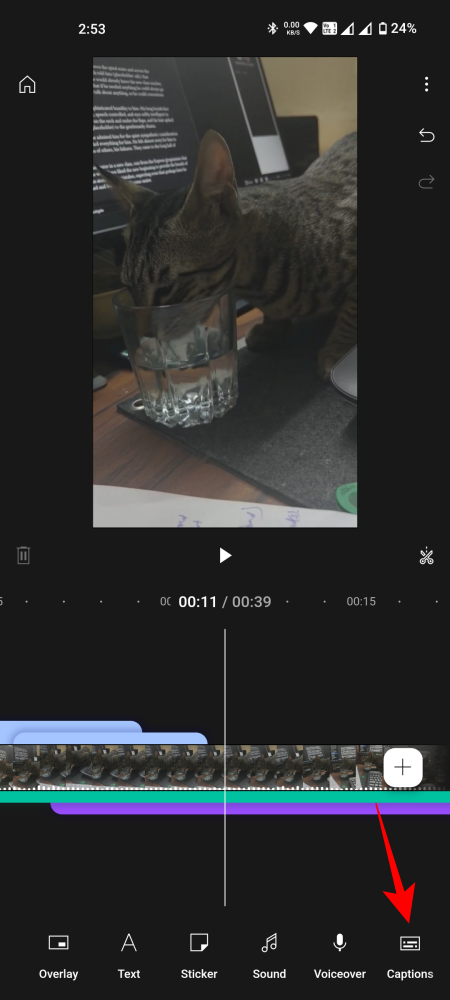
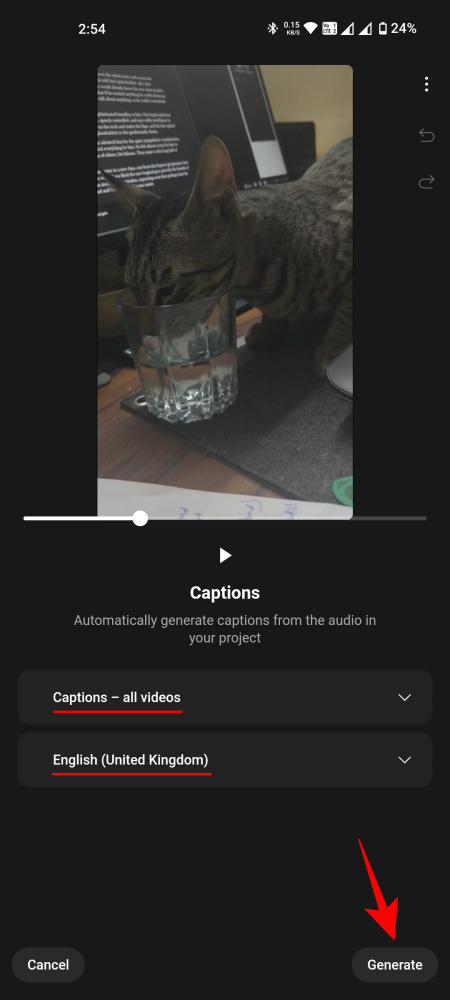
- Tap on ‘Captions’. Then ‘Select source’ (in case you have a number of in your video), and the language by which to generate the captions.
- Tap ‘Generate’. Once they’re executed producing, faucet ‘Done’.
-
Export video
Once you’re completed and all the weather within the video are to your liking, it’s time to export.
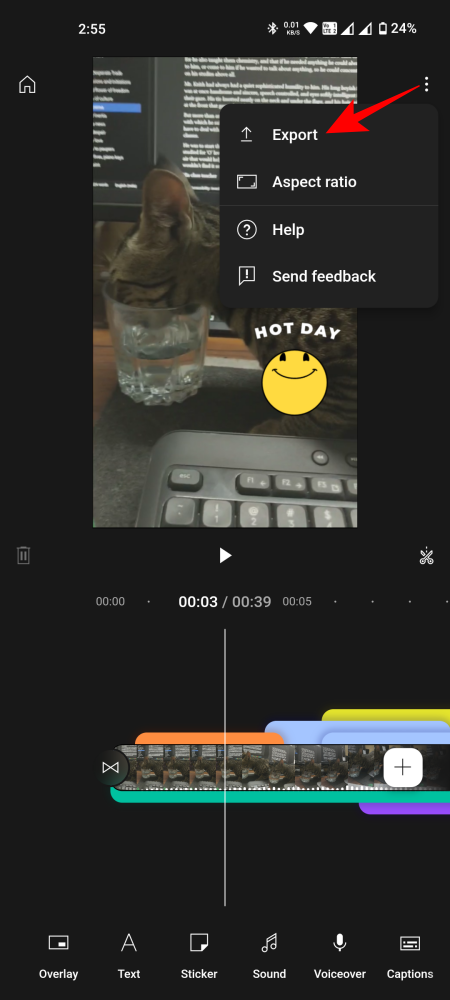
- Tap on the three-dot icon within the high proper nook and choose ‘Export’.
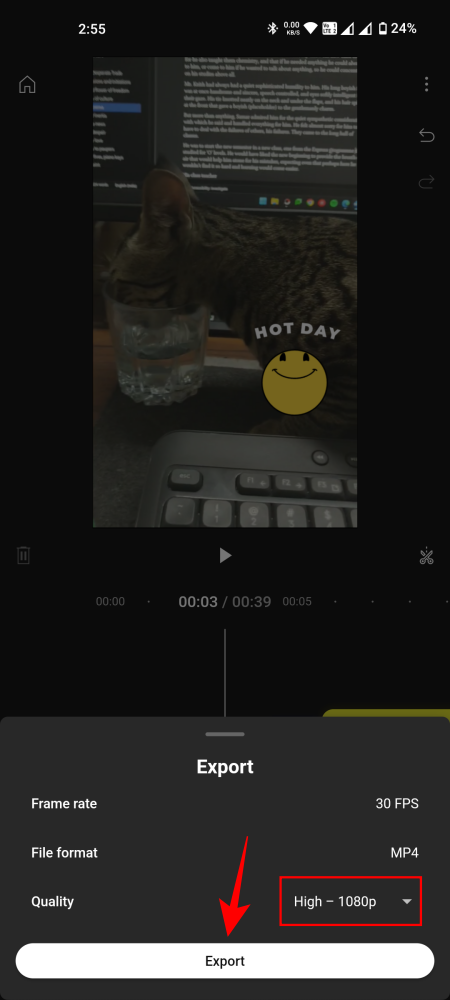
- Select the standard and faucet ‘Export’.
-
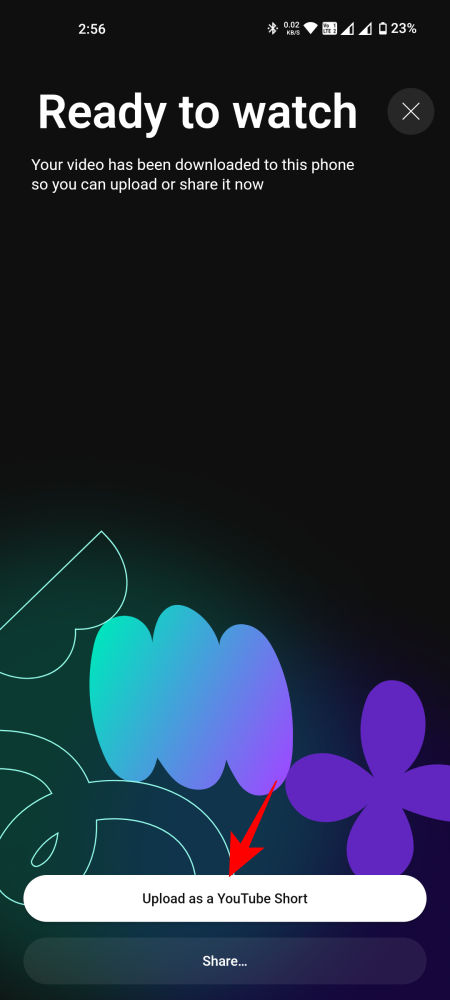
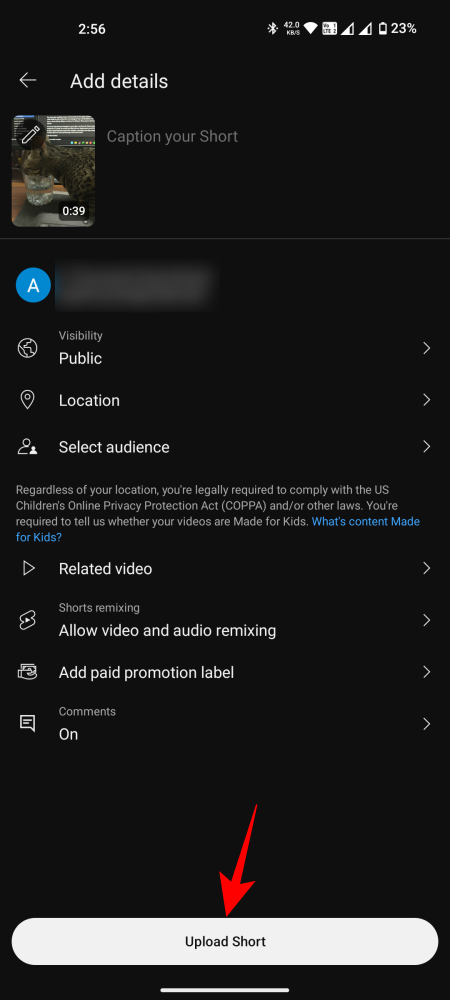
- Once exported, the file shall be out there in your cellphone’s storage. You can ‘Share’ it with others, or select to ‘Upload as a YouTube short’.
-
FAQ
Let’s think about just a few generally requested questions concerning the YouTube Create app for video modifying.
Where is YouTube Create out there?
YouTube Create is on the market in 21 international locations, together with Argentina, Australia, Brazil, Canada, Finland, France, Germany, Hong Kong, India, Indonesia, Ireland, Netherlands, New Zealand, Singapore, South Korea, Spain, Taiwan, Thailand, Turkey, United Kingdom, and the United States.
Is YouTube Create out there for iOS?
Currently, YouTube Create is just out there for Android telephones.
YouTube is clearly concentrating on non-technical creators with its Create app whereas on the similar time trying to wean customers away from different comparable apps like TikTookay which have built-in modifying instruments. Nevertheless, the app in itself will get a ton of issues proper and provides a number of fast edit options which might be positive to face it in good stead.
We hope this information helped you get began with the YouTube Create app. Until next time! Keep creating.
Check out more article on – How-To tutorial and latest highlights on – Technical News