How do I Take a Screenshot on Windows 11 on 60 Keyboard.
Keyboards are available in a wide range of sizes. Some customers favor full-length keyboards with room sufficient for greater than 100 keys, whereas others just like the compactness and portability afforded by smaller keyboards. But fewer keys additionally restrict the power to carry out obligatory capabilities, reminiscent of taking screenshots. If you may have a 60 keyboard, use the next strategies to learn to take screenshots on Windows 11.
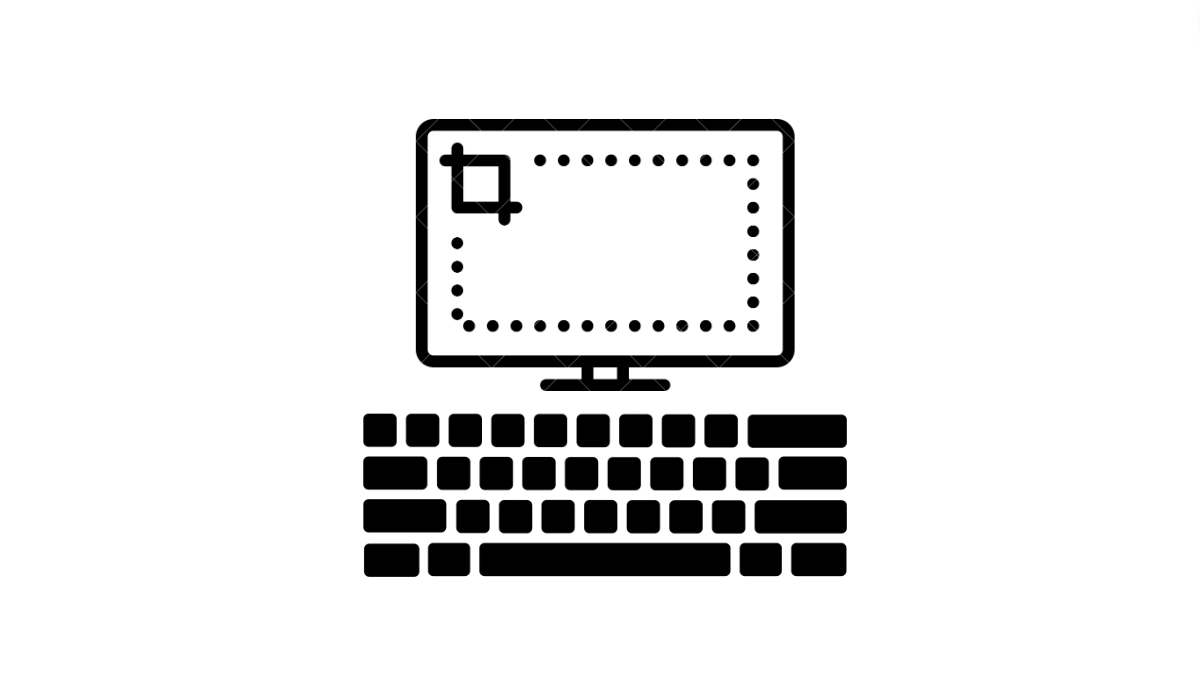
How do I take a screenshot on Windows 11 on 60 keyboard
A 60 keyboard has, because the title suggests, not more than 60-61 keys. The compact nature of the keyboard implies that it has area sufficient for less than the typing keys and the quantity keys row. Everything else – the arrow keys, operate keys, modifying keys, and quantity keys – are mixed with different keys.
As such, the important screenshot key – Print Screen – can be sure or layered with a special key, which is why you’ll want to make use of one of many following strategies to take a screenshot on a 60 keyboard.
Method 1: Using the Snipping Tool
The Snipping Tool is Windows’ default screenshot instrument. Here’s how to make use of it:
- Press Start, sort snipping instrument, and launch it.

- Make positive that the screenshot seize choice (digital camera icon) is chosen.

- Click on New.

- Drag the cursor across the space that you just need to seize.

- Once the screenshot is in Snipping Tool’s canvas, click on on the floppy icon to reserve it.

- Alternatively, you may also press
Win+Shift+Sto open the Snipping Tool and spotlight the realm to seize. The screenshot will mechanically be saved to the Pictures > Screenshots folder.
Method 2: Using ShareX
There are a number of third-party apps on the market that you should use to seize screenshots, none higher than ShareX. With it, you possibly can change the default hotkey used to seize screenshots to whichever key you favor. Here’s how:
ShareX | Download Link
- Use the hyperlink given above to obtain and set up ShareX.
- Launch ShareX and click on on Hotkey settings within the left pane.

- In the ‘Hotkey settings’ window, click on on a mix to vary it.

- In place of the ‘Print Screen’ key, use a key that’s simply accessible to you.

- Make the modifications for all three screenshot choices – Capture area, Capture complete display screen, and Capture energetic window.

- Now, at any time when you must take a screenshot, merely use the ShareX shortcuts that you just’ve configured.
Method 3: Using Screenshot shortcuts
Although the Print Screen key isn’t simply accessible on a 60 keyboard, it’s there to be used. But first, you’ll want to search out it. Depending in your keyboard producer, the PrtSc key may very well be sharing one of many typing keys. Take word of this key. Then use the next shortcuts to take a screenshot:
Fn + Print Screen key– Capture the complete display screen to the clipboard.Alt + Fn + Print Screen key– Capture the energetic window to the clipboard.Win + Fn + Print Screen key– Captures the complete display screen and saves the PNG file within the Pictures > Screenshots folder.Win + Shift + S– Opens the Snipping Tool seize.
Method 4: Using the Game Bar app
The Xbox Game Bar comes pre-installed on Windows 11 and offers yet one more manner for customers to seize screenshots. Here’s how:
- Press Start, sort Game Bar and open it. Alternatively, press
Win+G.
- In the ‘Capture’ window, click on on the ‘Take Screenshot’ choice.

- Once the screenshot is captured, you’ll obtain a notification from the Game Bar.
- Click on ‘See my captures’ to view your screenshots.

- Your screenshots might be saved within the C:Users(person)MoviesCaptures folder.
- The shortcut to capturing the screenshot is
Win+Alt+PrintScreen. However, since we’re working with a 60-keyboard, the Fn key comes into play as effectively, making the entire shortcut –Win+Alt+Fn+PrintScreen.
Method 5: Using the On-screen keyboard
Regardless of the keyboard dimension, you possibly can all the time use the On-screen keyboard to seize screenshots. Here’s how:
- Open the ‘On-screen keyboard’ from the Start menu. Alternatively, press
Win+Ctrl+Oto launch it. - You’ll see the devoted PrtScn key on the on-screen keyboard. Now use the shortcuts given in technique 3 (with out Fn) to seize the display screen.
FAQ
Let’s check out a number of generally requested questions on taking a screenshot on Windows 11 on 60 keyboard.
How do you Print Screen on Windows 11 60 keyboard?
The Print Screen key on a 60-keyboard is sure or layered with one of many typing keys. The precise binding will differ relying in your keyboard’s producer. Look for the important thing with the ‘Prt Scr’ marking after which use it together with the Fn key to activate it.
How do I take a screenshot on Windows 11 with Windows key?
To take a screenshot with the Windows key, press Win+PrtScr. For these with a 60-keyboard, press Win+Fn+PrtSc.
We hope you have been in a position to seize screenshots on Windows 11 in your 60-keyboard. Until next time!
Check out more article on – How-To tutorial and latest highlights on – Technical News