How do I Make Windows 11 Look Like Ubuntu.
One of the perfect issues about Windows is the power to personalize its look to your coronary heart’s content material. With the discharge of Windows 11 only a day away, customers are closely customizing Windows Explorer and different components of the person shell expertise. If you’re a fan of Ubuntu and need Windows 11 to appear to be Ubuntu from the 2010s, right here’s how to take action.
How do I theme Windows 11 like Ubuntu
Windows 11 is chock-full of customizable choices which, if the person has a specific visible ingredient in thoughts, could be made to appear to be nearly another OS on the market. Here are the steps it’s good to observe to make Windows 11 appear to be Ubuntu.
Step 1: Download essential recordsdata
First issues first, seize all the required recordsdata. There are about 4 issues that it’s good to obtain. But don’t fear, we’ll undergo them one after the other so you already know precisely what to do:
1. Ultra UX Theme Patcher
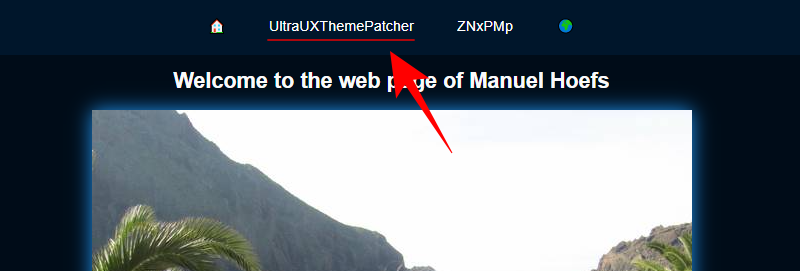
Firstly, obtain the Ultra UX Theme Patcher. Clicking on this hyperlink will take you to Manuel Hoefs’ web site that hosts the theme patcher. Click on UltraUXThemePatcher on the prime.
Then click on on UltraUXThemePatcher underneath “Download”.
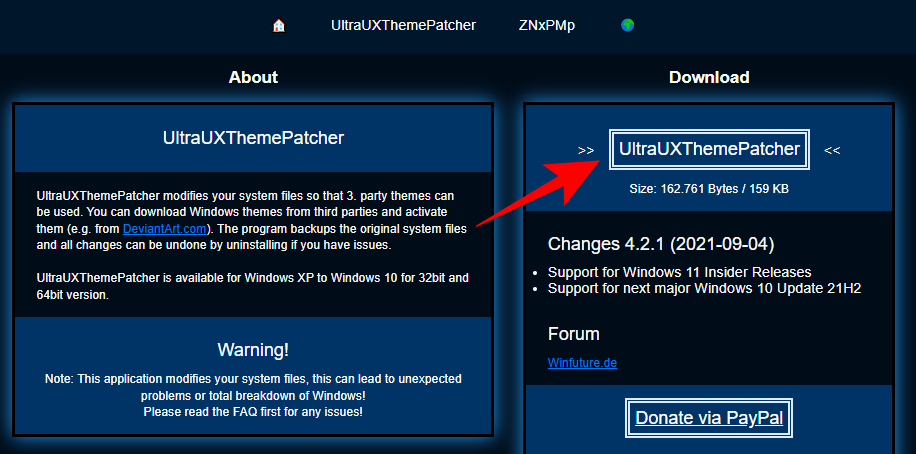
Once the obtain finishes, transfer on to the following file to obtain.
2. KOZ-Theme
This is the Ubuntu theme that may make Windows 11 appear to be Ubuntu, or at the least most of its constituents. Download the KOZ-Theme right here.
You would require a DeviantArt account to obtain this theme so be sure you enroll and log in when you haven’t accomplished so. Scroll down and click on on the Download icon underneath the screenshots.
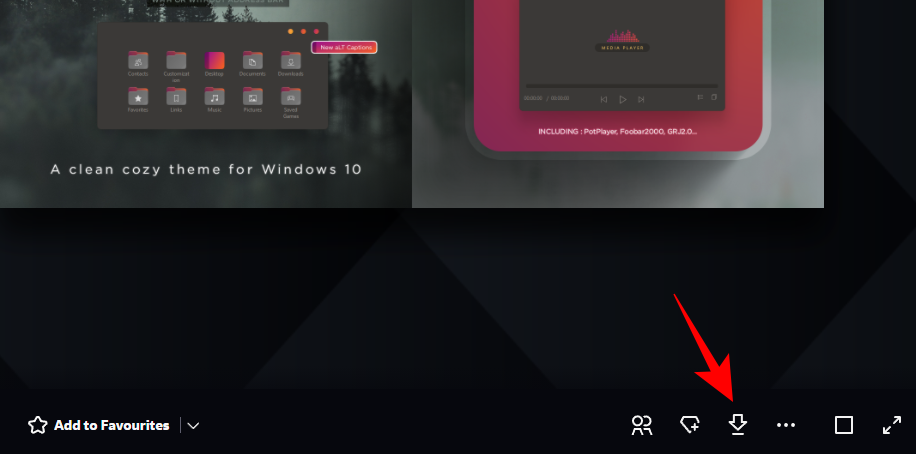
This will obtain the theme as a zipper file.
3. 7TSP Icon Patcher
This is required to patch the icons which might be discovered inside the KOZ-Theme above. Download the 7TSP Icon Patcher right here.
Again, click on on the Download icon underneath the screenshots.

The file will probably be downloaded as a zipper file.
4. Old New Explorer
This is required to change the Explorer’s capabilities to make them appear to be that of Windows 7 after which the theme will additional patch the Explorer to appear to be Ubuntu. Download the OldNewExplorer right here.
Click on the Download now button on the web page linked above.

Step 2: Install Ultra UX Theme Patcher
Next, we’re going to put in the UltraUXThemePatcher. Simply double-clicking it could not work and Windows will throw up a “Windows protected your PC” message and received’t will let you run it.

To bypass this, right-click the setup file and click on Properties.

Under the “General” tab, next to “Security” on the backside, you will notice the Unblock possibility. Make positive there’s a examine next to it. Then click on OK.

Now you possibly can double-click the executable to run the setup. Go by means of the on-screen prompts and set up UltraUXThemePatcher.
Step 3: Unzip ‘Ko-Z’ zip and Apply Theme
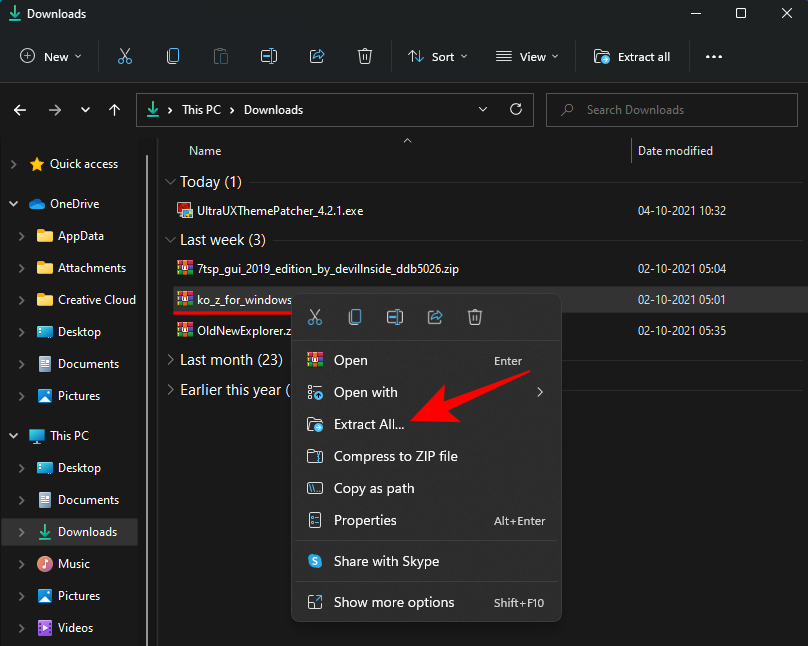
Now go to the folder location the place the ‘Ko-Z’ zip file was downloaded. Then unzip it using a file archiver. If you don’t have one, right-click on the file and choose Extract all.
Click on Extract.

Once the recordsdata are extracted, double-click on the ‘ko-Z’ folder.

Then double-click on the ‘Windows 10 Themes’ folder.

Copy all of the recordsdata on this folder. An simple shortcut is to press Ctrl + A to pick out all, after which press Ctrl + C to repeat the recordsdata.

Now navigate to the next handle:
C:WindowsSourcesThemes
Paste the recordsdata right here (press Ctrl + V). You’ll be requested to supply admission permissions. Check on the field “Do this for all current items”, then click on Continue.

Once the recordsdata are pasted, press Win + I to open Settings and click on on Personalization within the left pane.
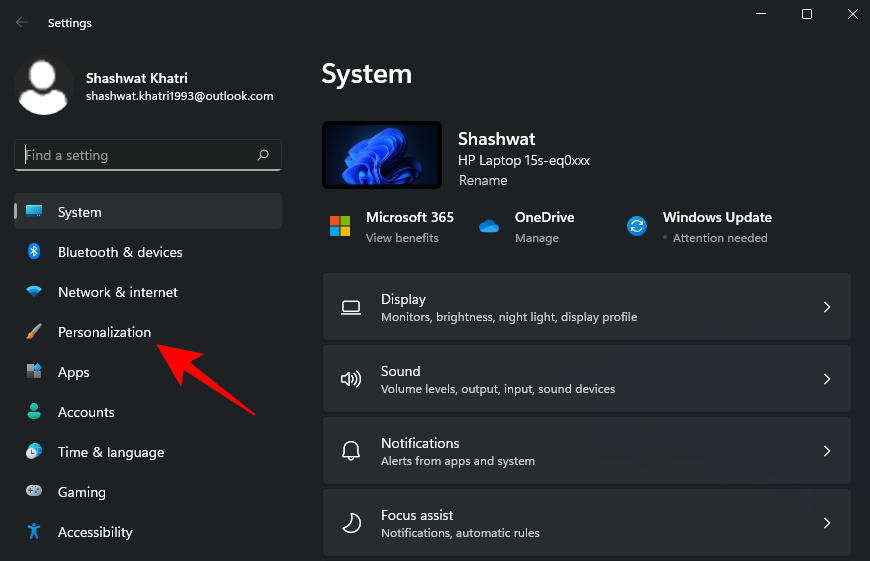
On the suitable, scroll down and click on on Themes.

Here, you will notice a bunch of themes. But those we’ve copied received’t have a preview. Select the final theme with out a preview (that is the primary ‘Ko-Z’ theme).
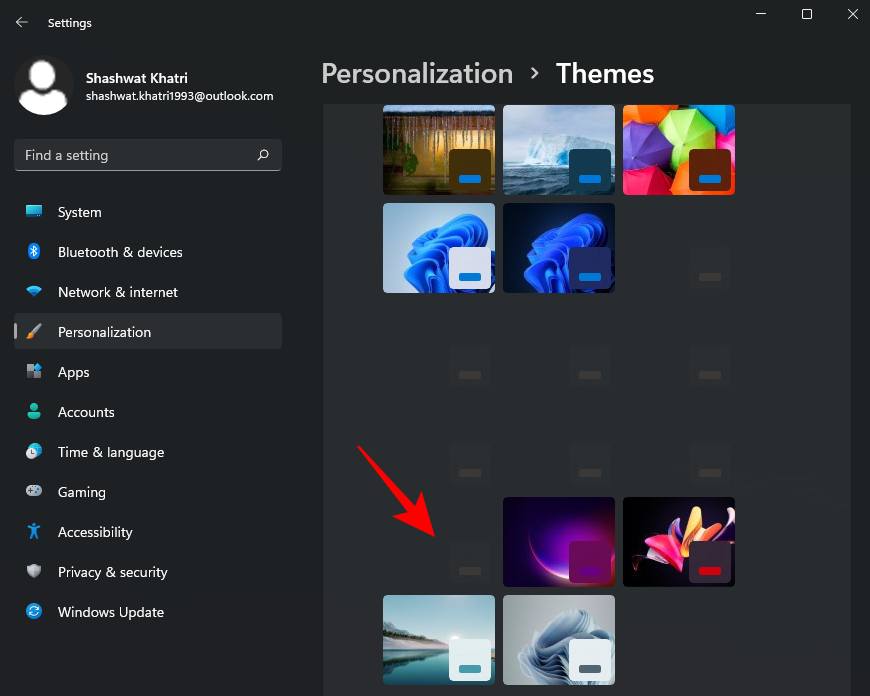
Once the theme is utilized, be sure that it says ‘Ko-Z’ next to “Custome theme”.

Step 4: Unzip ‘7tsp GUI’ zip and apply Icons
The icon pack is accessible in the identical ‘Ko-Z’ theme folder that we extracted within the earlier step. But we’ve to make a slight change to ensure it’s acknowledged. So return to the ‘Ko-Z’ folder and double-click on the ‘Icon Packs’ folder.

Then go into the ‘7TSP 1903 builds or newer’ folder.

Now proper click on on the ‘7TSP’ file and click on on the rename icon.
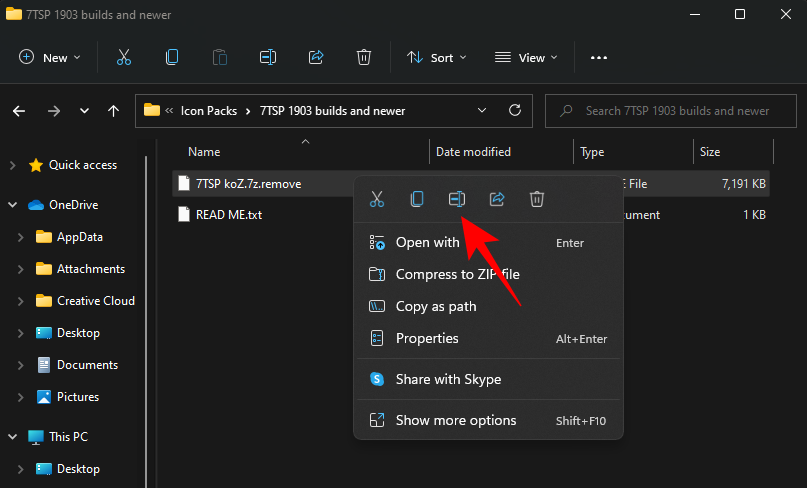
Delete the ‘.remove’ on the finish of it and hit Enter. When prompted, click on on Yes.

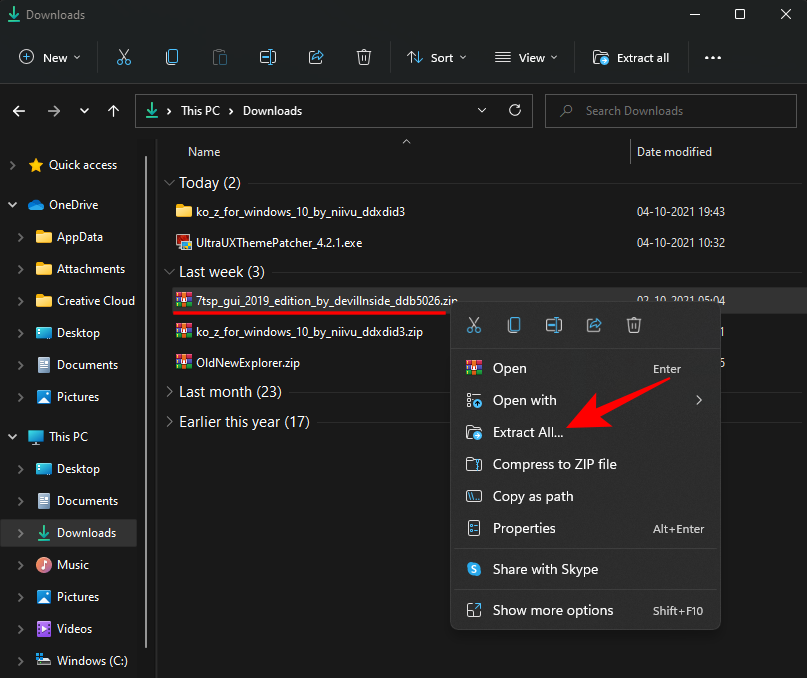
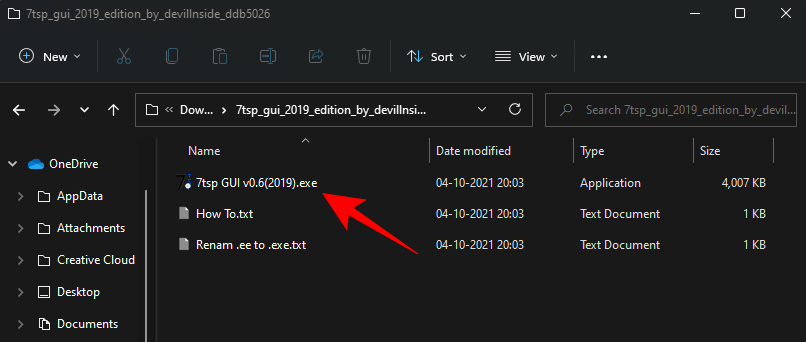
This will flip this into an archive. There’s no have to unzip this file and we are going to get back to it later. Instead, unzip the beforehand downloaded ‘7tsp gui’ zip file (use both a file archiver app or right-click on the file and choose ‘Extract all’ as proven beforehand).
Once extracted, right-click on the ‘7tsp GUI’ file and click on on rename.
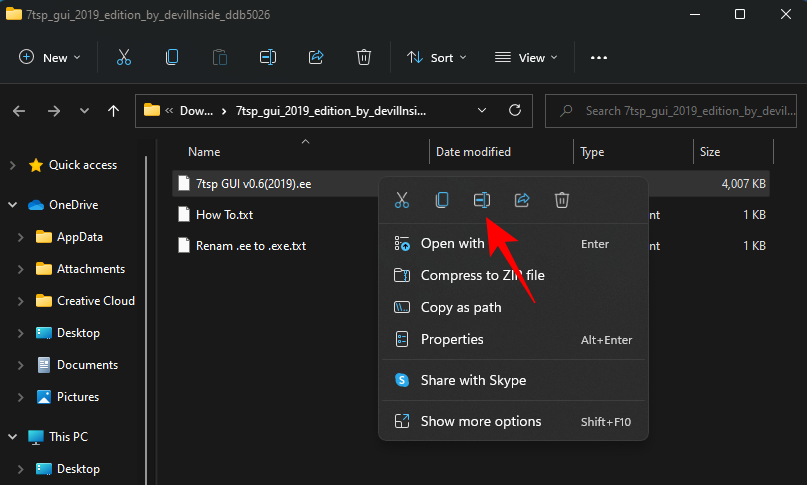
Change the ‘ee’ on the finish to ‘exe’, then hit Enter. When requested to verify, click on Yes.
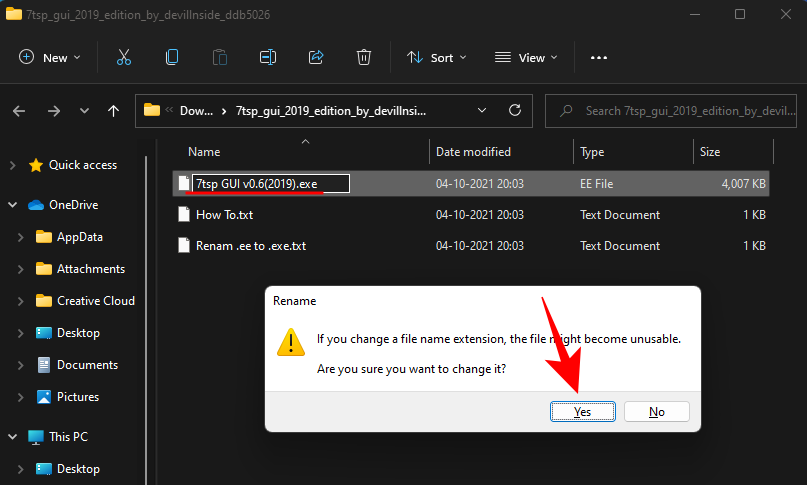
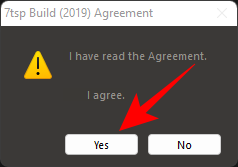
Now run this executable file.

Click on Yes.
This will open the ‘Se7en Theme Source Patcher’. Click on Add a Custom Pack.

Now navigate to the ‘7tsp’ zip file that we renamed earlier within the ‘Icon Packs’ folder, choose it, and click on on Open.

Click on Start Patching.

Then click on Yes.

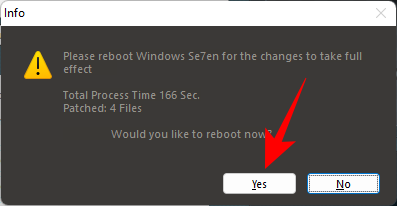
You must wait fairly some time for the method to complete. Once full, you’ll be requested to reboot your system. Click Yes.
Step 5: Change Registry recordsdata to get Folder icons
After the restart, you will notice the modifications utilized to most icons. However, the folder icons would stay the identical. That’s as a result of this specific icon pack doesn’t change the thumbnail folder view. To change this, we’ve to execute a registry repair.
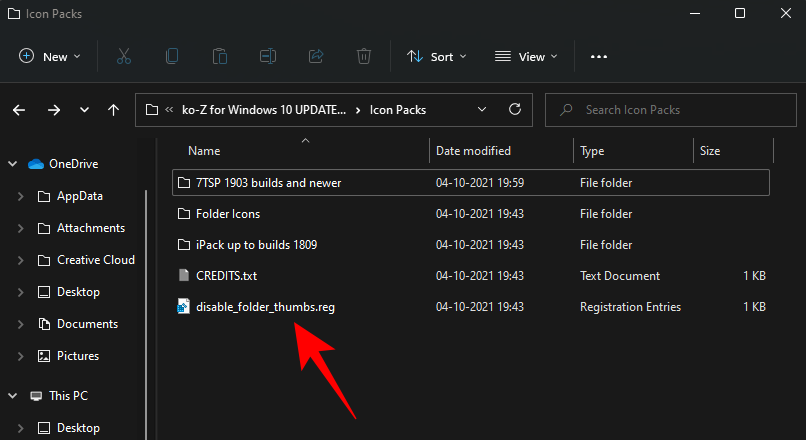
There’s already a file that may do that for you within the ‘Icon packs’ folder inside the ‘Ko-Z’ folder that we unzipped earlier. Navigate to it after which double-click on disable_folder_thumbs.reg file.
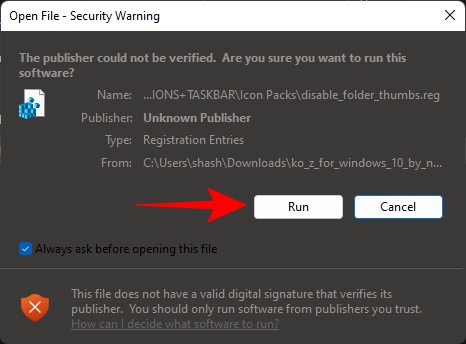
Click on Run.
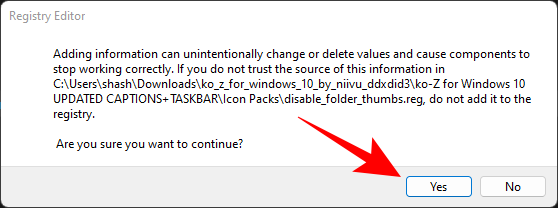
Click Yes.
Click OK.
Step 6: Refresh Icons with 7tsp GUI
Run the 7tsp GUI once more.
Click on Restore.

With “Restore modified system files to before 7tsp was used” chosen (first possibility), click on on Refresh Icons.

Click on Yes.

Step 7: Apply Wallpaper
The wallpapers can be found within the ‘Wallpaper MODS’ folder contained in the ‘Ko-Z’ folder.
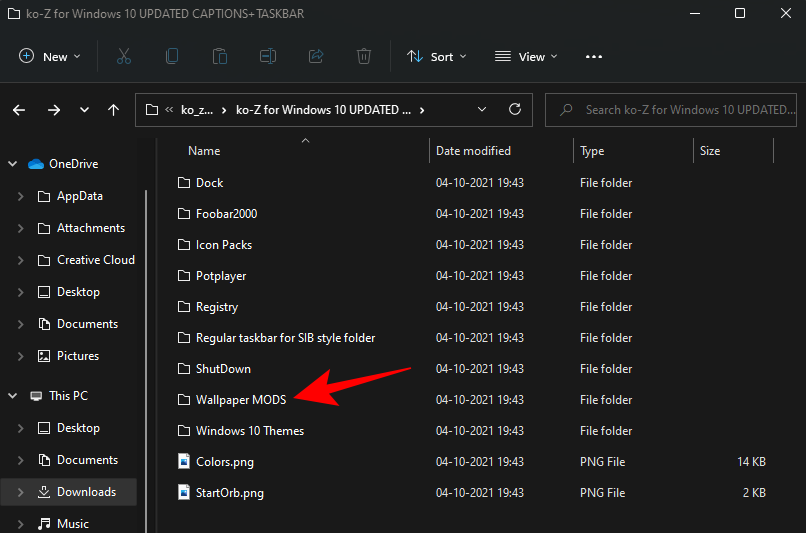
Choose a wallpaper, right-click on it and choose Set as desktop background.

Step 8: Unzip OldNewExplorer
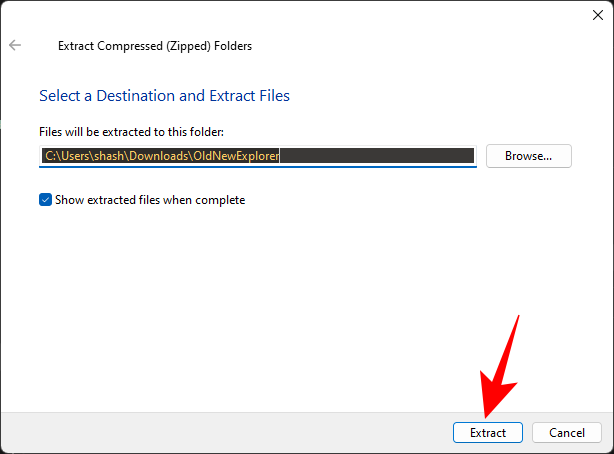
Lastly, we’re left with unzipping and making use of the previous Explorer that we downloaded earlier. Right-click on the OldNewExplorer.zip and choose Extract all.

Then click on Extract.
Once the recordsdata are extracted, run ‘OldNewExplorerCfg.exe’.

In the OldNewExplorer configuration window, choose the next three choices underneath ‘Appearance’:
- Hide caption textual content in File Explorer windows.
- Hide caption icon in File Explorer windows.
- Hide Up (go to mother or father folder) button.
Then click on on Install.

Your Ubuntu theme is now full.
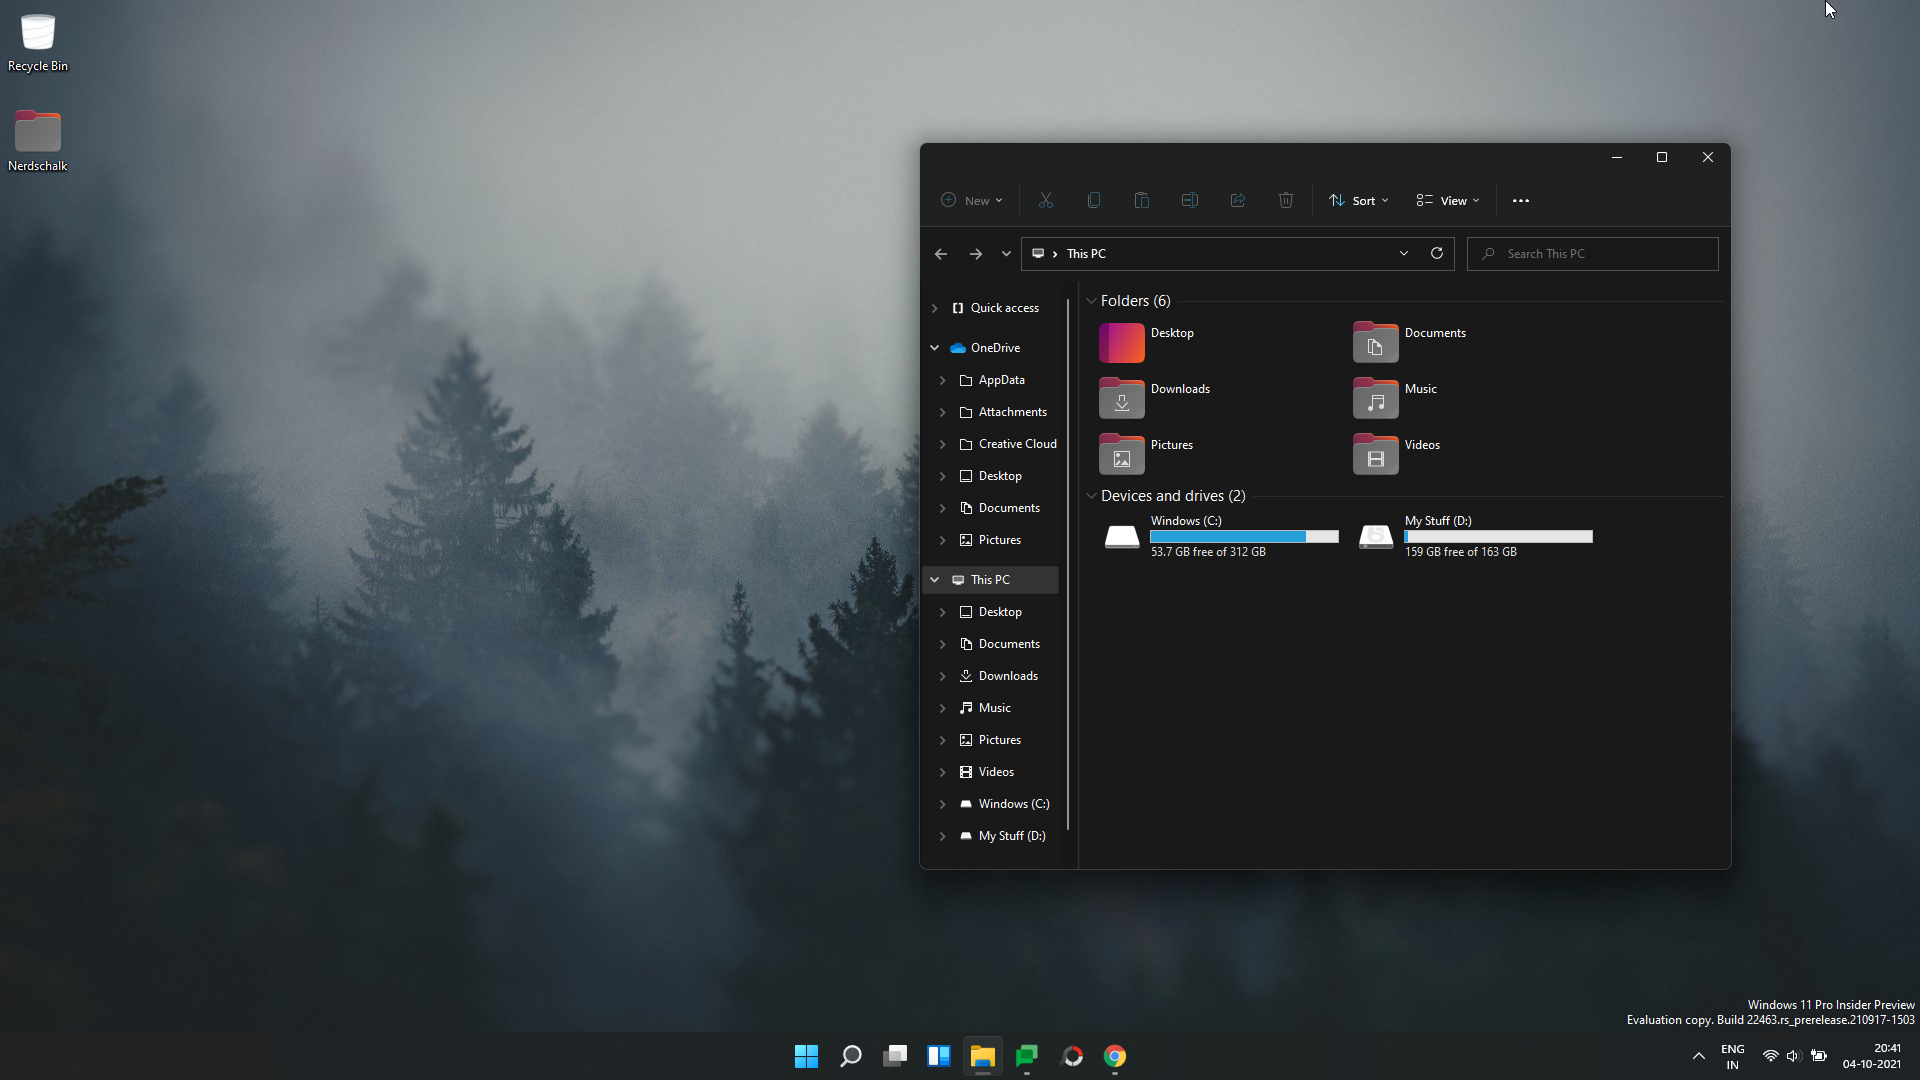
We hope you have been capable of get the Ubuntu theme on Windows 11 with the assistance of the information above.
Check out more article on – How-To tutorial and latest highlights on – Technical News