Why Is My Motherboard HDMI Not Working? How Do I Fix It.
If you’re using a graphics card and attempting to change to the motherboard’s HDMI, it merely received’t work! You should allow the iGPU setting or at the least set the Primary Video Device to built-in graphics.
The similar applies to customers making an attempt to hook a number of screens — one related to the GPU and the opposite to the motherboard.
Your motherboard HDMI additionally might not work as a result of one of many following causes:
- Loose connection or broken cable/port
- Intel/AMD processor doesn’t assist iGPU (built-in graphics)
- Disabled or misconfigured iGPU settings in BIOS
- Faulty graphics drivers
Don’t fear! I’ll information you thru options to repair the HDMI problem in your motherboard.
Check Physical Connectivity and Damages
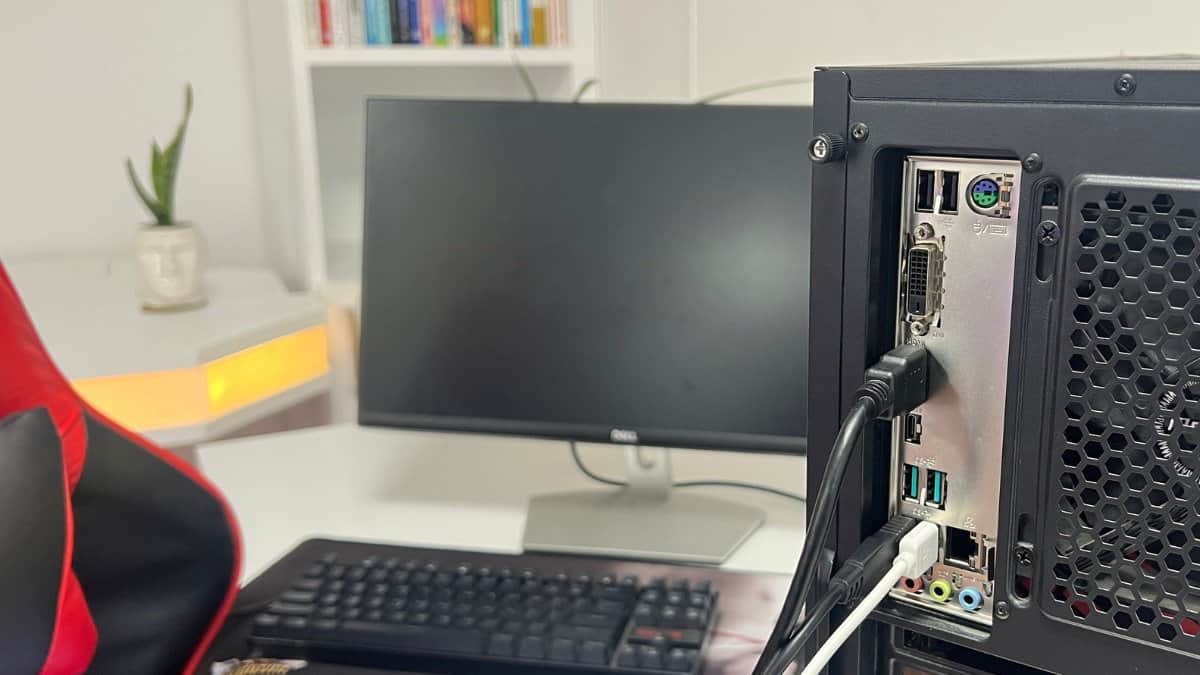
First, let’s rule out doable connection points. Is the HDMI cable loosely related to the monitor or motherboard? Or do you see any bent pins within the HDMI port?
Depending on the problem, strive a special cable or use one other video port. For instance, use a DisplayPort or VGA cable if the HDMI cable isn’t working.
Yet getting the identical NO SIGNAL problem? I counsel connecting your motherboard to a spare monitor if you happen to personal one.
If this labored, you may affirm that there’s an underlying problem along with your motherboard. So, you might bounce straight to the ‘Final Troubleshooting‘ part under.
If not, I consider you’ve a graphics card put in. And I’m just about certain you’re getting the show using its HDMI port.
Thus, the issue probably exists with the built-in graphics. There’s no want to fret although! The next troubleshooting steps are targeted on the identical and will assist you to allow the motherboard’s HDMI.
Ensure CPU Supports Integrated Graphics

Before that, I would like you to substantiate whether or not your CPU is packaged with iGPU. Note that almost all motherboards in the present day assist built-in graphics – however not all processors assist it.
If you’re already planning to get a devoted GPU, there’s often no want for built-in graphics. That’s the rationale PC builders set up a CPU that doesn’t have built-in graphics assist.
You can simply establish your processor specs from BIOS and even Windows-based utilities. Do be aware that you simply’ll must use one among your graphics card ports for this.
AMD customers will see an indication of ‘Radeon Graphics’, that means yours is an APU (which is completely different from CPU)!

On the opposite hand, Intel customers can get to the Display part in one of many OS-based utilities. You ought to discover a sign of HD/Iris/UHD (as demonstrated within the System Information utility under).
Even not too long ago when connecting 4 screens using HDMI, I used to be getting a No Signal message on my colleague’s motherboard. Little did I do know that he had put in a Ryzen 5 2600 (that required a discrete GPU).
If yours additionally doesn’t have iGPU assist, you’ll need to depend on the graphics card. So, the one doable resolution is to improve your processor. In case you’re able to go for it, be certain the CPU and motherboard are suitable with each other.
Note: If your processor doesn’t assist built-in graphics, you received’t discover a related choice in BIOS.
Configure iGPU Settings in BIOS
Now that you simply’ve confirmed your processor has a built-in GPU, it’s time to tweak this setting. Simply put, the choice is routinely disabled if you set up a graphics card.
The actual choice varies relying on the motherboard producer and platform (Intel or AMD). Here are the final steps that apply to all:
- First, join your monitor to the devoted GPU to get the show.
- Next, get to the UEFI/BIOS Utility. You might enter it from the Windows RE or just use the manufacturer-recommended key in the course of the startup/splash display screen.
- If you’re in EZ mode, swap to Advanced mode. Even right here, the devoted key differs primarily based on the producer.
- Look for these choices within the Advanced tab – Integrated Graphics Configuration, NB Configuration, SA Configuration, Chipset Configuration, AMD CBS, and so forth.

- Here, set the Integrated Graphics, iGPU/IGFX/IGD Multi-Monitor, or an analogous choice to Enabled/Forces/Auto.

- Lastly, save the settings and exit BIOS.
- Connect your show device to the motherboard’s HDMI port. Verify whether or not your monitor detects it or not.


If yours is already enabled, examine if there’s a Primary Video Device setting. In case the choice is configured to PCIe Video as a substitute of IGFX Video, your motherboard’s HDMI port received’t work.

That’s what occurred to me on my ASUS PRIME B450-PLUS. To repair the HDMI port not working in your PC, swap to the IGFX Video mode and save the change.
Try Updating or Reinstalling Graphics Drivers
If the issue persists regardless of having the iGPU choice enabled in BIOS, graphics drivers may very well be those accountable. Broken or corrupted drivers can typically result in no show points as they interrupt the hardware-to-software communication.
Keep in thoughts that we’re updating the iGPU driver (not the devoted GPU). And as with earlier troubleshooting, you’ll want to make use of your graphics card right here.

The easiest method to do that is from the Device Manager. Expand Display Adapters, right-click in your iGPU driver, and select Update Driver. Select Search routinely for drivers and the method ought to start.
Did you get the ‘best drivers are already installed’ message? That’s fairly regular. In this situation, I counsel trying to find a related driver on Windows Update.

Sometimes, graphics drivers may very well be hidden inside Optional updates. Don’t overlook to examine that out (Advanced Options > Additional Options part > Optional updates > Driver updates).
Still no HDMI sign? Well, the very last thing is to obtain and set up the graphics drivers manually.
I favor getting the VGA drivers from the motherboard’s Driver & Utilities part on the official web site. You might even strive the one offered on the Intel or AMD’s Support web page too.

In uncommon case eventualities, HDMI drivers can also set off this problem. Here’s an entire information that will help you update the HDMI drivers on Windows.
Final Troubleshooting
The aforementioned options are sure-shot fixes. But in case your motherboard HDMI is but not responding, it’s very a lot inclining in the direction of a {hardware} failure.
I consider you’ve already carried out a correct inspection of the ports and cables as steered to start with. Now, I would like you to substantiate the next and go together with the fixes accordingly:
- Did your motherboard’s HDMI perform earlier than a major change within the OS? For instance, Windows update! If so, I like to recommend reverting it or performing a system restore.
- Are you getting a black display screen even after plugging the HDMI cable into the graphics card? If sure, look at if there’s a pink/orange gentle on the motherboard. In that case, you could possibly be having a difficulty with different parts reasonably than the HDMI port.
- If nothing works, there may very well be an problem along with your motherboard’s firmware. Try clearing CMOS to reset BIOS and cargo the manufacturing unit settings.
- The ultimate resort is to update your BIOS. This will repair any instability or add compatibility to a brand new element.
In case nothing helps, you would possibly wish to contact your vendor. Check your guarantee and report the precise problem. The producer might change your supposedly broken board.
Check out more article on – How-To tutorial and latest highlights on – Gaming News