How To Remove A CPU Cooler From Motherboard The Right Way.
Removing a CPU cooler might be intimidating for a lot of customers, particularly when you haven’t accomplished the method earlier than. Whether you need to set up a brand-new CPU, reapply the thermal paste or improve the CPU cooler, you have to be conscious of sure issues whereas eradicating the cooler.
Various CPU coolers include alternative ways to connect to the motherboard, so that you can’t use the identical steps for all of them. Liquid coolers additionally include different extra elements that you should contemplate.
In this text, I’ll present you the easiest way to take away several types of CPU coolers out of your PC.
Open the PC Case

First, shut your laptop down and disconnect all cables from the PC case. It’s not a good suggestion to open the PC case with energy nonetheless working.
Then, transfer on to eradicating the left aspect panel. If you will have a liquid cooler, you could must take away extra panels to take out the radiator. The course of to take away them differs between separate PC circumstances. But typically,
- Unscrew and slide out the aspect panels.
- Front panels are typically related using strain clips. Hold both the highest or backside of the panel with one hand and pull out the panel ranging from the opposite finish.
If you encounter any points, I like to recommend checking our How to Open PC Case information for more data.
Disconnect CPU Cooler’s Cables

Disconnect the Fan/RGB cables of the CPU cooler from the motherboard or the fan controller. If you will have a liquid cooler, accomplish that for all of the followers on the radiator as nicely.
If you will have a bigger CPU cooler that nearly touches the graphics card or RAM, these elements might impede the method. So take away these beforehand.
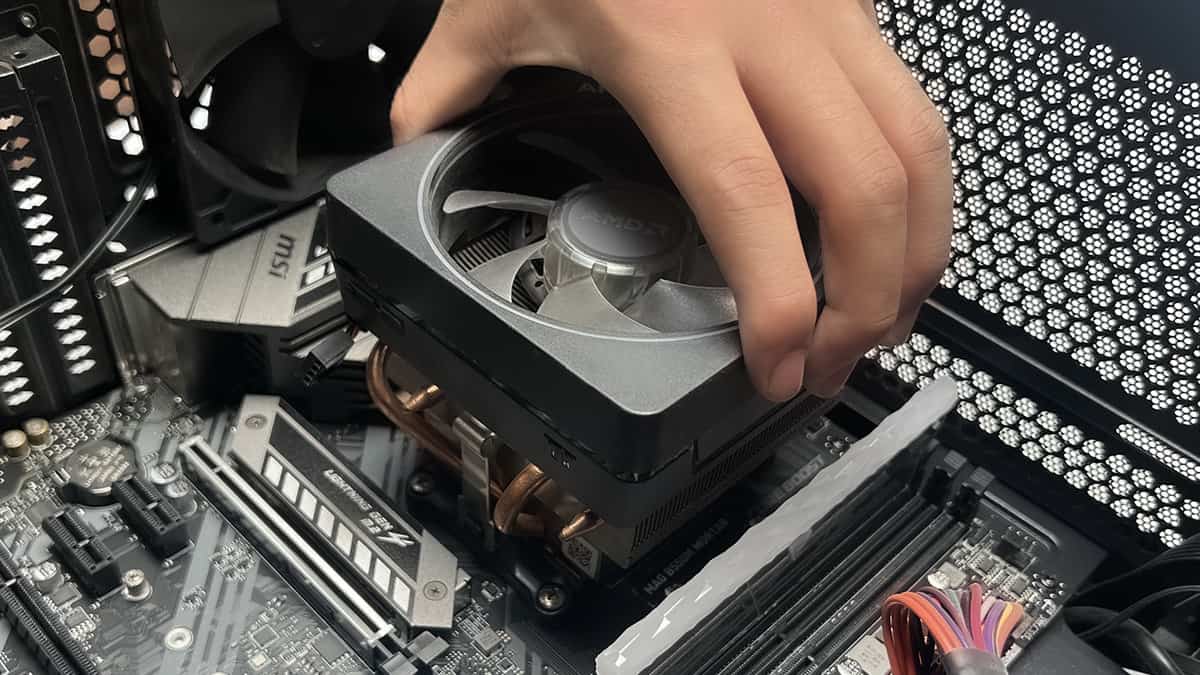
Remove Air Cooler

Air coolers use a heatsink with followers to keep up your CPU temperature. Depending on the heatsink’s locking mechanism, totally different coolers require totally different steps for elimination.
Air Cooler with Retention Clips

- Using a little bit strain, pull the cam lever to open the CPU cooler.
- Disconnect each retention clips on its sides. Start from one aspect first.
- Lightly twist the cooler sideways to loosen the thermal paste between the cooler and the CPU.
- Lift the cooler using as little pressure as potential.
Air Cooler with Spring Screws

- Unfasten the screws one diagonal at a time.
- After separating all screws, twist the CPU cooler to the edges using minimal pressure to loosen the thermal paste.
- Gently take away the CPU cooler from the CPU by lifting it.
Air Cooler with Push Pins

- Turn all of the pins counterclockwise all the way in which (90°).
- Gently pull up the cooler.
- Use a slight wiggling movement whether it is troublesome to take away.
Air Cooler with Mounting Brackets

- Unscrew the mounting bracket that’s fixing the cooler in place. You might must unclip the hooks as nicely for some CPU coolers.
- If the followers on the cooler impede you, detach them first. They are normally related using metal hooks.
- Remove the mounting bracket whether it is removable.
- Gently pull out the CPU cooler whereas twisting it barely. Make positive to not pull or twist the CPU itself.
Remove Liquid Cooler

If you will have an AIO liquid cooler, you must dismount the pump from the motherboard and the radiator from the PC circumstances. A customized loop cooler requires much more steps— you’ll want to drain and rinse the loop, take away all tubes after which the opposite elements.
AIO Cooler

- Unscrew the mounting bracket of the AIO cooler’s pump.
- Gently pull out the AIO pump to unstick it from the CPU.
- Unscrew the radiator (together with the followers) from the fan slots on the PC case.
- Take out the cooler from the PC.
Custom Loops

Since totally different folks customise their loop in a different way, the precise course of varies for all of them. In normal,
- Take out all detachable {hardware} gadgets like storage drives, graphics card, RAM, cables, and so forth.
- Drain the liquid inside via the valve. Then, keep rinsing the loop with distilled water till solely distilled water stays inside.
- Keep filling the reservoir with the distilled water whereas rinsing it in order that the pump doesn’t run on air.
- Drain the distilled water as nicely. Then loosen all of the fittings and take away every tube from the loop.
- After that, unscrew and take away the water blocks and different components of the cooler.
Final Things to Do

If the CPU cooler nonetheless works, you could need to place it back or retailer it elsewhere. It’s higher to scrub the cooler in such circumstances.
Also, prior to installing the identical or any new CPU cooler, be sure to scrub off the thermal paste. It’s additionally best when you may clear all mud out of your PC as nicely.
Check out more article on – How-To tutorial and latest highlights on – Gaming News