How To Install Epson Printer? Step By Step Guide.
To set up an Epson printer, first join it to your PC using a USB cable. Then, go to the producer’s web site and obtain the driving force. Once the driving force will get put in, your printer is able to print.
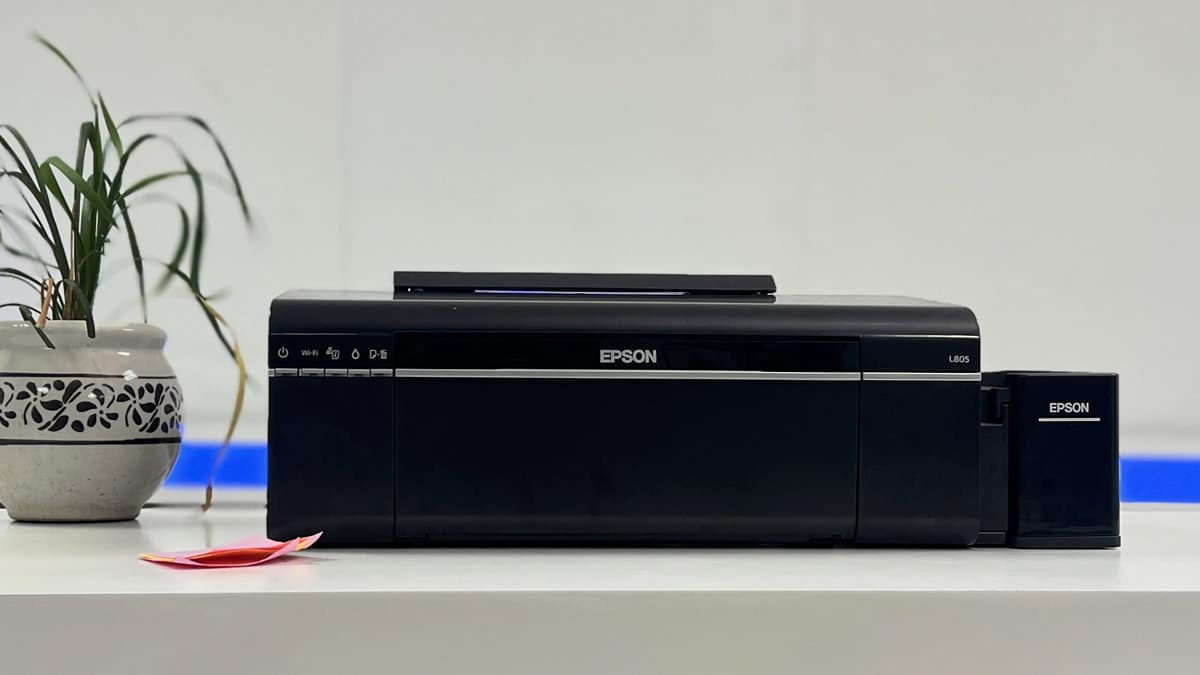
Let me shortly display how I put in the Epson L805 sequence printer on my laptop.
Connect Printer to Your Computer
To begin, convey the USB cable that got here together with your printer. Plug its B aspect (sq. finish) into the printer and the opposite aspect into your laptop.

Then, join its energy twine to {an electrical} outlet on the wall. Moving ahead, press the facility button and activate the printer.

Install the Printer Driver
Now that your printer is on standby, open a browser in your laptop and go to Epson’s official printer assist web page. Once you get there,
- Enter your product title within the search field. For instance, I’m putting in an Epson L805 printer. So, I’ll seek for it.

- On the following web page, develop the Drivers menu and click on Download. If your printer comes built-in with a scanner, you additionally must obtain the scanner driver. It will likely be listed there too.

- On the brand new tab that opens, click on Accept. Your obtain will start.

- Once the obtain completes, launch the setup (.exe file).
- You’ll get this display screen originally. Click OK.

- Accept the license settlement.

- Choose USB connection mode on the following display screen.

- If you may have linked your Epson printer to Wi-Fi, and pondering of creating it wi-fi, select Network connection right here.
- The setup wizard will now seek for the printer and set up it.

- You’ll get the set up profitable message on the finish.

Finalize the Installation
Alright! We’ve now efficiently put in the printer. To know if the set up went wonderful,
- Go to the Control Panel > View units and printers.

- The printer title ought to be listed there below the Printers part. If not, please re-do the set up. I like to recommend restarting your laptop earlier than doing it.

- Also, right-click the printer and select Printer properties.

- Then print a check web page.

- If the check web page printout appears pale/blurry, test the ink ranges in your printer and refill it.
- Once every part is sorted, you’re prepared to start out printing.
Check out more article on – How-To tutorial and latest highlights on – Technical News