How To Connect Epson Printer To WiFi?.
To join your Epson printer to Wi-Fi, use any of those 4 strategies,
- Utilize the touchscreen to navigate to Network Settings. Then, run the Wi-Fi Setup Wizard.
- Press the WPS Push button in your Wi-Fi router.
- Connect your printer and laptop by means of a USB cable.
- Or, use the Epson Smart Panel cellular app.
Now let’s see how every of them works.
Using Printer’s Screen
If your printer comes with a touchscreen, that’s nice! Simply navigate to the Wi-Fi Setup Wizard menu. Then, join it to your most popular wi-fi network.

I’ve an Epson ET 3850 mannequin, and this menu is situated inside Settings > General Settings > Network Settings > Wi-Fi Setup. Similarly, discover yours and do the needful.
Use the WPS Push Button
This methodology is very useful for individuals who have non-touchscreen printers. In truth, it really works for a lot of the Epson printers out there at this time.
What’s more is, that establishing Wi-Fi this manner doesn’t even require a password. The solely factor is you must have entry to the Wi-Fi router. Let’s undergo the main points.
- First, ensure the printer and router are all collectively. Bring them as shut as attainable.
- Keep urgent the Wi-Fi button in your printer till its indicator begins flashing. 5 to 10 seconds is normally sufficient.

- Now go to the router and press-hold the WPS button. Release it as soon as the WPS indicator begins blinking.

- Keep calm and wait till the indicators on each units cease flashing. It signifies a profitable connection.


Connect to Wi-Fi Using a USB Cable
You’re in all probability considering why is that this man even speaking about USB cable after I simply wish to make my printer wi-fi, proper? Let me clarify.
You don’t want to attach your printer and PC ceaselessly. It’s just for some time. Once you arrange the Wi-Fi, you’ll be able to let go of the USB cable and luxuriate in wi-fi printing. To do it,
- First, energy on the printer and join it to your laptop by means of the USB cable.
- Next, go to the official Epson Setup Navi web site.
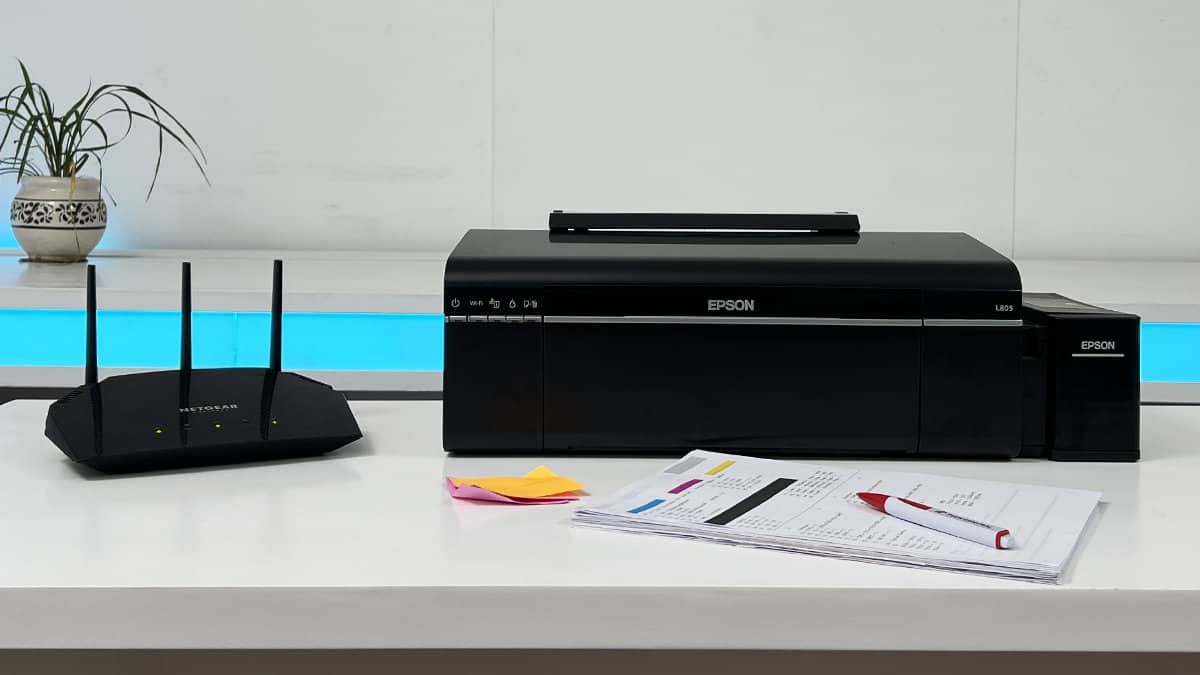
- Search your product mannequin. Since I’ve an Epson L805 printer, I’ll seek for L805.

- Download the Navi software program and launch it.

- You’ll be introduced with the license settlement. Accept it and proceed.

- Once you might be at this window, select this feature.

- Check the field next to the Wi-Fi connection.

- Select the first choice.

- You’ll then see this window. Please wait until the setup wizard finds your printer and connects it to the identical Wi-Fi network your PC is related to.

- Once the setup is full, you may be instructed to take away the USB cable. Congrats! Now you’ve efficiently related your printer to Wi-Fi.


Via Epson Smart Panel
Interestingly, you may also use your smartphone to attach Epson printers to Wi-Fi.
For that, first, you need to obtain the “Epson Smart Panel” app in your telephone. Then, launch the app and comply with the in-app directions.

Before you kick off, let me make clear to you that there are just some particular printer fashions that help the usage of this app. Even my Epson L805 just isn’t suitable with it.
You can rapidly undergo the record of Smart Panel-supported printers and verify it. Should your printer identify be listed there, you should not have any issues using it.
Check out more article on – How-To tutorial and latest highlights on – Technical News