How To Connect Canon Printer To Laptop.
There are 3 ways to attach your Canon printer to a laptop computer. You can both:
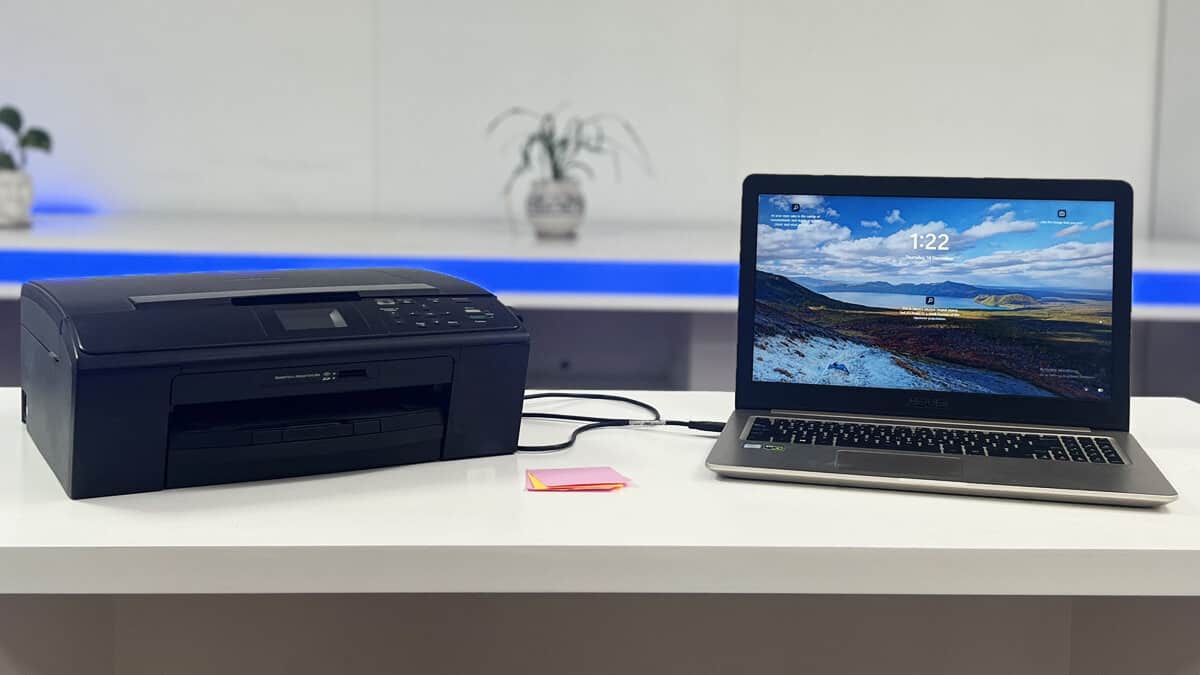
- Establish a direct connection using a USB A-B cable.
- Connect each of them to a standard Wi-Fi network.
- Or, allow Wi-Fi Direct on the printer and hook up with it.
Let’s undergo the small print for every of those strategies.
Connect Through a USB A-B Cable
If you might be unaware of the USB A-B cable, right here’s what it seems like. It got here packaged with my Canon E400 sequence printer.

Grab the cable and join the rectangular (A) aspect to one of many USB ports on the laptop computer. Similarly, connect the sq. (B) aspect to the USB port in your Canon printer. The port usually lies on the left or right-hand aspect of the back panel.
Once you determine the connection, Windows will routinely immediate you to put in the suitable printer driver. If it doesn’t,
- Go to the Canon printer driver obtain web page.
- Click the Set Up (Start Here) button on the house web page.

- Search your printer mannequin and obtain the driving force.

- Launch the setup file and click on Next.

- Choose your residence on the following display screen.

- Choose the software program you need to set up.

- Follow the on-screen directions to finish the set up.

- Once the setup is full, you can begin printing.


Connect Over a Wi-Fi Network
Let me rapidly remind you {that a} direct USB connection doesn’t enable different computer systems to entry the printer. Yeah, you could activate network printer sharing to do it, but it surely’s solely a trouble.
So, if you wish to grant straightforward printer entry to different units on a network, the Wi-Fi methodology could be a possible choice for you.
For that, first, join your Canon printer to Wi-Fi. Then, go to the pc you might be prepared so as to add the network printer and do it. After that, set up the printer driver as we did earlier.
Use Wi-Fi Direct
The Wi-Fi Direct function is extraordinarily helpful to attach a printer to a laptop computer should you don’t have entry to a Wi-Fi network.
But sadly, not all printers include it. So, first, go to Canon’s consumer handbook library and test the specs sheet to your printer.

If it helps Wi-Fi Direct, additionally, see the steps to show it on. Find the SSID (Wi-Fi network title) and password (usually, 10 characters) from the printer’s display screen.
Then, open the Wi-Fi settings in your laptop computer and hook up with it. I’ve a PIXMA TR8520 printer, and as you may see, its Wi-Fi Direct SSID is DIRECT-C89B3D-TR8500series.

Once you join it, you can begin printing instantly. Do notice that it is best to set up the Canon PRINT Inkjet/SELPHY app to print this fashion.
Check out more article on – How-To tutorial and latest highlights on – Technical News