
How do I Use the Arc Browser on a Mac.
Arc is a brand new browser that goals to shake up the best way you usually work with webpages, tabs and different objects. Like Chrome and Edge, Arc is predicated on the Chromium engine; this implies you may set up extensions from the Chrome net retailer. But Arc, which is developed by The Browser Company, tries to maneuver past the anticipated with choices that ought to curiosity enterprise customers.
With Arc, you may create and swap amongst a number of profiles — maybe one profile for work and one other for private use. You’re capable of generate areas to carry totally different webpages, media and different content material. Plus, Arc shows your bookmarks and tabs in a sidebar the place you may more simply view and handle them.
For now, Arc works solely in macOS and iOS, although a Windows model is slated for launch later in 2023. Here’s how to make use of Arc on a Mac.
Jump to:
Install Arc on the Mac
First, using your Mac, head to the Arc web site, click on the Download Arc button and comply with the steps to put in the browser. Arc opens, prompting you to arrange a free account. The account is used to sync your shopping information throughout your Mac, iPhone and another supported iCloud-enabled gadgets. Click the hyperlink for Create An Account. Enter your identify and e mail handle, create a password after which check in.
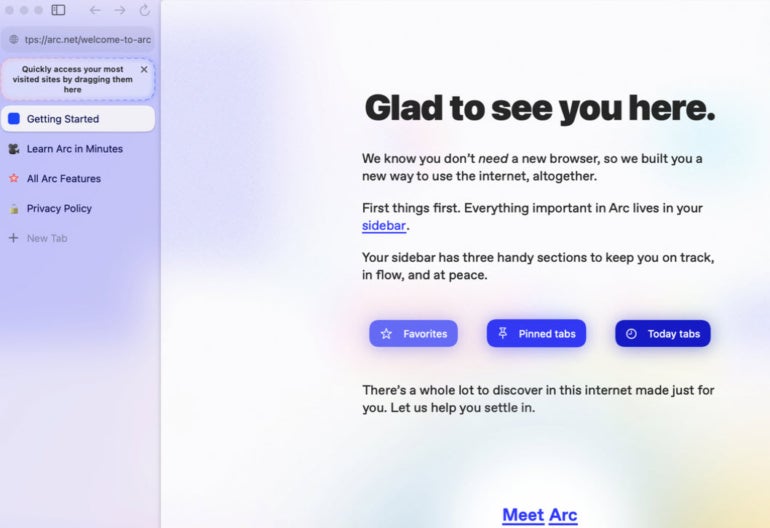
Next, you may dive in with a tour that explains how Arc works. Click every of the subjects within the left sidebar to undergo the tutorial, take a look at Arc’s core options and overview the privacy policy (Figure A).
Figure A
Import information into Arc from one other browser
To absolutely benefit from Arc, chances are you’ll need to have all of your present bookmarks, cookies, passwords and different information out of your default browser. Click the Arc menu and choose Import From Another Browser. Choose the browser from which you need to import the info (Chrome, Safari, Firefox or Edge) and click on Next (Figure B).
Figure B

You’re then requested if you wish to import your information into your present profile or a distinct profile – select your present profile. Check the field for Replace Existing Cookies With Imported Cookies for those who haven’t but generated any cookies you need to keep. Click Import (Figure C).
Figure C

You is perhaps requested to enter the password to your keychain. Type the password to your Mac after which click on Allow. Next, select the bookmarks you need to import into Arc or click on Select All to incorporate all of them and click on Next (Figure D).
Figure D

Your bookmarks will seem within the sidebar underneath a folder with the identify of the supply browser (Figure E).
Figure E

Open new tabs in Arc
Now chances are you’ll need to take a look at totally different web sites. In Arc, to open a brand new tab, click on the File menu and choose New Tab or press Command+T. At the popup window, kind the URL of the web site you need or enter a word or time period to seek for a web site (Figure F).
Figure F

As you open new tabs with new pages, you’ll see the pages seem within the sidebar. If the web page is saved as a bookmark, its pinned tab will seem underneath your bookmarks folder. Otherwise, the tab exhibits up on the backside. To swap to a distinct tab, simply click on its sidebar entry. To open more tabs, click on New Tab on the sidebar.
To handle a tab within the sidebar, right-click on it. From the popup menu, you may open it in Split View to see it side-by-side with one other web page, share the web page, transfer or reserve it to a selected folder, rename it, change the icon, shut it and run different instructions (Figure G).
Figure G

Access most-visited websites by way of Arc
Rather than hunt for particular web sites amongst your bookmarks or searches, you may place hyperlinks to them on the high of the sidebar the place they’re all the time accessible. Just drag and drop a pin to the spot that claims Quickly Access Your Most Visited Sites By Dragging Them Here. The pins stay there for straightforward entry (Figure H).
Figure H

Create a brand new area in Arc
Instead of juggling a number of totally different web sites, tabs and different objects multi functional area, you may create new areas for every kind of content material. For instance, chances are you’ll need to create a devoted area for a brief work task, a staff mission or a category you’re taking. Click the Spaces menu and choose New Space or click on the X icon on the backside of the sidebar and choose New Space. Open the web sites you need to use in your new area.
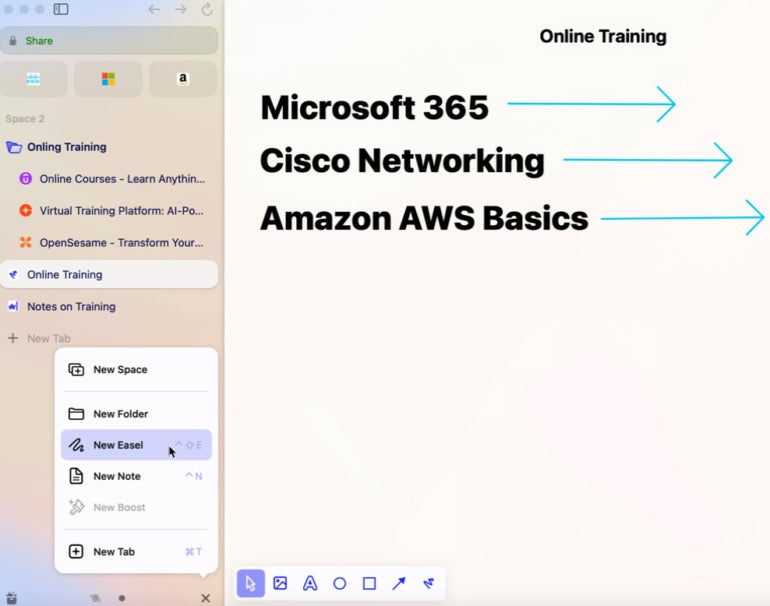
Beyond including web sites, you may add different content material. Click the X icon on the backside of the sidebar. Click New Folder to create a folder into which you’ll transfer your tabbed pages. Click New Easel to create a whiteboard on which you’ll diagram concepts. Then, click on New Note to kind a be aware associated to this area (Figure I).
Figure I
After establishing a couple of area, you may bounce from one to a different. Click the Spaces menu and choose the area or click on the icon on the backside of the sidebar for the area you want to see. To entry more instructions, right-click on the sidebar for a selected area. From the menu, you may create a brand new folder, rename the area, handle and think about your areas aspect by aspect and delete an area (Figure J).
Figure J

Create a brand new Arc profile
By default in Arc, the entire duties you carry out, the websites you employ, the bookmarks you create and the extensions you put in are saved inside a single profile. To additional separate and handle your on-line actions, you would possibly need to create one other profile. For instance, you may have one profile for enterprise use and one other for private use. Each profile is assigned to a selected area so you may entry its content material.
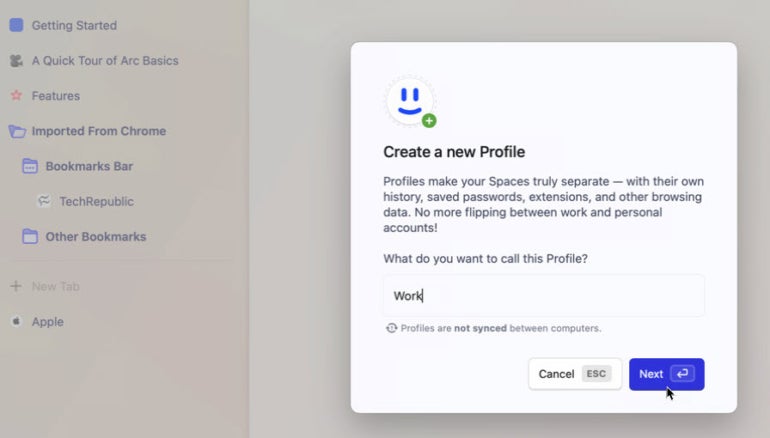
To create a brand new profile, click on the File menu and choose New Profile. Name your new profile and click on Next (Figure Okay).
Figure Okay
Choose which area or areas you want to use within the new profile after which click on the Create Profile button. You’re prompted to modify to your new profile – click on the Switch It Up button to take action (Figure L).
Figure L
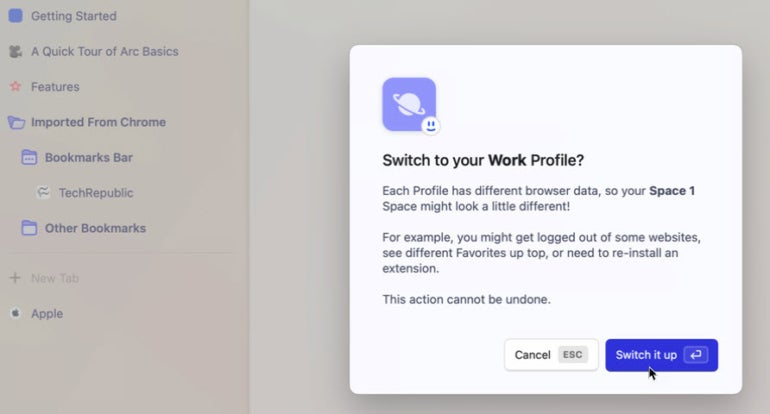
Note: Only the content material within the area you included will likely be accessible in your new Arc profile. Any extensions you put in, for instance, would should be reinstalled for those who want them within the new profile.
Install Chromium-compatible extensions and management Arc
There’s much more to Arc than what is roofed on this article. You can head to the Chrome Web Store to put in any Chromium-compatible extension, view your downloads and different content material and set Arc as your default browser.
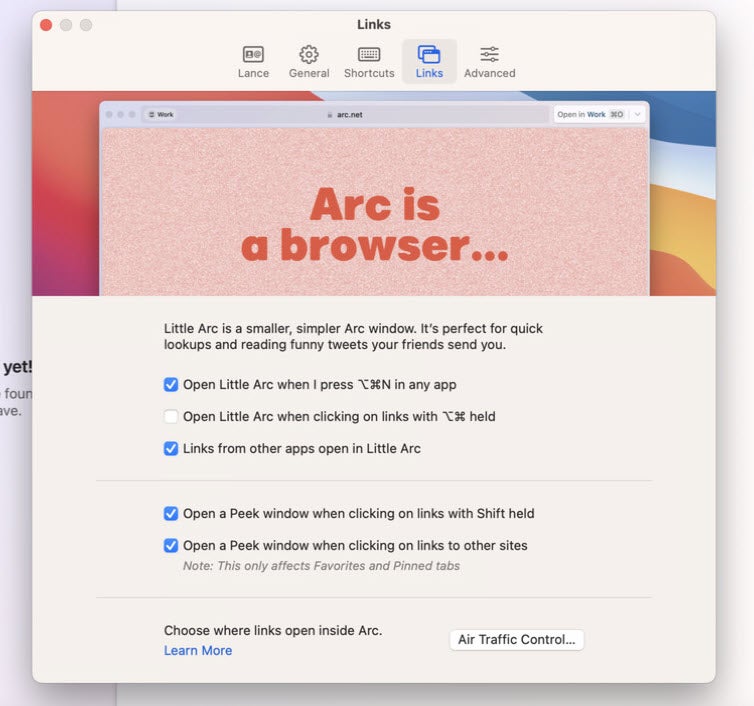
To management Arc, click on the Arc menu and choose Settings. From right here, you’re capable of view and handle your profiles and information, see all of the accessible shortcuts for using Arc and even open a mini model of the browser known as Little Arc to shortly open a webpage or run a search (Figure M).
Figure M
Check out more article on – How-To tutorial and latest highlights on – Technical News