External Hard Drive Not Mounting After macOS Ventura Update.
Wondering why your exterior laborious drive just isn’t mounting after macOS Ventura update?
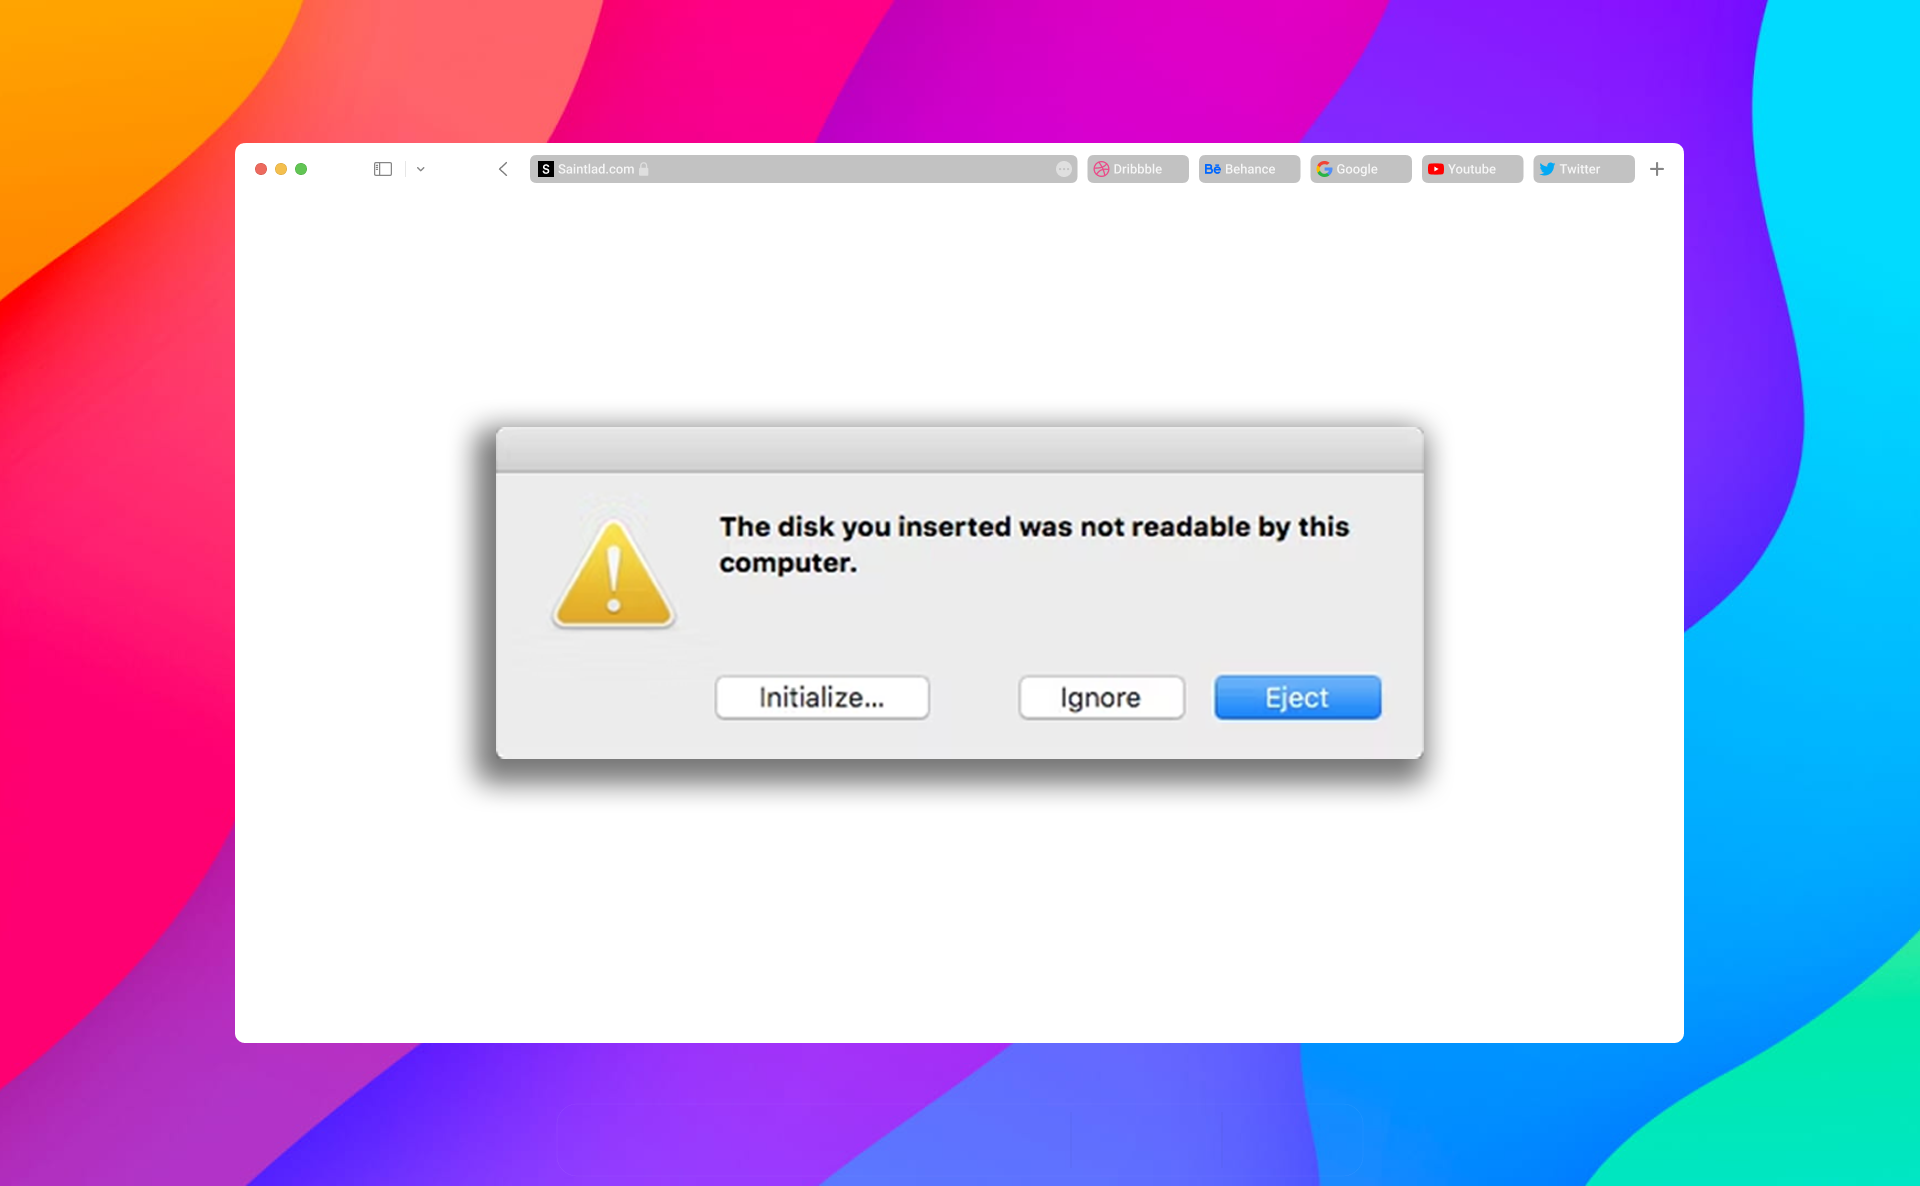
Apple’s neighborhood web page was flooded with person complaints concerning their exterior laborious drive not mounting after a macOS Ventura update.
Some of those errors talked about embody entry denied, drive not exhibiting up, and more.
If you’re among the many affected customers, we acquired you lined.
In this information, we’ll present you numerous methods how to troubleshoot this problem on macOS Ventura.
Let’s dive proper in!
1. Restart Your Mac.
Starting with essentially the most primary troubleshooting, give your Mac a restart if one thing just isn’t working.
Restarting your pc ought to enable it to clear corrupted information from its reminiscence. This ought to resolve momentary errors that stop your exterior drive from being detected.
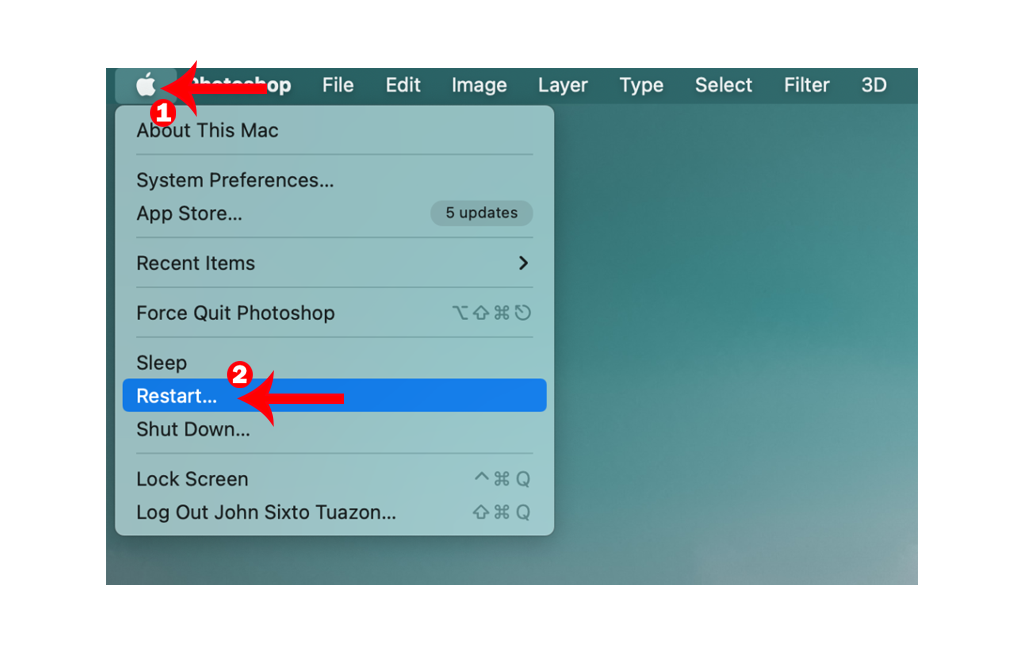
Here’s how one can restart your Mac:
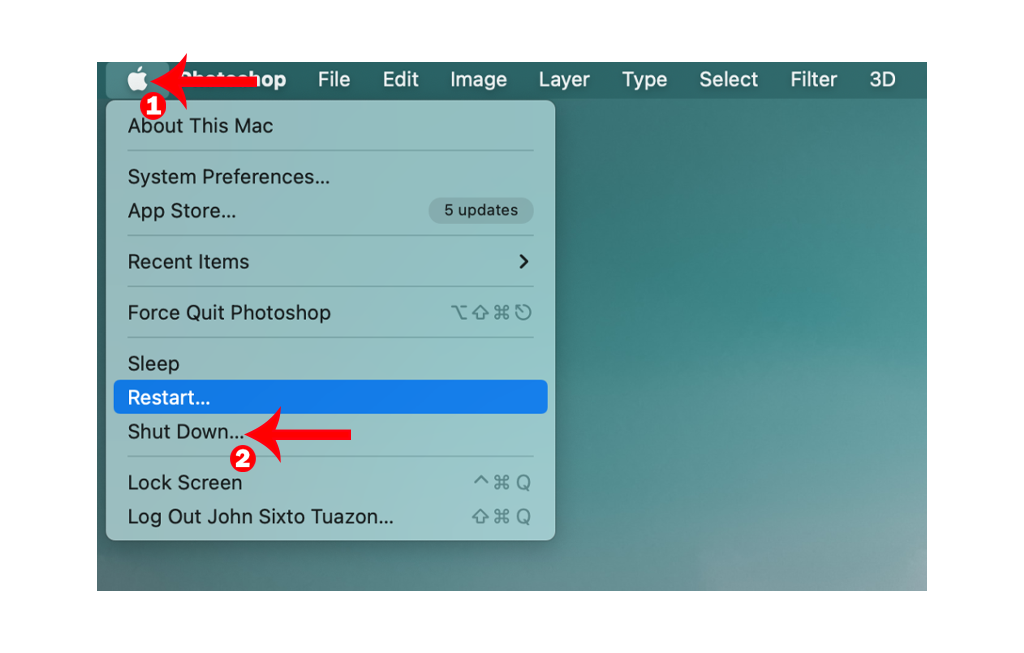
- Click on the Apple icon within the higher left nook of your display.
- Now, select the Restart choice from the drop-down menu.
- Wait for the affirmation message and click on Restart.
Once performed, strive accessing your exterior laborious drive to verify if the issue is solved.
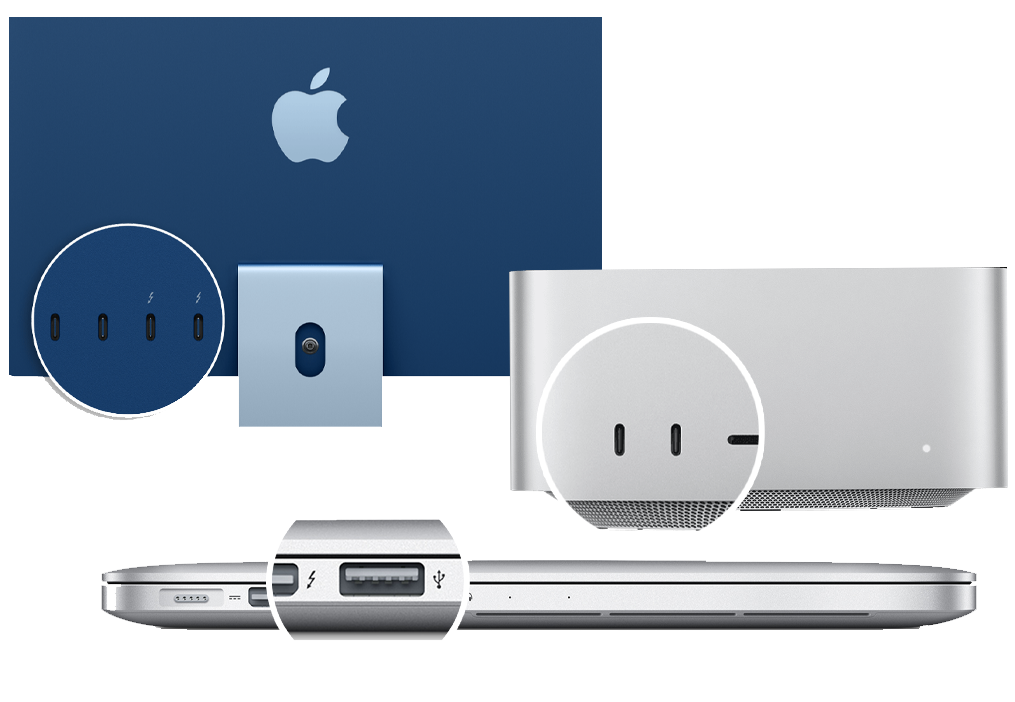
2. Clean USB Ports and Connectors.
Ensuring that your pc ports and connectors are free from mud can assist stop connection points.
If your exterior drive just isn’t mounting, clear the connectors and USB ports.
To clear your USB ports and connectors, you should use an air blower or a hair dryer inside 4 to five inches away from the ports to blow away mud and particles.
Note
- Be cautious to not use a hair dryer too near your units as it will possibly harm the inner parts.
- Avoid using cotton swabs to scrub delicate ports in your Mac as they will trigger harm.
If you aren’t comfy cleansing your USB ports your self, we propose that you just ask a licensed technician to do it for you.
3. Check Finder Options.
There’s an choice to cover exterior drives in Finder. If this feature is enabled, it is perhaps the rationale you possibly can’t see your exterior laborious drive.
Your exterior laborious drive is perhaps really mounted and Finder is solely not exhibiting it.
Here’s how one can affirm this:
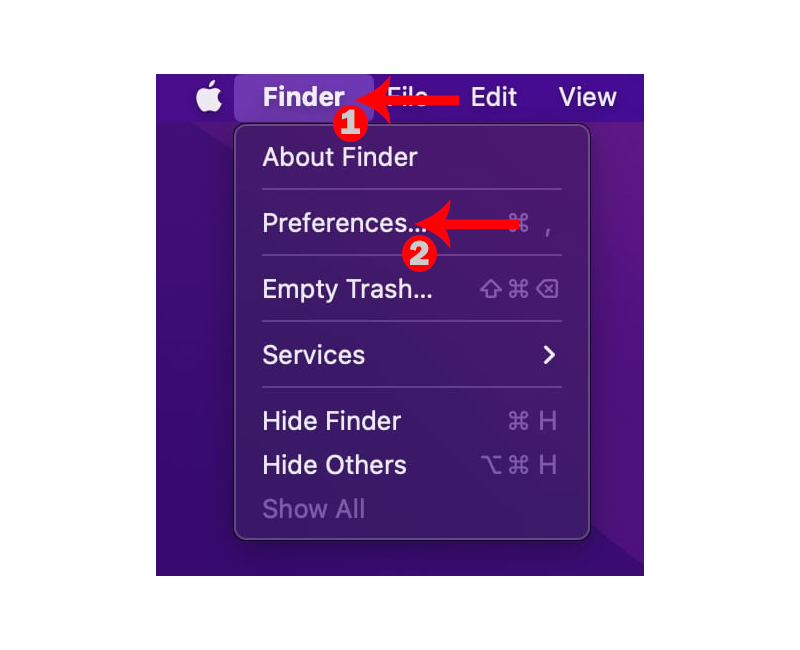
- Open Finder in your Mac.
- Next, click on on Finder within the higher left nook.
- Choose Preference from the drop-down menu.
- Under General, search for the ‘Show this Items on the Desktop’ part.
- Ensure that the External Disks choice is marked checked.

- Restart your Mac.
You ought to now see your exterior laborious drive within the higher proper nook of your desktop.
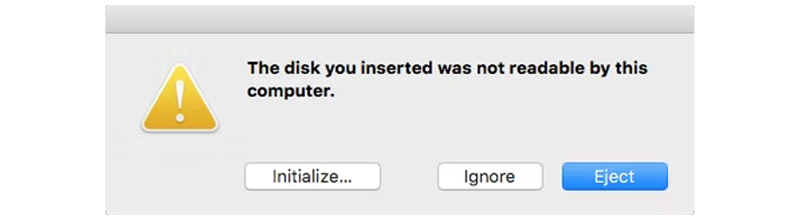
4. Format Your External Drive.
If you could have simply purchased your exterior drive, it is perhaps using a format that’s not supported by macOS.
Follow the steps under to setup your exterior drive to a supported format:
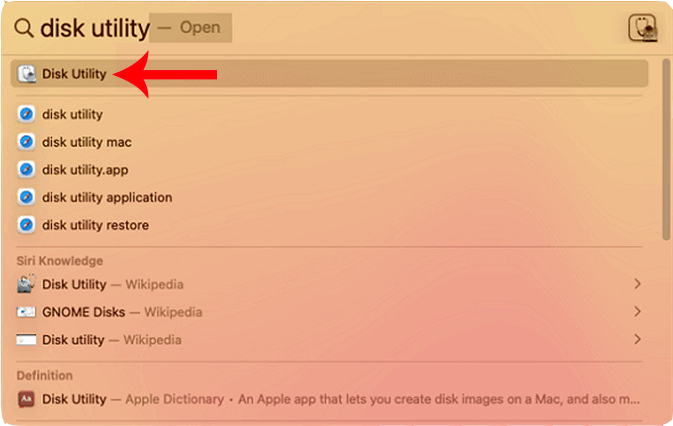
- Press Command + Space in your keyboard to open Spotlight.
- Now, seek for Disk Utility and open it.
- On the highest menu, click on on View.
- Choose Show All Devices from the drop-down menu.
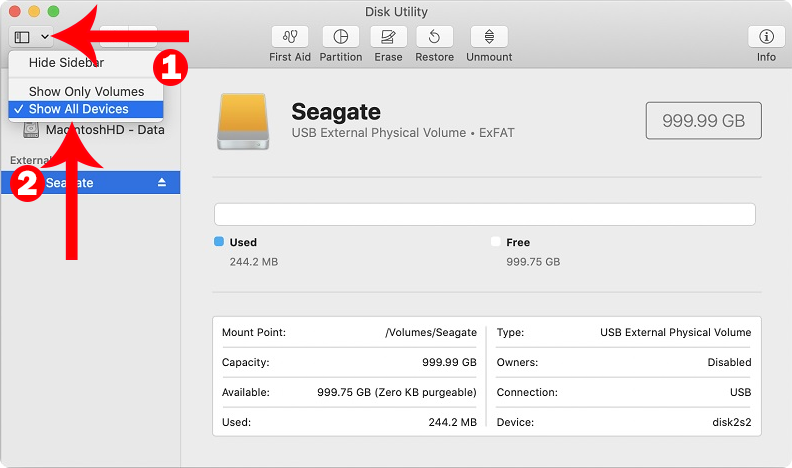
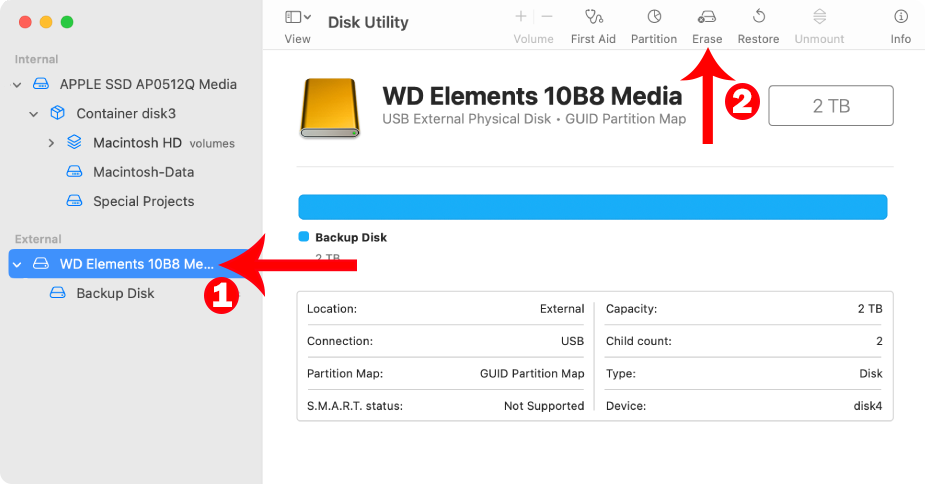
- Select your exterior drive within the aspect menu.
- Click the Erase choice within the higher proper nook of Disk Utility.
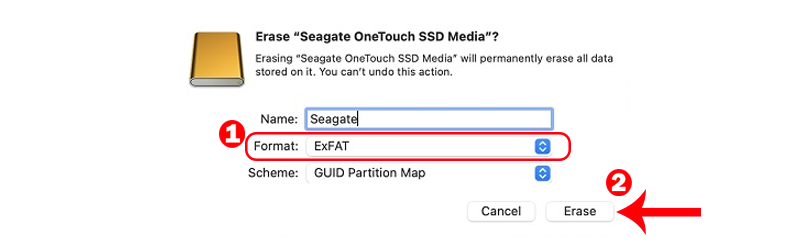
- In the pop-up menu, click on on the Format tab and select exFAT.
- Click on Erase to start out the method.
Once performed, your exterior laborious drive ought to now be detected by your Mac.
5. Repair Your External Drive.
First Aid is a software in macOS that robotically scans your drive for errors and repairs them. If your drive just isn’t mounting after an update, it’s potential that some assets acquired corrupted.
Follow the steps under to restore your exterior drive:
- On your keyboard, press the Command + Space keys to open Spotlight.
- Look up Disk Utility and open it.
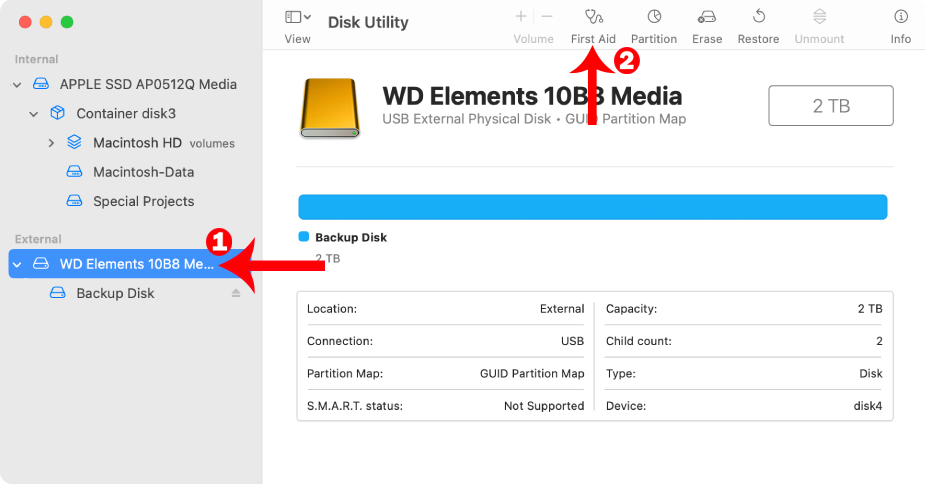
- Under the External tab within the aspect menu, choose your exterior laborious drive.
- Now, click on on First Aid within the higher proper nook.
- Click Run within the affirmation field.
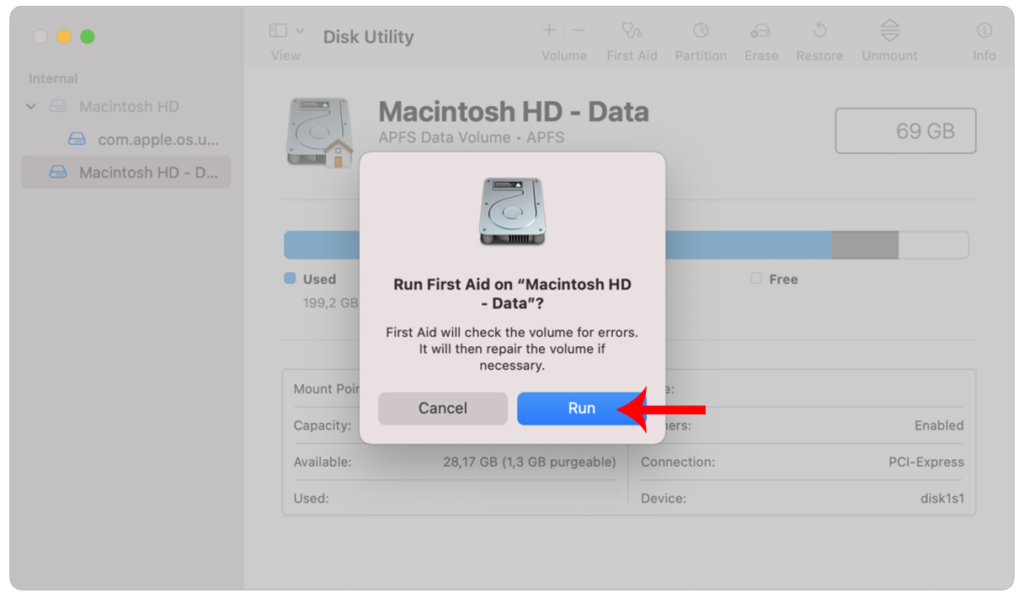
- Wait for the method to finish and click on Done.
Try accessing your exterior drive using Finder to verify if the issue is solved.
6. Use Third-Party Software.
NTFS is a file system extensively utilized by Windows working programs. However, chances are you’ll encounter points for those who use an NTFS-formatted exterior laborious drive in your Mac.
Unfortunately, macOS doesn’t assist the NTFS file system.
While you may be capable of entry information on an NTFS drive, you gained’t be capable of save adjustments to them. Creating new information on an NTFS drive can also be not potential on macOS.
You can bypass this restriction by means of third-party software program akin to Paragon NTFS for Mac.
Through this software program, you possibly can simply handle NTFS laborious drives with out formatting them for macOS.
Note
- If you put in a third-party NTFS software program, you now depend on that vendor to maintain the software program up to date for brand new releases of macOS.
- You might not be capable of entry your NTFS drives with newer variations of macOS till that vendor updates its software program.
7. Update Your Mac.
The model of macOS you’ve put in may need a difficulty that’s associated to exterior storage administration.
If that is the case, Apple may launch one other update to patch the issue.
See the steps under to update your Mac:
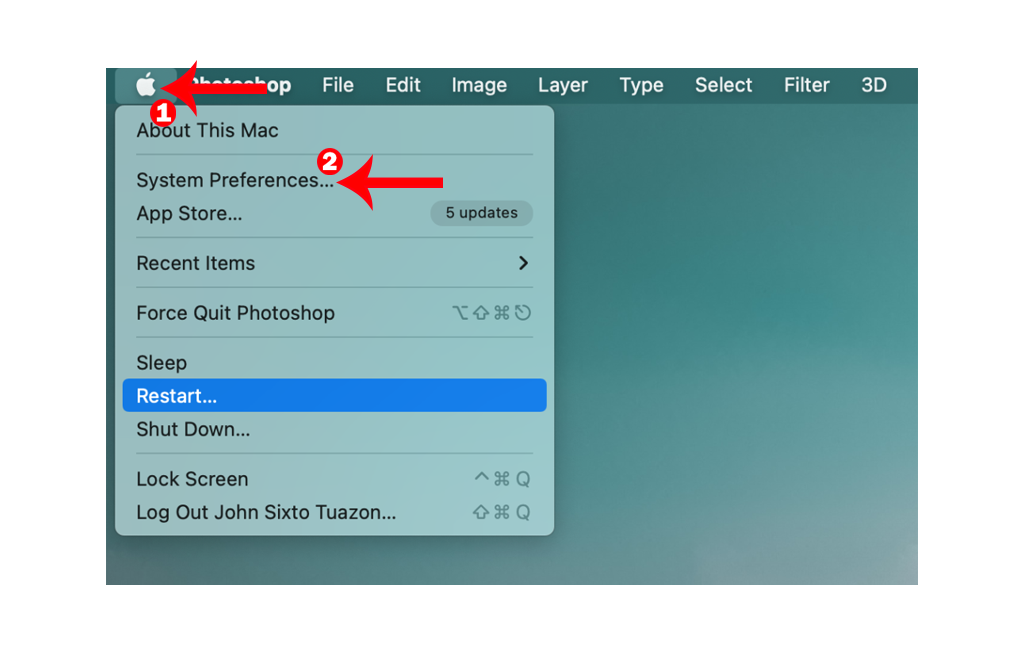
- Click on the Apple icon within the higher left nook of your display.
- After that, click on on System Preferences.
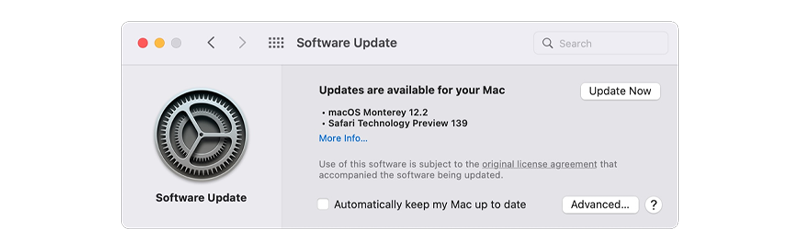
- Open the Software Update tab.
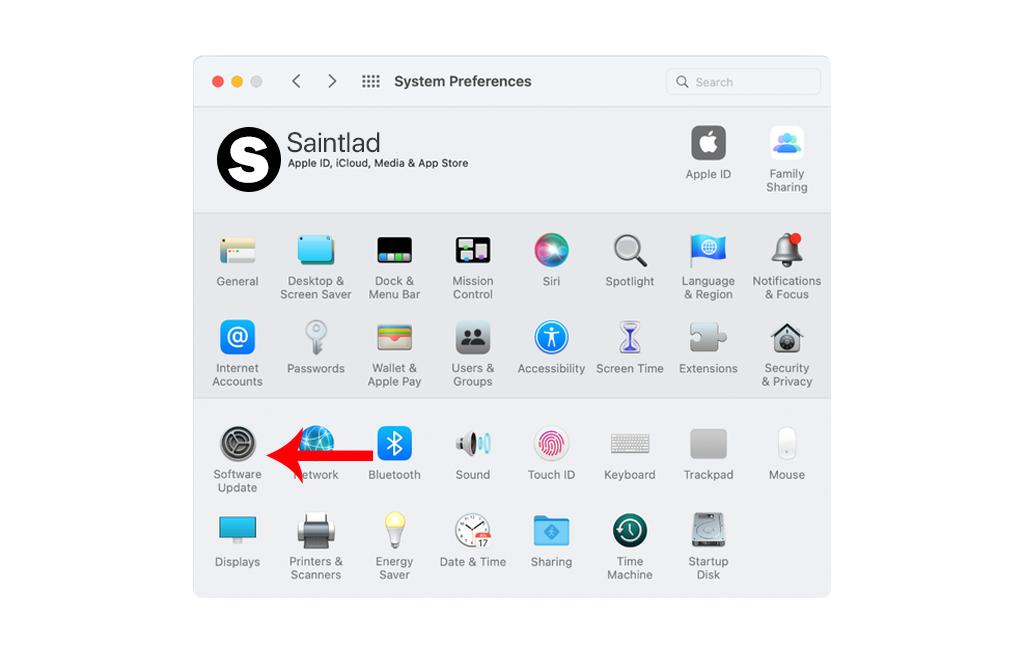
- Click on Update Now or Upgrade Now if there’s an obtainable update.
Note
- If you might be using a MacE-book, be sure that your battery is no less than 50% charged. You can simply depart it plugged into the wall outlet through the update.
- Your Mac can restart a number of instances whereas putting in the update.
- The update progress bar may additionally seem like caught. When this occurs, don’t do something. Software updates can take a number of minutes to finish.
Reconnect your exterior laborious drive afterward to verify if it mounts.
8. Reset System Management Controller.
The System Management Controller (SMC) is a chip in your Mac that handles energy administration, battery charging, and different {hardware} features.
If your exterior laborious drive just isn’t mounting after a macOS Ventura update, an error might have occurred in your Mac’s SMC.
Resetting the SMC can assist resolve exterior storage mounting points in your Mac.
If you’re using a Mac with an M1 chip, right here’s what it’s essential to do:
- Make positive that your Mac is plugged into energy.
- Now, click on on the Apple icon within the higher left nook of your display.
- Choose Shut Down and observe the prompts.
- After a couple of minutes, press the Power button to show in your Mac.
For Macs with a T2 chip, observe the steps under to reset the SMC:
- Make positive that your Mac is turned off.
- On your built-in keyboard, press the Control (left) + Option (left) + Shift (proper) keys for seven seconds.
- Now, press and maintain the Power button whereas constantly holding the opposite keys.
- Keep holding all 4 keys for one more seven seconds and launch them.
- After a number of more seconds, press the Power button to show in your Mac.
Try accessing your exterior drive afterward to verify if the issue is solved.
That’s the whole lot it’s essential to know on how to repair an exterior laborious drive that’s not mounting after a macOS Ventura update.
If you could have different considerations, voice them out within the remark part, and we’ll do our greatest to reply.

Check out more article on – How-To tutorial and latest highlights on – Technical News, Apple Products