How do I report in ProRAW and ProRes on the iPhone 14 Pro and 14 Pro Max.
Apple’s iPhone 14 Pro is the primary iPhone to function a 48MP sensor. All earlier iPhones would use the usual 12MP sensor with slight enhancements in every technology. However, the brand new 48MP sensor now opens up tons of potentialities for professionals and fans. Apple has thus launched the ProRAW and ProRes format to assist make the most of the main points and knowledge captured by this new sensor. Although out there for earlier Pro fashions as nicely, let’s get accustomed to these file codecs as a way to totally make the most of the digicam capabilities in your iPhone 14 Pro and Pro Max. Here’s how one can report and use Apple ProRAW and ProRes on the iPhone 14 Pro and Pro Max.
: How do I Hide Photos on iOS 16
What is ProRAW and ProRes on the iPhone 14 Pro and 14 Pro Max?
ProRAW and ProRes are skilled file codecs created by Apple that assist retain the utmost attainable data in your captured photos. While it gained’t assist enhance your preliminary preview, you should use this further data when modifying your photos for more flexibility when adjusting values like white stability, publicity, distinction, highlights, and more.
ProRAW captures are 10-bit recordsdata that use a linear DNG format to retain the extra data in photos captured by your digicam. ProRes is a 10-bit lossy compression video format that could be a assortment of codecs and fairly fashionable amongst video editors and cinematographers. It provides enhanced particulars and modifying information that you should use in post-production whereas making certain that your file sizes keep on the naked minimal attainable worth.
Although these skilled codecs are a good way to seize images and movies out of your iPhone 14 Pro, they don’t seem to be for on a regular basis captures. Here are a number of benefits and drawbacks that ought to allow you to gauge when you need to be using these codecs in your iPhone 14 Pro and Pro Max.
: iOS 16: How do I Make Stickers from Photos
Advantages of using ProRAW and ProRes
- 10-bit recordsdata with wonderful retention of sensor knowledge
- More room to edit and improve your captures in post-production
- Better Dynamic Range permitting for enhanced coloration edits
Disadvantages of using ProRAW and ProRes
- Large File sizes may cause you to expire of space for storing
- You’ll should edit your recordsdata every time to get the correct look and depth
- ProRes 4K recording at 30 FPS is just out there on iPhone 14 Pro and Pro Max in case you have a 256GB, 512GB or 1TB mannequin
- ProRAW images can solely be captured at 1x if you need 48MP images.
- ProRAW evening mode, macro and flash images are all the time 12MP
How a lot house do ProRAW and ProRes captures require?
According to estimates revealed by Apple, ProRAW and ProRes captures will roughly be the next measurement in your iPhone 14 Pro and Pro Max.
- ProRAW Images: 25MB to 28MB (48MP captures)
- ProRes Videos: 1 minute of HDR ProRes video in HD (1080p) is 1.7GB. 1minute of HDR ProRes video in 4K is 6GB.
: How do I Use Depth Effect on lock display on iPhone
How do I Capture in ProRAW on iPhone 14 Pro and 14 Pro Max
You will first must allow ProRAW in your iPhone after which seize images using the Camera app. Here’s how you are able to do that in your iPhone 14 Pro and Pro Max.
Step 1: Enable Apple ProRAW
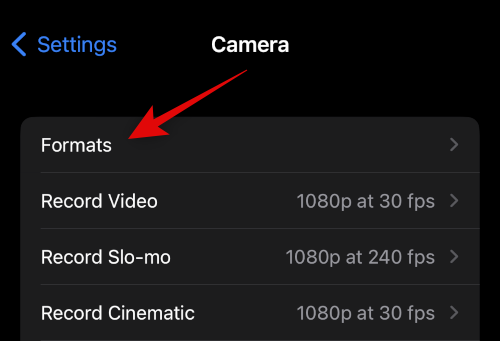
Open the Settings app and faucet Camera.

Now faucet Formats on the prime.
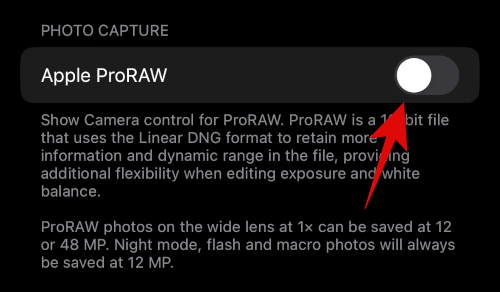
Tap and activate the toggle for Apple ProRAW.
Now faucet ProRAW Resolution.
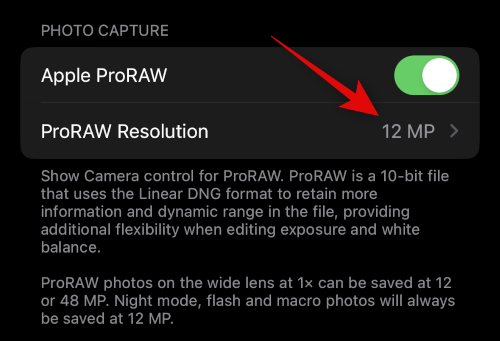
Tap and choose 48MP.

You can now shut the Settings app and use the subsequent part to seize images in ProRAW, which is able to now seize 48 MP images with out binning them down.
Step 2: Capture RAW images
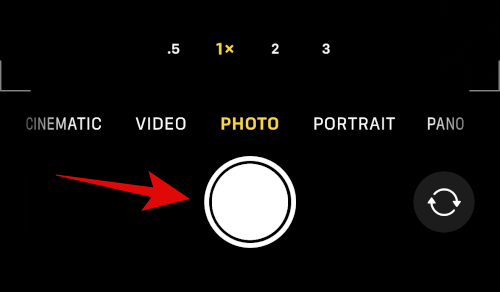
Open the Camera app and guarantee Photo is chosen on the backside. Now faucet the RAW (![]() ) icon within the prime proper nook of your display.
) icon within the prime proper nook of your display.
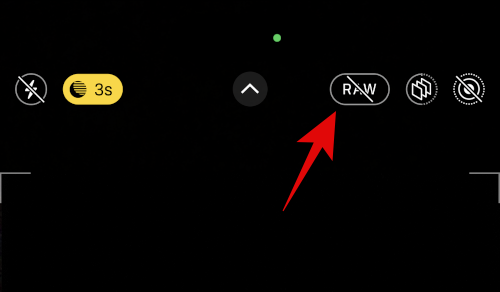
Once RAW (![]() ) is enabled, body and seize your image as wanted.
) is enabled, body and seize your image as wanted.
You can now test the image to confirm its particulars within the Photos app. Your image ought to now be 48MP when it comes to its decision and measurement if captured in 1x regular lighting. The RAW image will probably be binned all the way down to 12MP if you happen to’re using the flash, Night Mode, Macro, or another lens configuration aside from 1x.
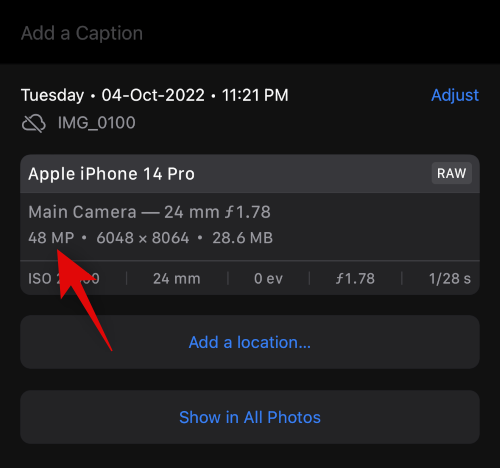
And that’s how one can seize 48MP images on iPhone 14 Pro and Pro Max.
How do I report in ProRes on iPhone 14 Pro and 14 Pro Max
Similar to ProRAW, you’ll first must allow ProRes in your iPhone to report within the format. Use the steps under that can assist you together with the method.
Step 1: Enable ProRes
Open the Settings app and faucet Camera.
Now faucet Formats on the prime.
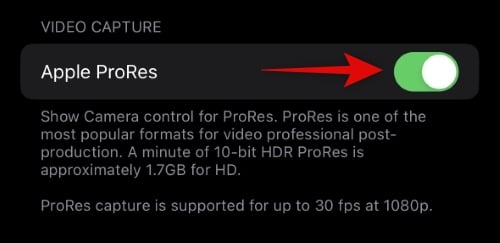
Tap and allow the toggle for Apple ProRes on the backside of your display.
Now return to the earlier web page and faucet Record Video.
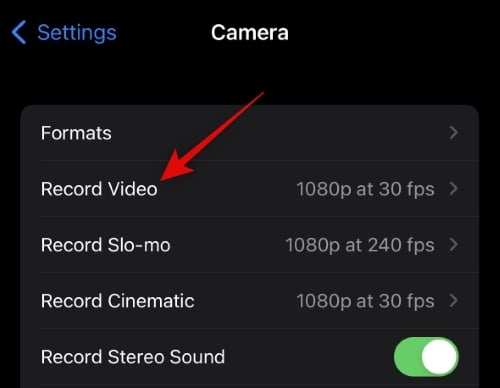
Tap and select your most well-liked decision and FPS from the choices on the prime of your display.
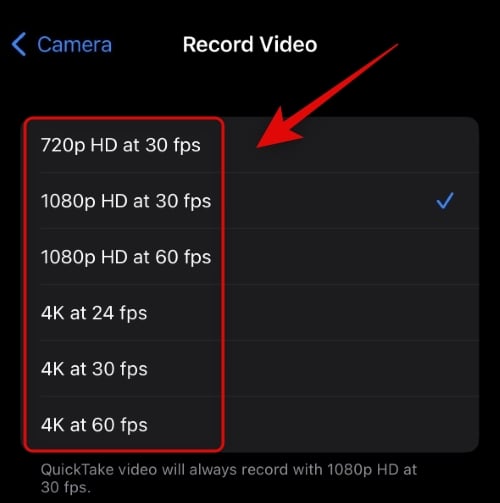
Note: If you might have a 128GB mannequin, then you’ll be able to solely report ProRes movies in 1080p HD at 30 FPS or decrease.
You can now shut the Settings app. ProRes is now enabled in your iPhone. Use the subsequent part to seize ProRes video in your iPhone.
Step 2: Record in ProRes
Here’s how one can report in ProRes upon getting enabled it in your iPhone 14 Pro or Pro Max.
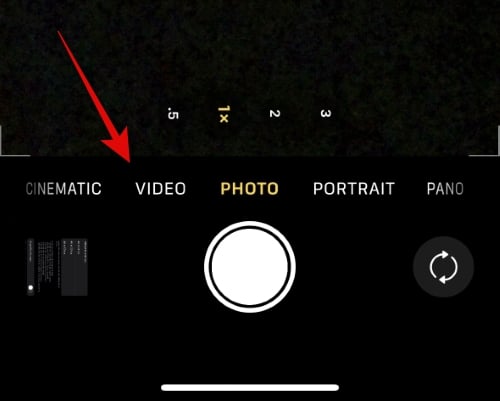
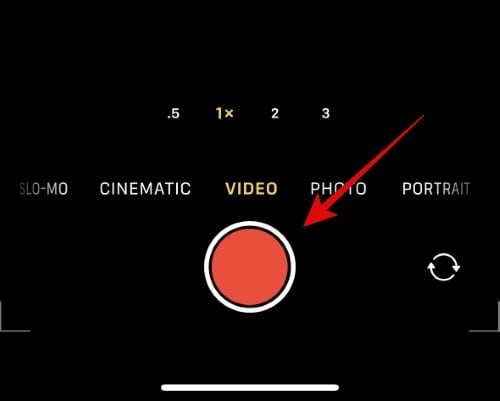
Open the Camera app and faucet Video on the backside.
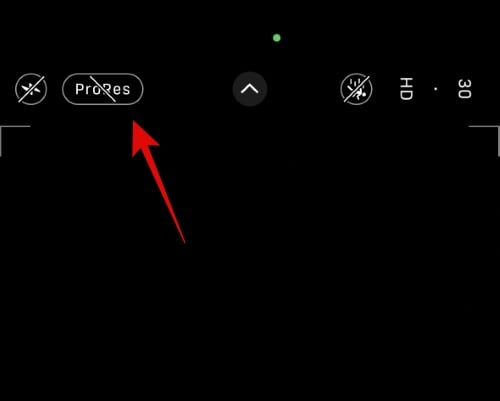
Now faucet the toggle for ProRes (![]() ) on the prime to allow ProRes seize.
) on the prime to allow ProRes seize.
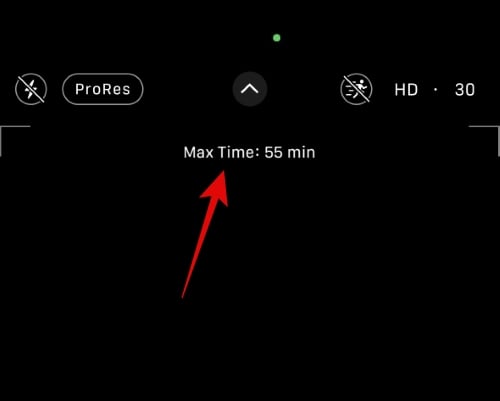
You will now be proven the utmost time for which you’ll report a video on the prime, relying on the out there space for storing in your iPhone.
Tap the shutter icon to report your video. Tap the icon once more to cease recording when you’re executed.
And that’s it! You will now have recorded a ProRes video in your iPhone 14 Pro or Pro Max.
We hope this submit helped you be taught the whole lot you wanted to learn about ProRes and ProRAW in your iPhone 14 Pro and Pro Max. If you face any points or have more questions, be happy to drop us a remark under.
Check out more article on – How-To tutorial and latest highlights on – Technical News